Salted Honey Parker House Rolls

523
Updated Apr 23, 2026, Published Nov 06, 2024
Disclosure: This post may contain affiliate links, which means I may earn a commission if you click on the link and make a purchase.
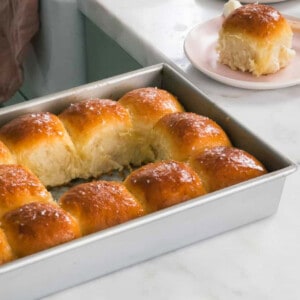
These Salted Honey Parker House Rolls are iconic, light and fluffy. They’re baked up until perfectly puffy and brushed with honey butter and topped with flakey sea salt. Serve them with Creamy Baked Macaroni and Cheese, Cranberry Sauce and Butterscotch Pumpkin Pie.
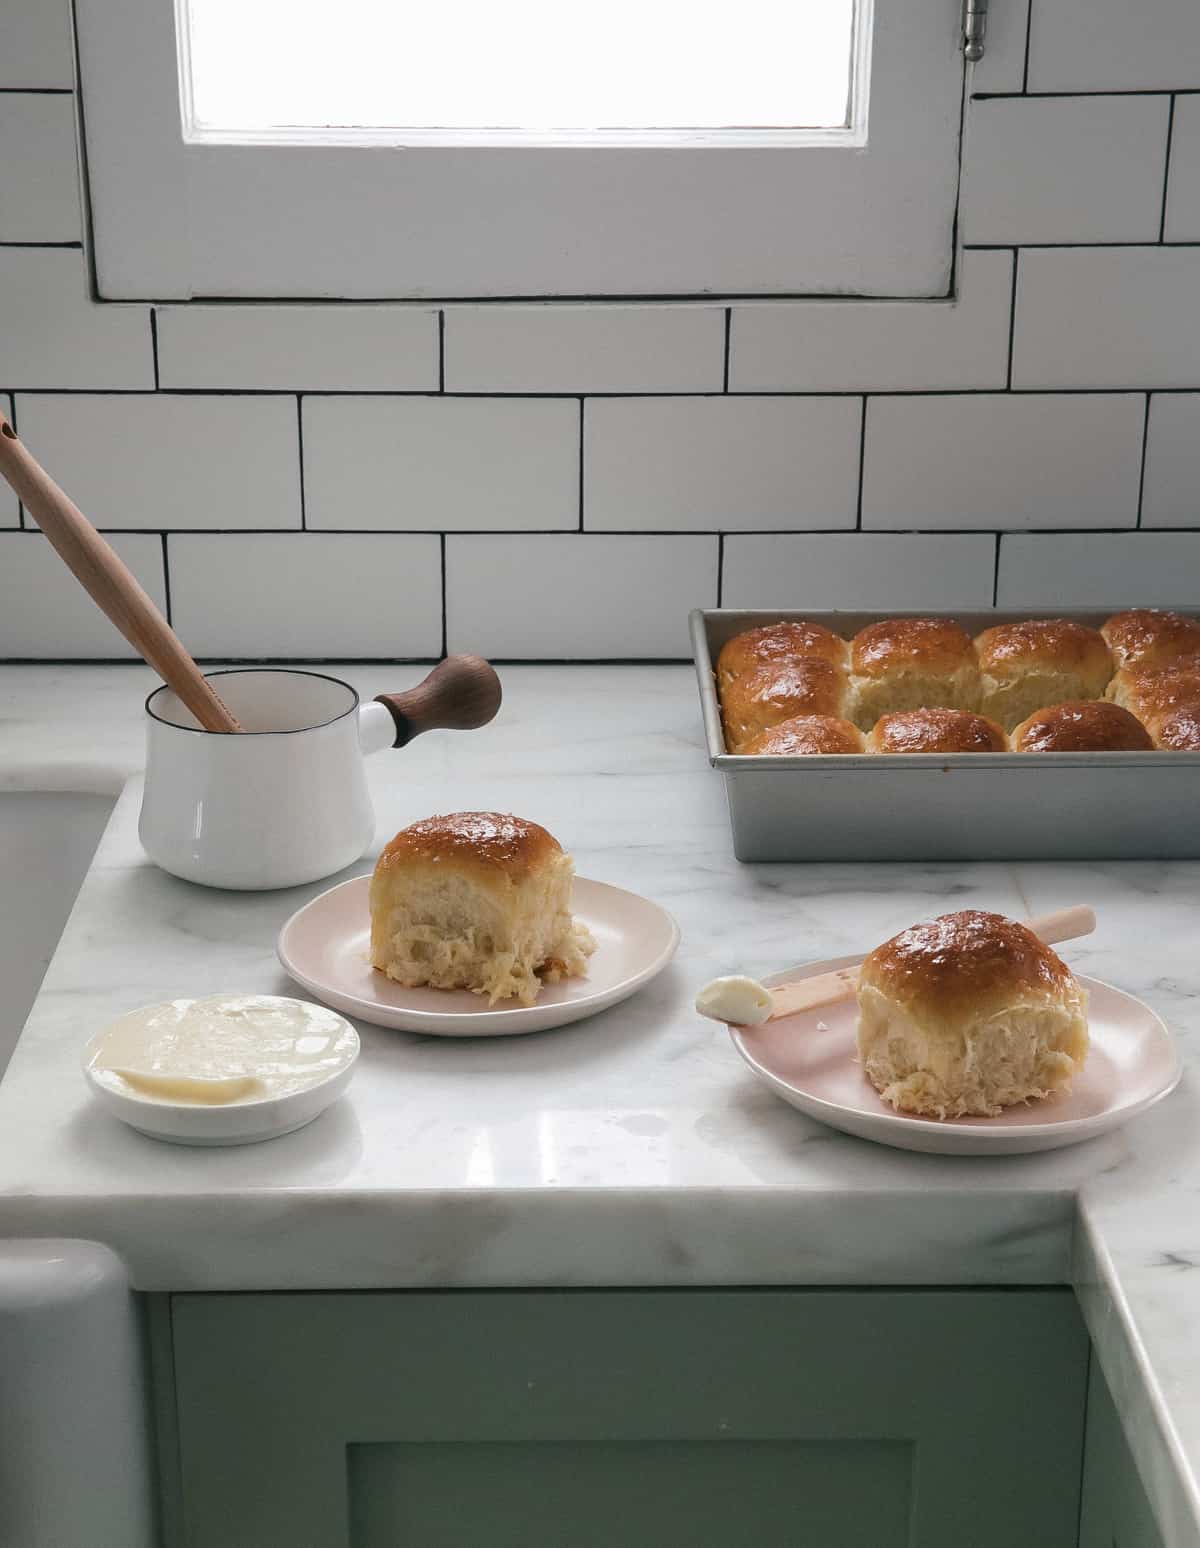
Ingredients for Salted Honey Parker House Rolls
- Instant Yeast – I love using instant yeast for this recipe because it allows us to skip a step. No blooming of yeast!
- All-purpose flour – This is the perfect flour that gives us a good bread-y texture.
- Honey – The honey adds a delicious sweetness on top of the rolls.
- Eggs – They provide a richness to the dough that we just love.
- Milk – I love using whole cow’s milk for this recipe. It will work with almond milk but the fat and body is what makes these rolls delicious.
For the rest of the ingredients, please refer to the recipe index card below!

How to Make Salted Honey Parker House Rolls
- You’re going to start by buttering your 9×13-inch baking pan. This butter is gonna add a bit of extra flavor to the rolls. (Note: You can also use another baking dish size or multiple baking dishes –whatever can fit!)
- In a stand-up mixer with the hook attachment, mix together the dry ingredients. OR in a large bowl, mix the dry ingredients together. We have all-purpose flour, instant yeast and salt.
- Melt the butter and pour in milk and honey. Whisk it until it’s smooth. This should be no hotter than 120F or else it will kill the yeast. Pour it into the center of the dry ingredients, along with the beaten eggs.
- Mix it all together. And knead it for a few minutes in the bowl. And then add it to a floured surface and knead it a few more times.
- Pour it to a greased bowl. And allow the dough to rise for about 30 to 40 minutes.
- Divide the dough into 15 equal pieces. If you are the type to use a food scale when baking, I weighed them out to 72 grams each. Shape them and put them in the pan and allow them to rise for 30 minutes or until doubled in size.
- Brush them with egg wash and bake ‘em! When they come out of the oven, brush them with the honey butter and top them with flakey sea salt! YUM!

Recipe FAQs
You can make these with active dry yeast by activating the dry yeast in the lukewarm milk. To do so, warm the milk and honey over medium low-heat (don’t add the butter yet – fat can prohibit yeast from working). Add it to a small bowl. Pour and mix in the active dry yeast and let it stand for 5-8 minutes. It will foam up and be very alive. Pour in the melted butter and proceed with the recipe.
***Note: If you’re using active yeast vs. instant, it may take a bit longer to get the rolls to double in size. Just go by the size versus the time. When I use instant it takes less time.
These are best the day of. But you can make them the day ahead. Refer below to some alternatives on how to make them ahead. We have options!
These have been tested with honey and the best results will be with honey. But you could replace it with two tablespoons of granulated sugar.
To rewarm them, wrap them in foil in a 200 degrees F oven for 10 minutes. You can serve them with softened butter.
You can simply use kosher salt or your favorite salt. Just use a pinch after you apply the honey butter.
These French Onion Rolls are filled with gruyere and caramelized onions. These Garlic Twist Rolls have garlic, herbs and butter in them.

How to Make these Rolls Ahead
- Make the dough the day ahead – Make the dough, store the unassembled dough in the fridge sealed with plastic wrap or a lid. Assemble the day of.
- Make the dough and assemble the rolls – Make the dough, let it rise, assemble the rolls and then transfer the unbaked rolls to the fridge. Be sure to brush the top with a bit of oil so they don’t dry out and cover with plastic wrap. Bake the day of.
- Make the dough, assemble and bake off – This is my least favorite option because I like these freshly baked. But you can do this the day ahead. Store the cooled rolls in a sealable plastic bag and store them at room temperature. Warm them up just before serving.
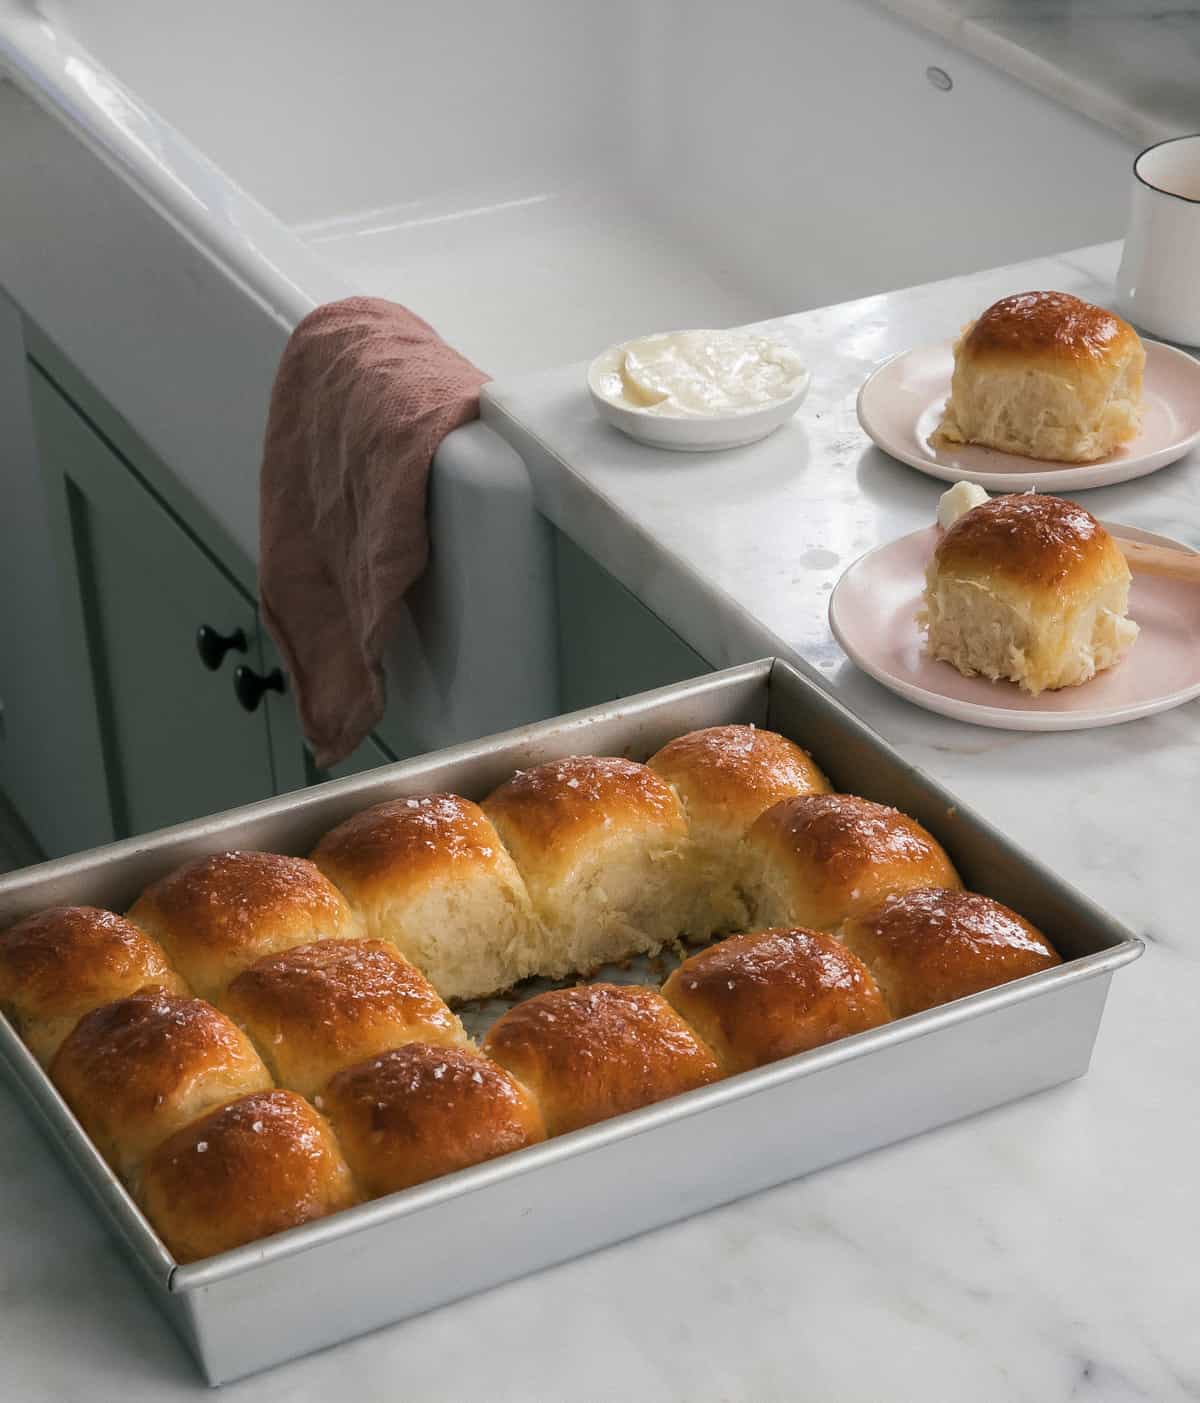
Tips and Tricks
- Store these rolls – You can store these rolls in a sealable plastic bag and stored at room temperature.
- Jarred Yeast – If you’re not using the package of instant yeast and instead have a jar, you’ll be using 14 grams total of instant yeast. (Each envelope weighs 7 grams.)
- Rewarm the Rolls – To rewarm them, wrap them in foil in a 200 degrees F oven for 10 minutes. You can serve them with softened butter.
- Instant Yeast vs. Active Dry Yeast – You can use active dry yeast by adding the active dry yeast to the warm milk and honey mixture (don’t add the butter yet). Allow it to bloom and activate and get all foamy, about 10 minutes, then mix in the melted butter.
- Rub dough with olive oil – Be sure to rub the surface of the dough with a bit of olive oil or cooking oil.
- Cover tightly – And be sure to wrap the bowl tightly with plastic wrap if letting it rise in the fridge overnight or else the dough could form a crust. These are best the day of.
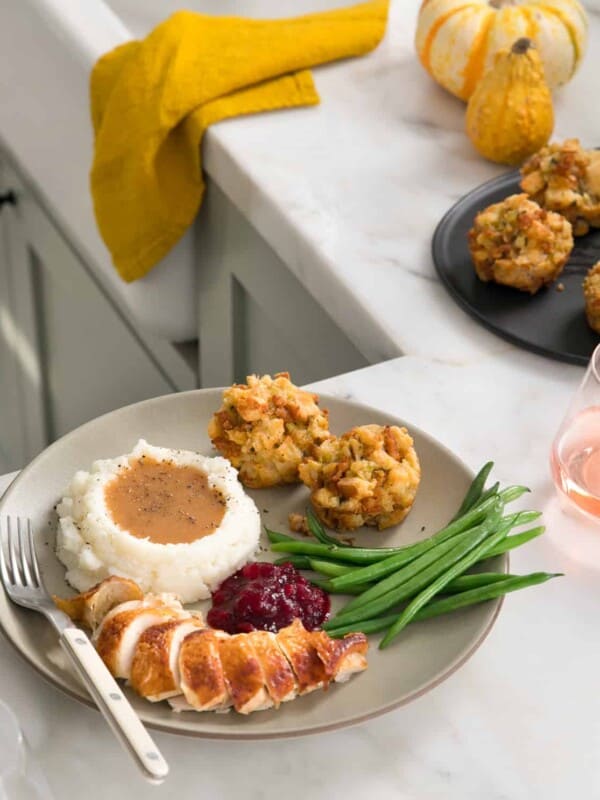
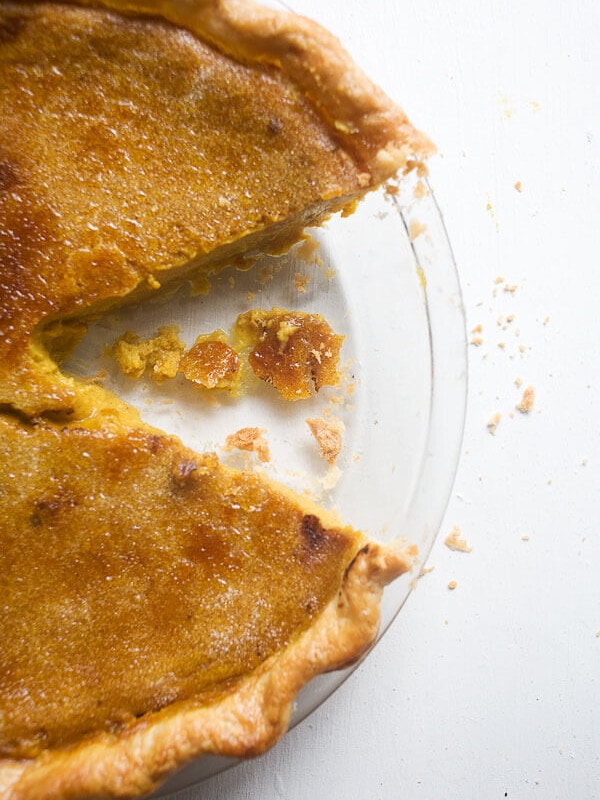
What to Serve with These Rolls

If you tried this Salted Honey Parker House Rolls Recipe or any other recipe on my website, please leave a 🌟 star rating and let me know how it went in the 📝 comments below. Thanks for visiting!
Salted Honey Parker House Rolls
Video
Equipment
Ingredients
Rolls:
- 1 tablespoon unsalted butter, at room temperature (for the baking pan)
- 4 1/2 (572g) cups all-purpose flour
- 4 1/2 teaspoons Instant Yeast, (see Notes for using dry active yeast)
- 2 teaspoons kosher salt
- 1 1/3 cups whole milk
- 1/4 cup unsalted butter
- 4 tablespoons honey
- 1 large egg
- 2 large egg yolks
For Egg Wash:
- 1 large egg, (beaten, for egg wash topping)
For Honey Butter:
- 1/4 cup unsalted butter
- 2 tablespoon honey
- Flakey sea salt
Instructions
To Make the Dough:
- Butter a 9×13-inch baking pan or something comparable and set aside. You can even use multiple baking pans if needed.
- *Note, this recipe uses a stand-up mixer but if you don’t have one, you can simply mix the ingredients together with a spatula and knead the dough by hand for about 10 minutes!
- In the bowl of a stand-up mixer (with the hook attachment), add the flour, yeast and salt. Mix until combined.
- In a small pot, set over medium-low heat, add the butter and when melted, pour in the the milk and honey. The mixture should be lukewarm; not too hot (no more than 120F or else it'll kill the yeast). If it does get a bit too hot, simply let it stand at room temperature until it cools down.
- In a small bowl, add the egg and egg yolks and beat until combined. Pour the liquid mixture into the dry ingredients. Next, add the egg mixture to the flour mixture and knead with machine on medium speed for about 5-7 minutes, until smooth and elastic.
- The dough will be sticky but still manageable! If it's super wet, then you can add in an additional tablespoon of flour. Rub a large bowl with about a teaspoon of oil, (I used olive oil), and transfer the dough to the bowl. Cover with a clean kitchen towel and allow to rise for 30-40 minutes or doubled in size (these times can vary depending on how warm/cold your home is).Alternatively, cover the bowl with a lid or plastic wrap and allow to rise in the fridge for up to 12 hours (after 12 hours they tend to taste yeasty).
To Assemble the Rolls:
- Divide the dough into 15 equal pieces. If you want them to be the same exact size, you can weigh them out. Each piece of dough should weigh about 72 grams. If the dough is super duper sticky, lightly dust your hands with flour.
- Roll the dough into balls, stretching the dough and pinching it under the ball of dough to make sure it has a smooth top.
- Transfer them to the buttered pan and allow them to rise for about 30 minutes OR until they have doubled in size and should be puffy and supple.*Note: if you let the dough rise in the fridge overnight, you can assemble them straight from the fridge but they may need to rise for a bit longer (since the dough will be quite cold). It may take about 1 1/2 hours for them to rise after assembled!
- Preheat the oven to 350 degrees F. Brush the tops of the rolls with egg wash and transfer to the oven to bake until golden brown, about 20 minutes.
To Make the Honey Butter:
- In a small saucepan, melt the butter and add the honey. Mix together until smooth.
- When the buns come out of the oven, immediately brush the tops with the honey butter mixture and sprinkle with flakey sea salt.
Notes
- You can store these rolls in a sealable plastic bag and store them at room temperature.
- To rewarm them, wrap them in foil in a 200 degrees F oven for 10 minutes. You can serve them with softened butter.
- If you don’t have flakey sea salt, feel free to top them with a pinch of kosher salt.
- If you don’t have instant yeast, you can use active dry yeast by adding the active dry yeast to the warm milk and honey mixture (don’t add the butter yet). Allow it to bloom and activate and get all foamy, about 10 minutes, then mix in the melted butter and proceed with the recipe.
- The substitution for instant yeast to active dry yeast (for this recipe) is 1:1 (14 grams of total yeast).
- If you’re not using the package of instant yeast and instead have a jar, you’ll be using 14 grams total of instant yeast. (Each envelope weighs 7 grams.)
- To make these ahead, you can make the dough the night before and let it rise in the fridge overnight. The following morning, divide and assemble the rolls, let the rolls rise until puffy (about 1 1/2 hours) and bake.
- Before you put the dough in the fridge to rise, be sure to rub the surface of the dough with a bit of olive oil or cooking oil.
- And be sure to wrap the bowl tightly with plastic wrap if letting it rise in the fridge overnight or else the dough could form a crust. These are best the day of.
Nutrition
Nutrition information is automatically calculated, so should only be used as an approximation.
This recipe was originally posted in November of 2020. It has since been updated to help you all achieve an *even* better result.








Easiest rolls – 11/10!
You need to have these in your life!
I couldn’t agree more 🙂
I just made this dough and it’s in the refrigerator rising for baking tomorrow. The dough was very, very soft and wet, almost pourable. I was concerned it was too wet so ended up adding quite a bit more flour. Was this a mistake? How soft and sticky should this dough be? Thanks!
hmmm maybe it needed a few more tablespoons but it’s not supposed to be a dry dough. usually a dry dough will result in dry rolls!
These were an instant hit. My son in law stated that these were the best rolls he’s ever tasted, and I agree. The recipe instructions were easy to follow, even for someone like myself, who is new to bread making, and had never made homemade dinner rolls before now. This will be the only recipe I’ll ever use for dinner rolls, as I believe it would be difficult to top!
I made these today! They came out great! I had never made baked goods that required yeast. I was intimidated but this recipe is amazing! Thank you.
I make something with yeast 3-4 times a month but this is the only roll recipe I will make (and I tried others). It is perfect with or without the honey butter salt topping. For family gatherings this is the one recipe they insist I bring.
i love hearing this. makes me so happy! thanks for sharing. 🙂
Just FYI, I’ve made these twice and while they tasted AMAZING, the middle rolls and the touching edges were uncooked both times. It took a really long time to finish cooking the undone ones too.
The only thing I can guess is that I baked them in a thick ceramic 9×13 dish and a 9×13 glass baking dish. Next time I’ll try my aluminum Detroit pizza pan. Curious if anyone else experienced this though bc it’s never happened to me before with bread or rolls…ever!
hmm that’s strange. i haven’t heard this feedback from anyone else BUT i do find that aluminum (light colored) pans work best because they conduct heat faster. I worry that a Detroit pizza pan might give the bottoms too much color but you can try it!
I had to cook mine for 30 minutes as 20; wasn’t long enough in my 9×13 ceramic pan. They turned out amazing. If I had removed them at the 20 minute mark they would not have been done.
Thanks for confirming Sharon!
I’m here to report back that instead of the Detroit pizza pan, I bought a regular 9×13 USA baking pan and these came out perfectly baked after 20 mins. They were better than in the ceramic or glass by far!
This recipe is amazing!!! I’ve made it twice for my family and they love it. Don’t be intimidated, it’s more simple than it may seem. The second time I made it I thought I totally messed it up and they still came out awesome.
Perfect and delicious! made these for the first time and everyone was in love. Someone thought I bought them from a bakery! I would just recommend adding in what temp to heat the milk mixture to before adding it to the yeast (I googled it) and I also put a little flour on my hands when making the rolls – it was very sticky when tearing off pieces from the dough.
Another great recipe from a cozy kitchen!!
I just made last minute for Christmas dinner! Yes, just on time with new Cuisinart bread machine!
Wow!!! So fluffy and tasty:) My family really loves and enjoys this bread! I change 2 egg yolk to 1 full egg, and reduce some amount of butter as my husband needs to watch fat, yet, still taste delicious!
Thanks for awesome recipe, Adrianna:)
sounds amazing; i’m so glad they worked out for you and the family! merry christmas!
I have never ever ever made bread. I decided to give this recipe a try and the rolls turned out excellent! Thank you so much for sharing this great recipe so that even non-bakers like myself can be successful.