Disclosure: This post may contain affiliate links, which means I may earn a commission if you click on the link and make a purchase.
These red velvet crinkle cookies have soft, delicious centers and chewy edges. The hint of chocolate flavor will forever be a favorite of mine. If you’re a fan of crinkle cookies, then check out my Lemon Crinkle Cookies, Gingerbread Crinkle Cookies and Berry Crinkle Cookies.

I like to think of red velvet as the epitome of Southern grace and flavor. Some may want to dispute this fact with me and that is fine. I will forever be a fan of red velvet!
These cookies are perfection for a holiday treat, Valentine’s Day cookie or any other time of year when you need some red velvet in your life. I love red velvet. Everything to red velvet cake to my Red Velvet Lava Cakes. All divine!
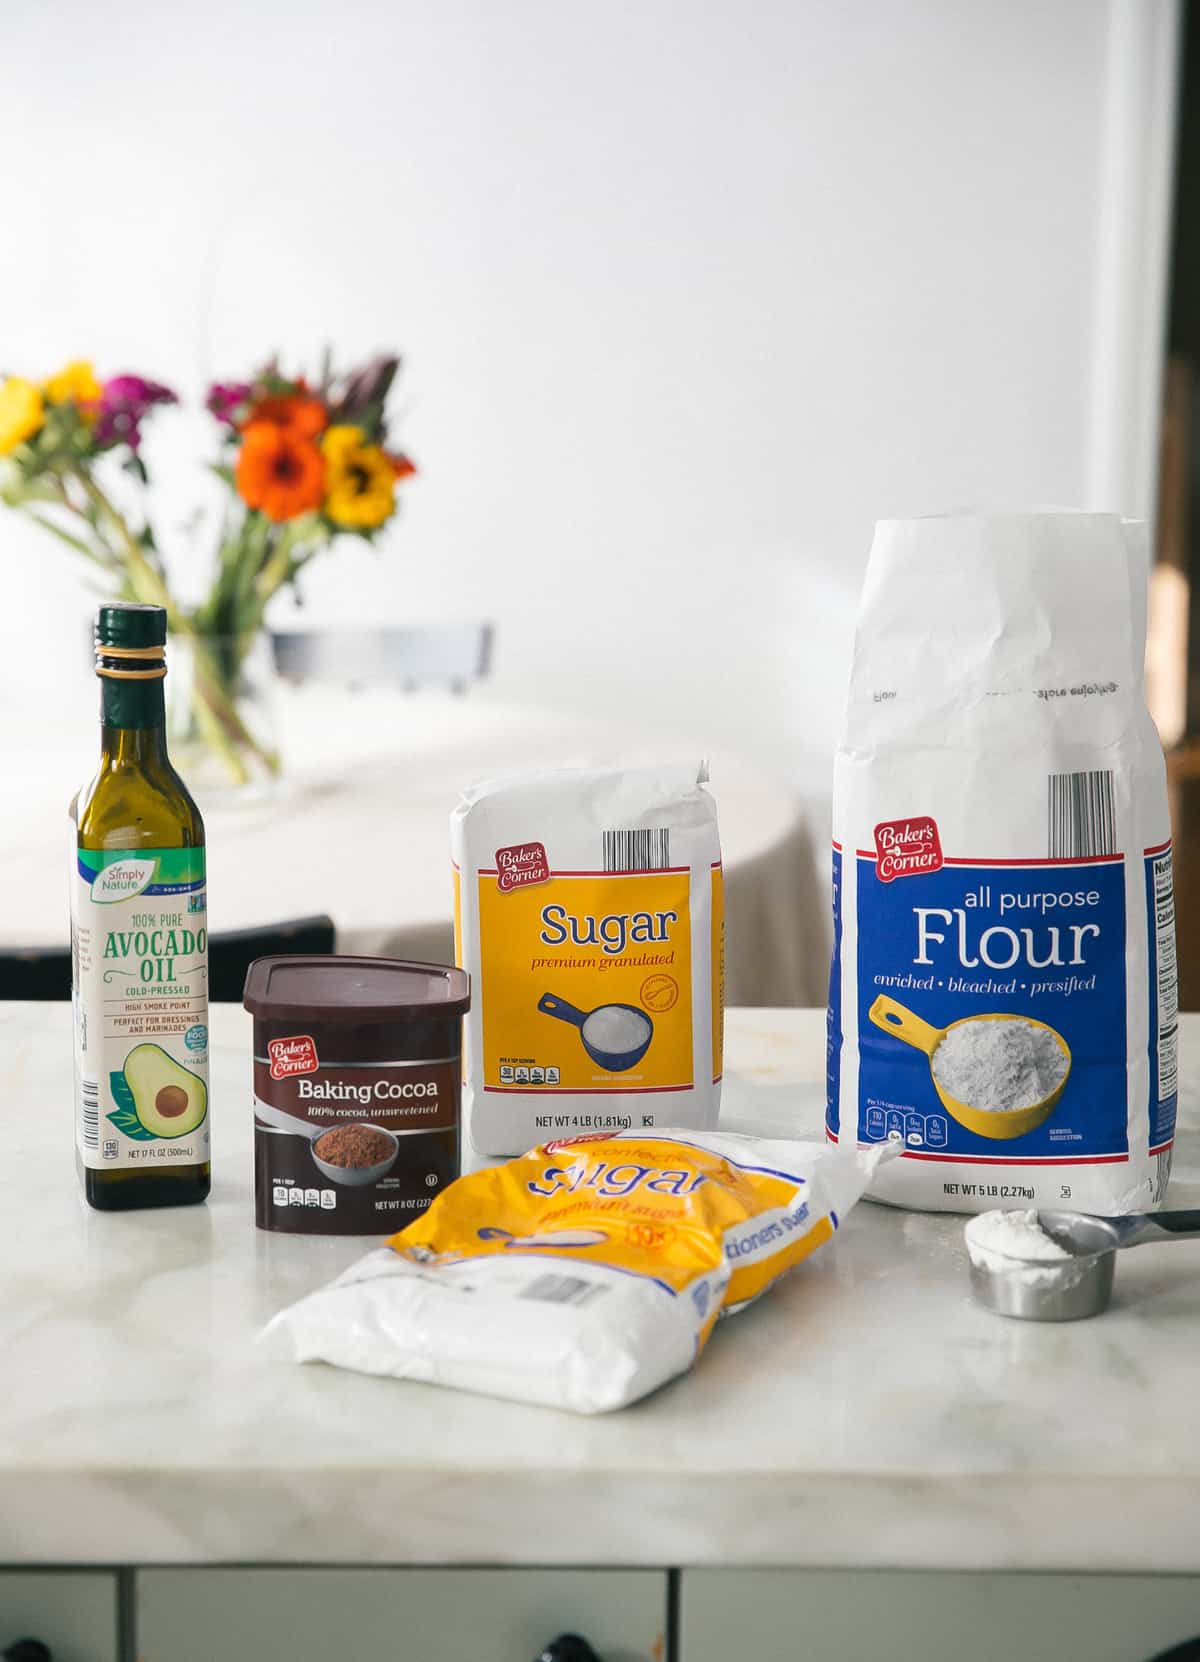
Ingredients You’ll Need for Red Velvet Crinkle Cookies
- Cocoa powder. Red velvet isn’t exactly deep chocolate flavor. Just a subtle chocolate vibe.
- Red food coloring. This is going to give us that beautiful red hue to the cookies.
- Granulated sugar. This type of sugar will keep the cookie moist and add the perfect level of sweetness.
- Powdered sugar. A critical and very necessary ingredient to make them look crinkle like.
- Avocado oil. I like to use oil vs. butter because I found that butter makes the cookies steam which in turn gives us a watery outside.
For the rest of the ingredients, please see the recipe index card below!

How to Make Red Velvet Crinkle Cookies
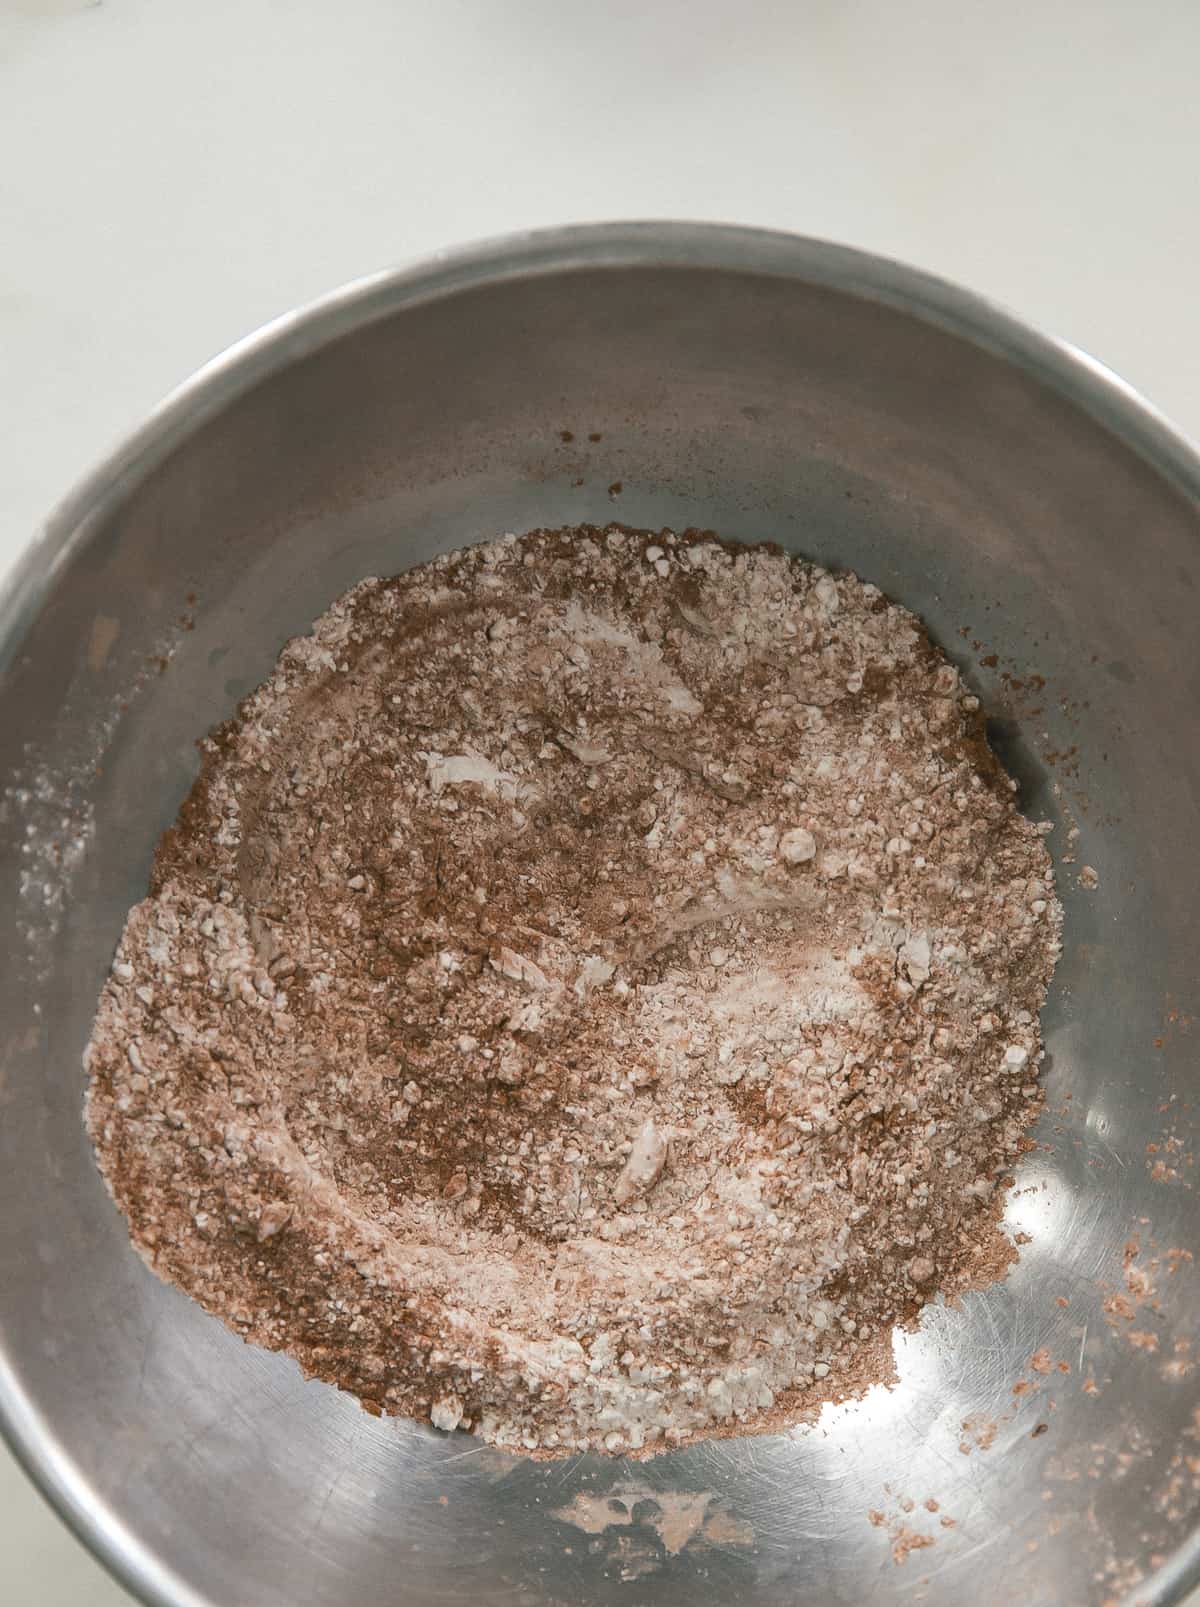
- Whisk together the dry ingredients: all-purpose flour, baking cocoa powder, baking soda and kosher salt.
- Beat together the sugar and avocado oil. I like to use avocado oil but you could use any neutral oil, if you like.
- Crack in the room temperature eggs, one by one. And mix it up.
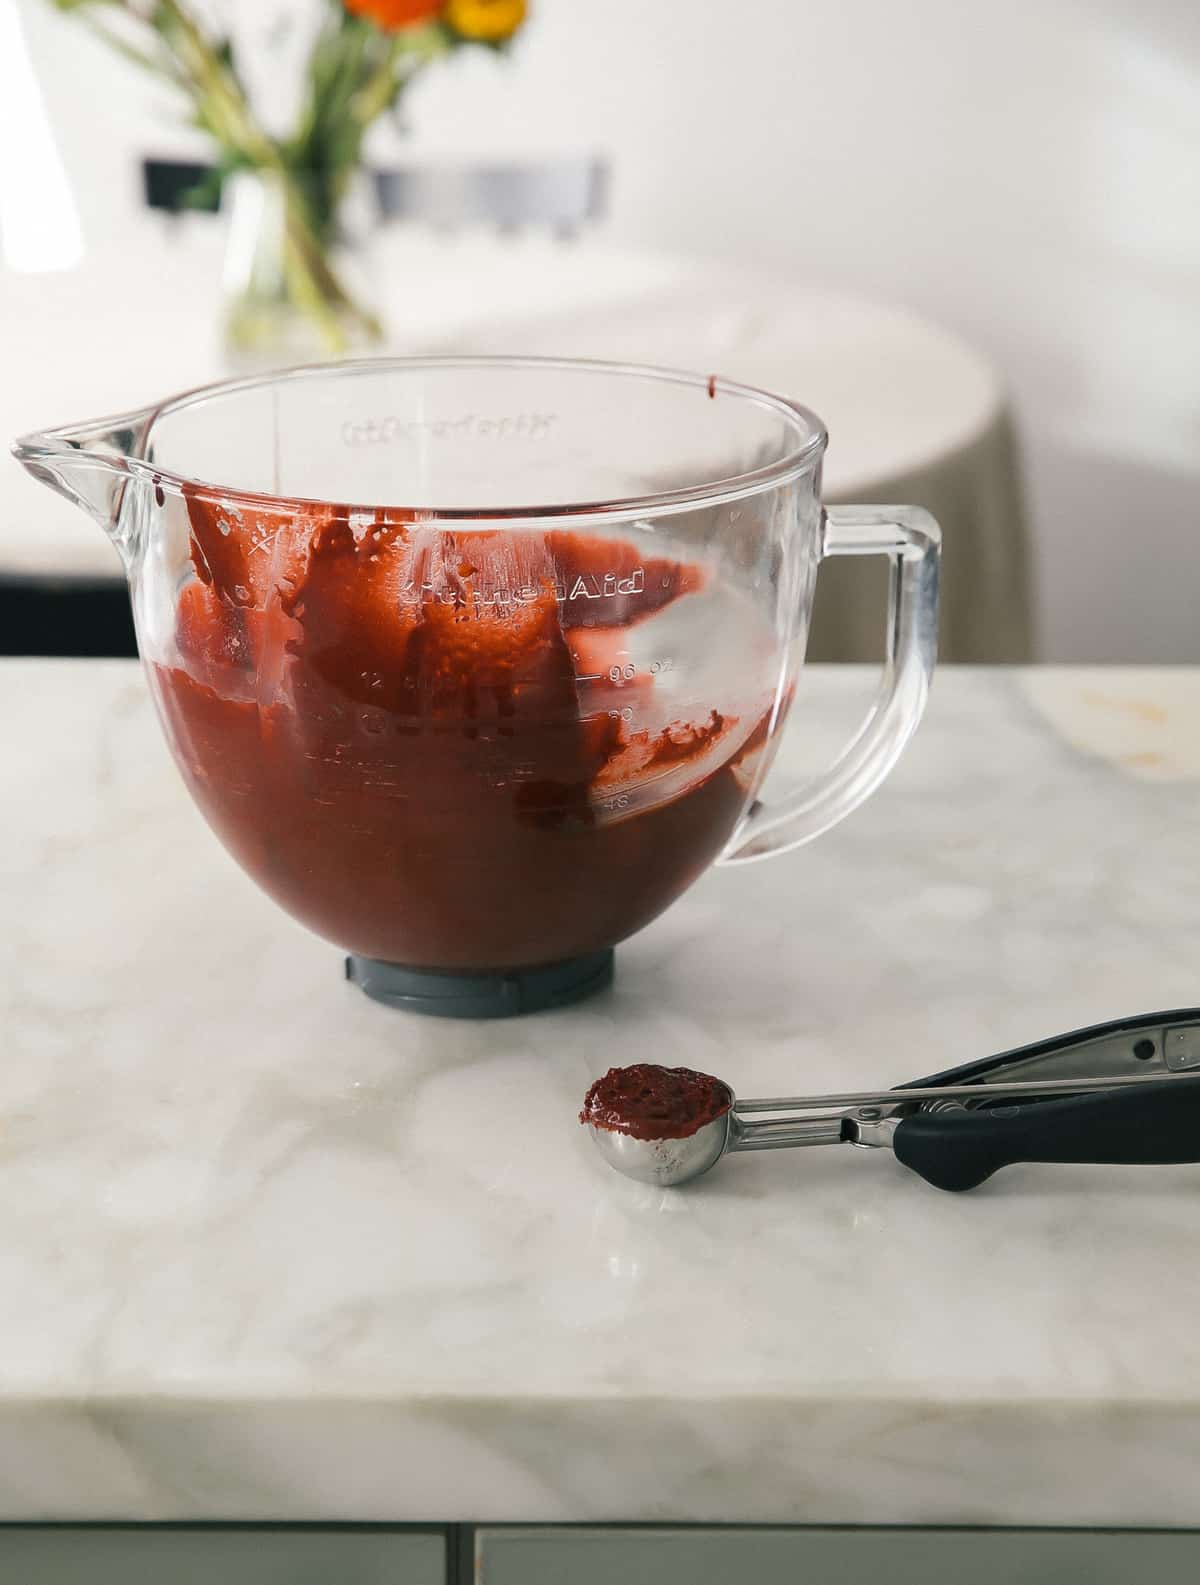
- Add in the vanilla and food coloring gel and give it another mix.
- Pour in the dry ingredients, all in one batch, and mix until combined. The cookie dough will be very soft—that’s ok! Cover the bowl with plastic wrap and transfer to the fridge to chill for 1 hour.
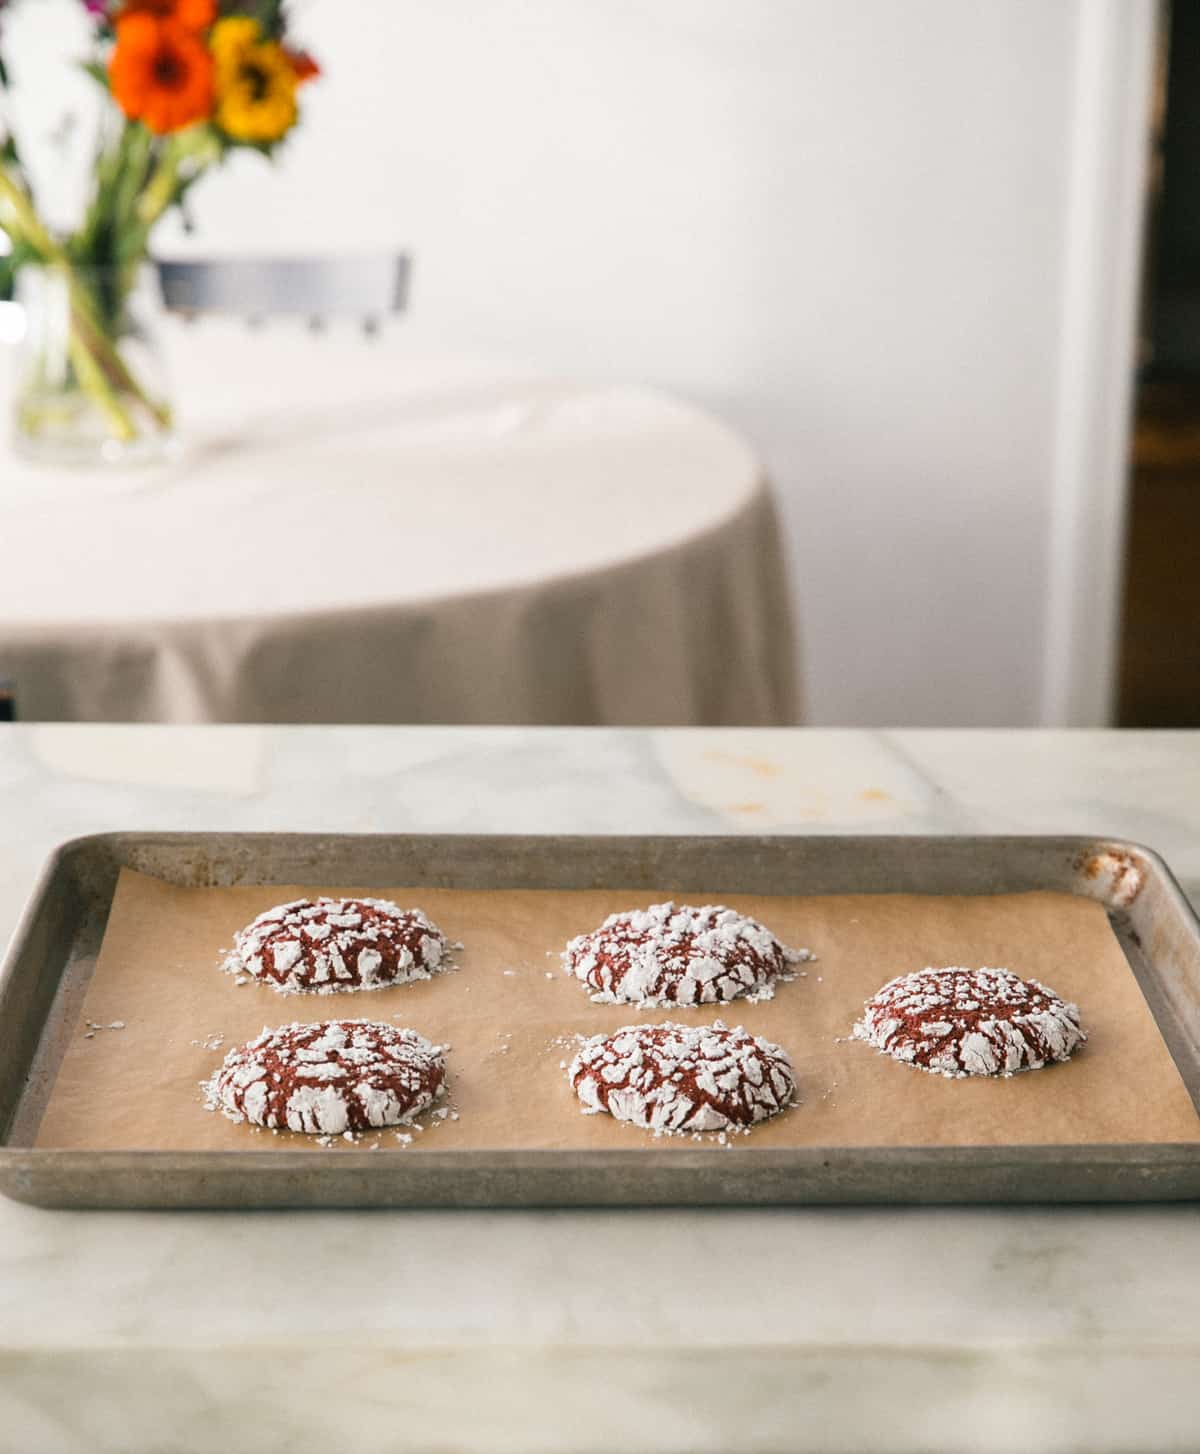
- Scoop out the dough, using a medium cookie scoop, and roll it in the powdered sugar. You really want it caked on there. Don’t shake off any excess—even though it may seem intuitive.
- Transfer the cookie dough balls to a baking sheet, spacing it around 5 inches apart. These cookies spread so make sure they have enough room. Place them in the oven to bake for about 10 minutes and allow them to cool completely on the baking sheet.
- Repeat with the remaining cookie dough!
Recipe Tip
These cookies are ridiculously easy to make! But I do think two critical steps in order to have great success with these cookies.
- Be sure chill the dough for 1 full hour.
- Make sure the powdered sugar is caked on the cookie dough balls.
More Cozy Cookie Recipes


If you tried this Red Velvet Crinkle Cookies Recipe or any other recipe on my website, please leave a 🌟 star rating and let me know how it went in the 📝 comments below. Thanks for visiting!
Red Velvet Crinkle Cookies

Ingredients
- 1 1/3 cups Baker’s Corner All Purpose Flour
- 3 tablespoons Baker’s Corner Baking Cocoa Powder
- 1/2 teaspoon baking powder
- 1/2 teaspoon baking soda
- 1/4 teaspoon kosher salt
- 3/4 cup white granulated sugar
- 1/2 cup Simple Nature Organic 100% Pure Avocado Oil
- 2 large eggs
- 1 teaspoon Stonemill Pure Vanilla Extract
- 1 drop red food coloring gel
- 1/2 cup powdered sugar
Instructions
To Make the Cookie Dough:
- To the medium bowl, add the all-purpose flour, cocoa powder, baking powder, baking soda and salt. Whisk together until combined.
- To the bowl of a stand-up mixer (or you could use a large bowl with an electric- hand mixer), add the sugar and oil. Beat until light and sort of fluffy, about 1 minute. With the machine running on low speed, add one egg at a time. And then add the vanilla extract, red food coloring gel. Mix until combined.
- Add the flour mixture and mix just until no flour speckles appear and the dough is cohesive, about 30 seconds to a minute. Cover the bowl with plastic wrap and transfer to the fridge to chill for 1 hour.
To Bake the Cookies:
- Preheat the oven to 350F. Sift the powdered sugar into a small to medium bowl. This will smooth out any pesky lumps that are in the powdered sugar.
- Using a medium cookie scoop, scoop out balls of dough, rolling them in between your palms until balls form. Roll them in the sifted powdered sugar.
- The powdered sugar should be on there pretty thick. I think it’s our instinct to brush off the excess powdered sugar but leave it on! Transfer the dough ball to the lined baking sheet. Repeat with the remaining dough, spacing the cookies about 4 inches apart. They don’t spread very much so you can fit about 8 per baking sheet.
- Transfer the first baking sheet to the oven to bake for about 10 to 12 minutes, until they appear crackily and puffed up. Remove from the oven and allow them to cool on the baking sheets for at least 5 minutes before transferring them to a cooling rack. You’ll notice that they’ll fall a bit as they cool—this is good! Serve with milk or coffee.
Notes
- These cookies are ridiculously easy to make! But I do think two critical steps in order to have great success with these cookies is making sure to chill the dough for 1 full hour. And the second step is to make sure the powdered sugar is caked on the cookie dough balls.
Nutrition
Nutrition information is automatically calculated, so should only be used as an approximation.


Love these cookies!
Glad you loved them, Chynna!
Very dry and not much taste. Threw out after test batch not worth effort.
I ALWAYS make my crinkle cookie dough a day ahead and refrigerate. I keep putting the dough back in the fridge between batches. This alleviates the stickiness of the dough. Even though I do this, I coat my palms with powdered sugar before I start rolling.
Delicious taste! Mine ended up still turning out brown/cocoa-colored so I think maybe I was using a different type of food coloring and the ratios aren’t the same?
After trying, and failing, to roll the dough balls in my hand, I used the cookie baller scoop and just dropped them directly in the powdered sugar and rolled from there and it was way easier and they turned into perfect cookie balls easily (and my hands were much cleaner, haha). Hope this helps others!
they were easy, up until making them into balls… glad I am not the only one !
So yummy! But I had a difficult time forming the ball 🙁 it was very sticky! Not sure what I messed up but at least they were tasty 🙂
Making a ball was pretty difficult because the dough was soggy , but the result was satisfying