Disclosure: This post may contain affiliate links, which means I may earn a commission if you click on the link and make a purchase.
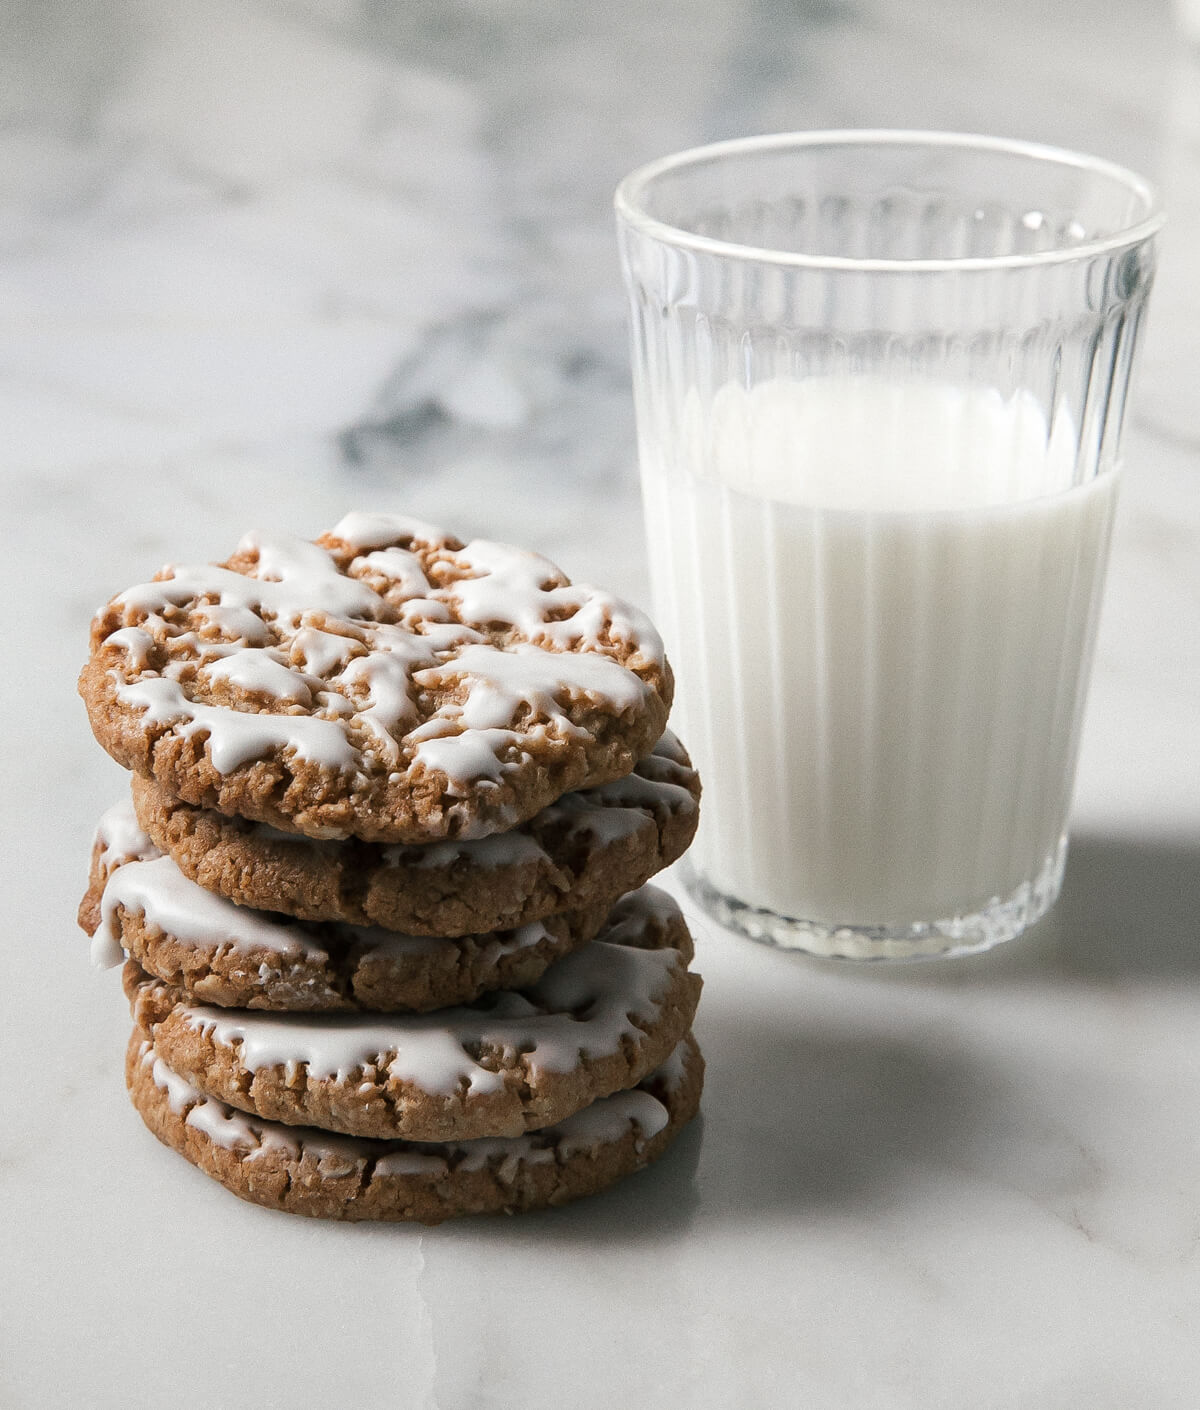
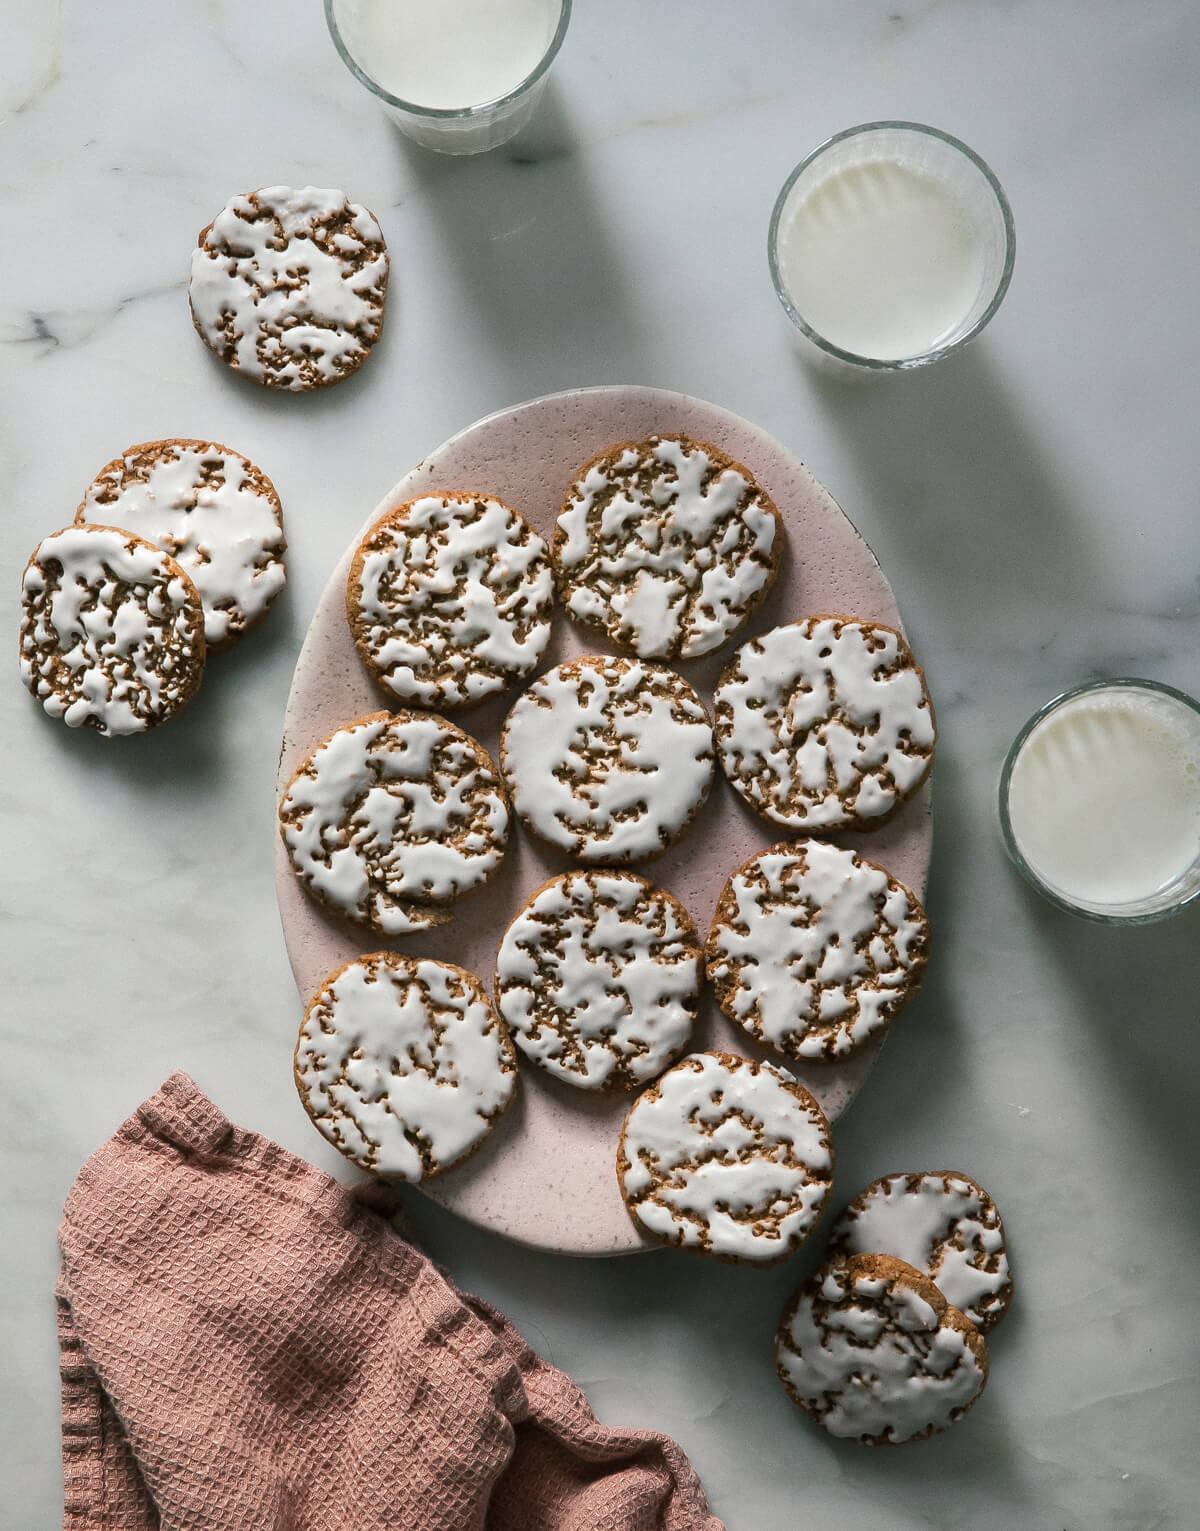
These crispy Iced Oatmeal Cookies are slice and bake cookies. They’re touched with a hint of nutmeg, cinnamon, and then dipped in a glaze that gives it that signature craggily top! Serve them with a cup of my homemade hot chocolate with coffee marshmallows on top.

December is the month of cookies, cookies and more cookies! These iced oatmeal cookies are MY JAM. I usually favor soft cookies (like my Chewy Chai Masala Snickerdooles) but these have the best of both worlds: a delightful little snap coupled with so much flavor and a soft-ish middle.
This recipe comes from my friend Shauna Sever’s latest cookbook Midwest Made. If you know anything about Shauna, you know that she is a fierce recipe writer and super successful cookbook author. Her recipes not only work but they’re amazing. Every single one I’ve tried has been like DANG OK. Including these cookies. They are so delicious.
Ingredients You’ll Need for Iced Oatmeal Cookies

- Oats – I like to use whole old-fashioned oats for this.
- Butter – This recipe gets a lot of its flavor and glorious texture from the butter.
- Brown sugar – Caramel-like notes are added to the cookie via brown sugar.
- Egg – We’re using the yolk in the cookie dough and the egg white for the icing. Perfect fit!
For the rest of the ingredients, please refer to the recipe card below!
The History of Oatmeal Cookies
Baking with old fashioned oats was at first a health-driven idea. Quaker Oats first published an old fashioned oat recipe on its packaging in the late 1800s, encouraging its customers to bake with oats. It began then…and then obviously evolved into what we have today which is a myriad of different types of oatmeal cookies, including this one!
A lot of people might be reminded of Mother’s Iced Oatmeal Cookies or Archway’s Iced Oatmeal Cookies. I’m going to be honest, I don’t really have those nostalgic memories. But if you do, a lot of people have said these are very similar!
How to Make Iced Oatmeal Cookies
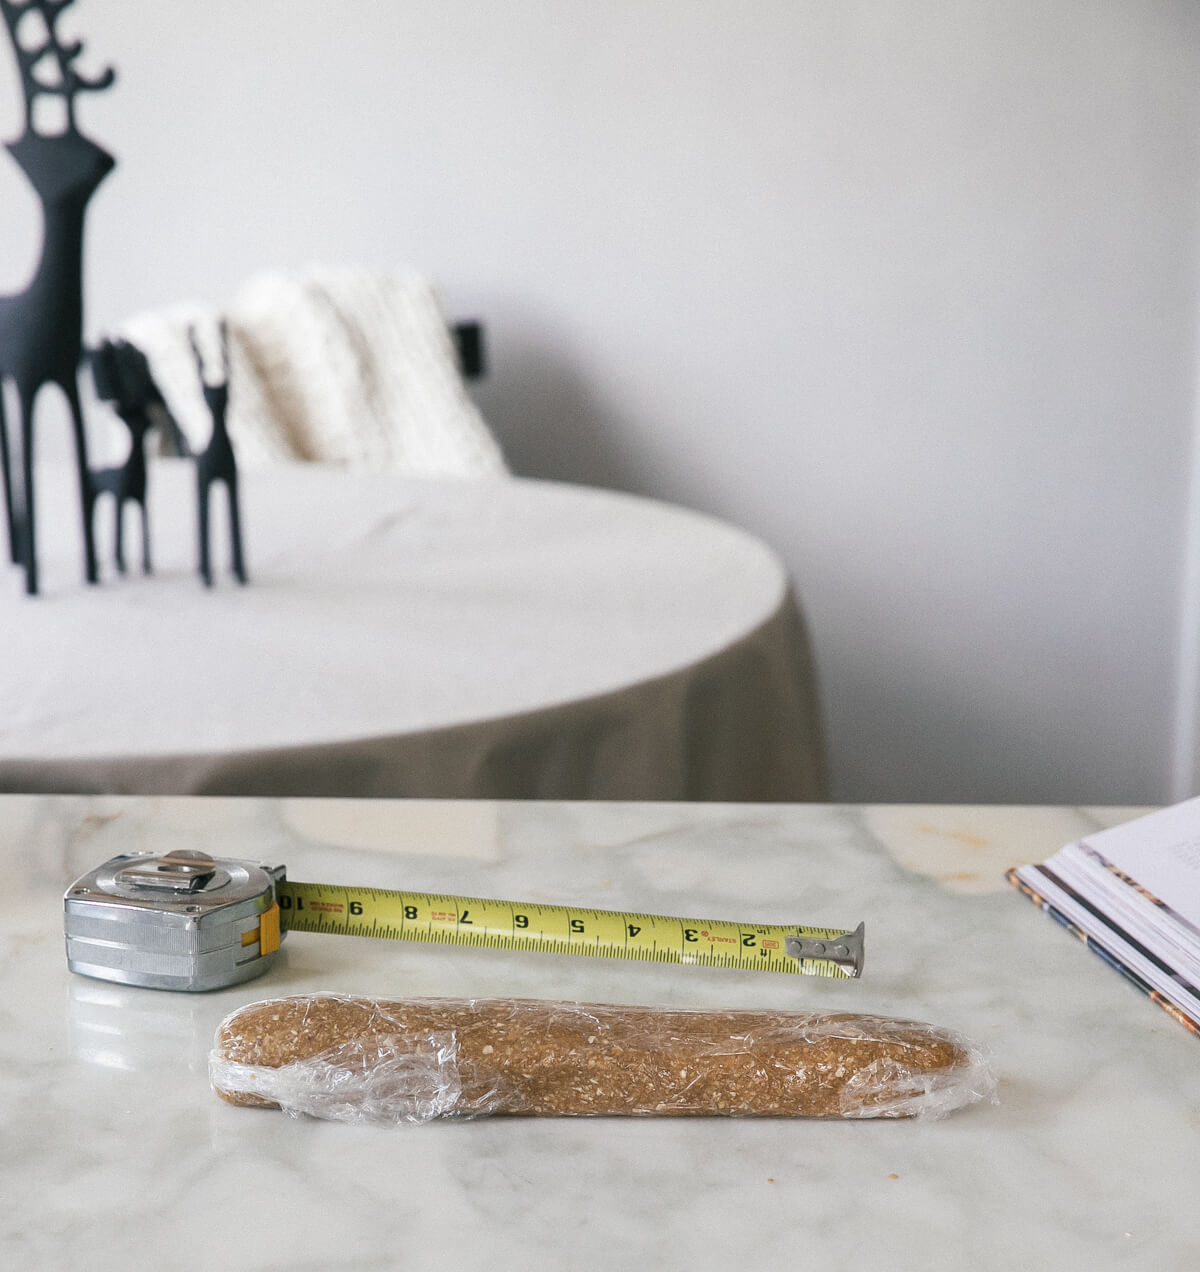
These cookies are known as “slice and bake.” Meaning, you roll the dough into a log, chill it and then when it’s nice and cold, you slice the cookies into 2-inch pieces and bake them up! Here’s how to make them:
- Make the oat flour. The best thing about the cookies is the texture and that comes from the oat flour being ground in the food processor (as opposed to a milling machine).
- Add all of the ingredients to the food processor. This recipe is SO easy because after you make the oat flour, you add the rest of the dough ingredients to the food processor (minus the egg yolk), process and then lastly, the egg yolk. Super simple and quick.
- Roll the dough. After the dough has been mixed together with no dry pockets, you add the dough to a sheet of plastic wrap. You form it into a log, wrap it and up and chill the dough for 3 hours.
- Slice the dough. When the dough is nice and chilled, you remove it from the fridge and cut it into 1/2-inch slices. Transfer the slices of cookies to a baking sheet.
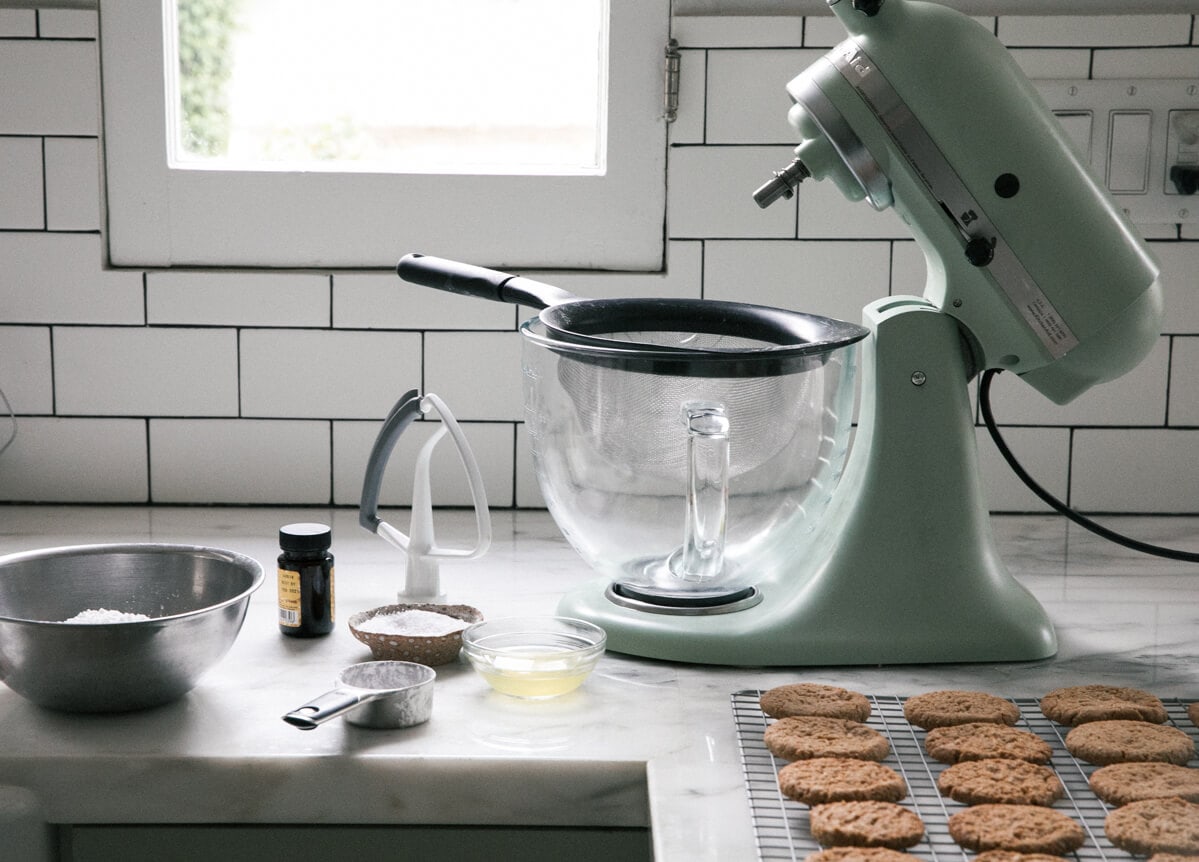
- Bake. Transfer the cookies to a preheated oven and bake them for about 12 minutes. Cool them completely on a wire rack—this is when crispiness begins to form!
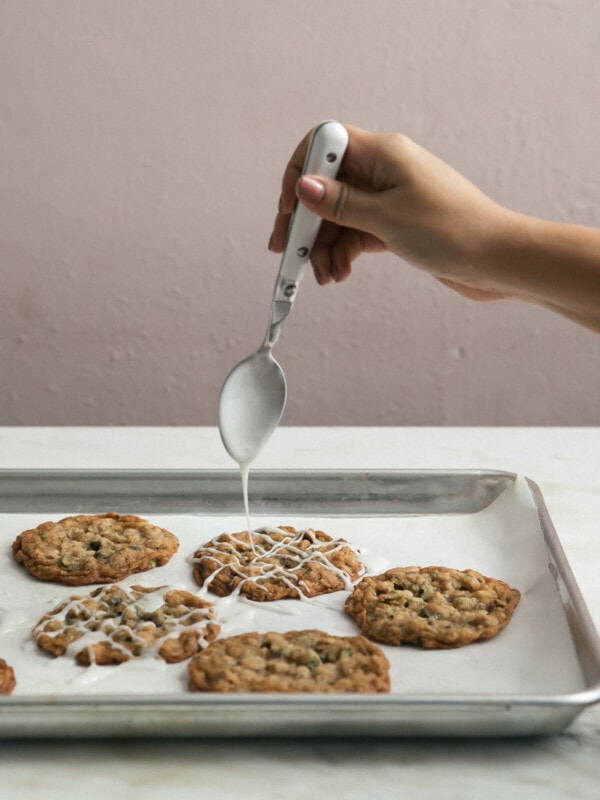
- Make the icing. The icing is super simple to whip together.
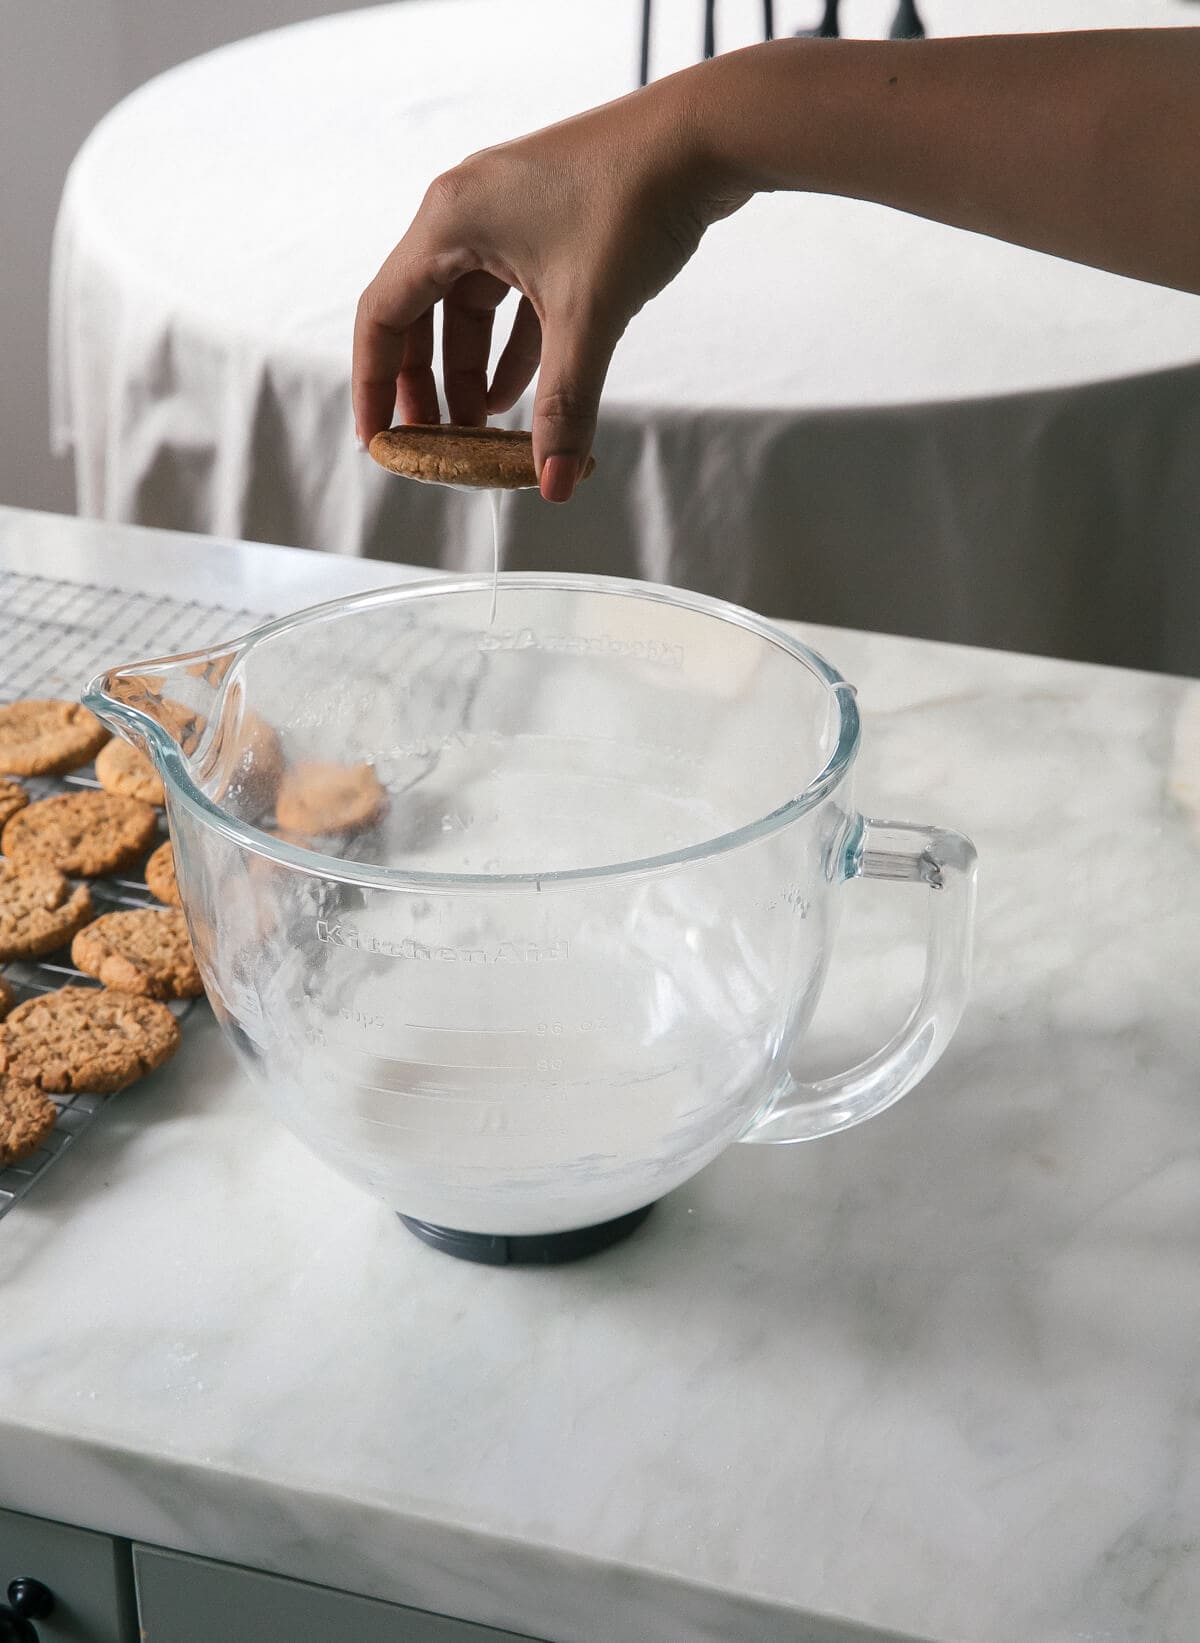
- Kiss the cookies with the icing. I learned this the hard way, but you don’t want to dip the cookies as in a full dunk into the icing. You want them to just kiss the icing. As a result, as it sets, you’ll see that craggily top!
Tips and Tricks
Shaping the log – You really want to press on the dough in order to form it into a log. It might seem too dry at first but it’ll come togehter.
Cutting the log of dough – Slice the cookies with a very sharp knife. And when you do slice them, little pieces might fall off. No worries. Just press the dough back to the cookie.
Shape the almost-done cookies – I like to take a large cookie cutter and scoot the cookies back and forth to shape them into perfect circles.
Recipe FAQs
The directions say *kiss* the cookie to the icing and it’s a good descriptor because you want it just hit the icing. This will give you that lace-y effect.
Yes absolutely. Make the dough, wrap it in plastic wrap in a log and stick it in the freezer. You can thaw it over night in the fridge and use it the next day.
In an airtight container at room temperature.
More Festive Recipes to Make

Christmas
Cozy Gingerbread House

Christmas
Coquito
Holiday
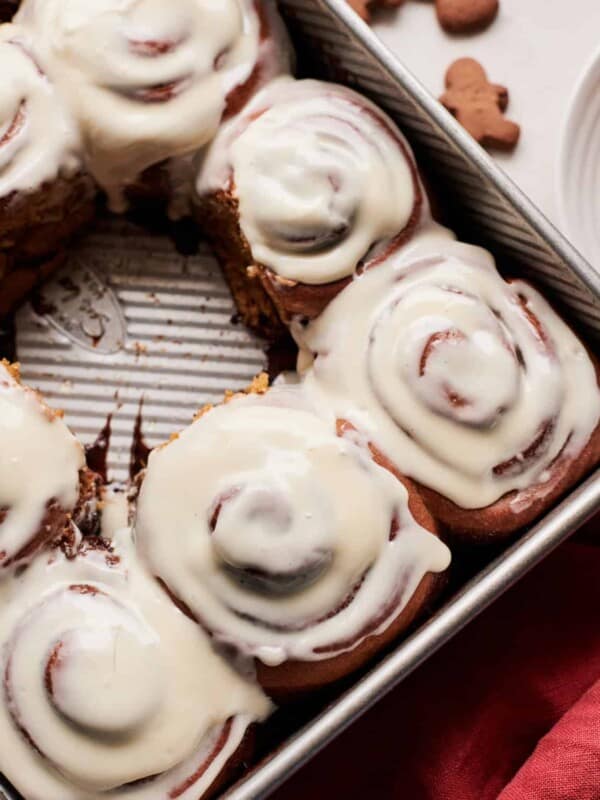
Fluffy Gingerbread Rolls
Desserts
Chewy Pistachio Lace Cookies
f you tried this Iced Oatmeal Cookies recipe or any other recipe on my website, please leave a 🌟 star rating and let me know how it went in the 📝 comments below. Thanks for visiting!
Iced Oatmeal Cookies Recipe

Video
Equipment
- 1 half baking sheet
- 1 sharp paring knife
Ingredients
Dough:
- 1 1/2 cups / 150g old-fashioned rolled oats
- 3/4 cup / 170g firmly packed dark or light brown sugar
- 1/2 cup / 64g all-purpose flour, spooned and leveled
- 1/2 teaspoon kosher salt
- 1/2 teaspoon baking soda
- 1/4 teaspoon baking powder
- 1/2 teaspoon ground cinnamon
- 1/4 teaspoon freshly grated nutmeg
- 1/2 cup / 113g cold unsalted butter, cut into cubes
- 1 large egg yolk
Icing:
- 1 large egg white
- 1 1/4 cups / 150 g powdered sugar
- 1/4 teaspoon pure vanilla extract
- 1/8 teaspoon kosher salt
Instructions
To Make the Dough:
- In the bowl of a food processor fitted with a steel S blade, grind the oats to a flour. Add the brown sugar, flour, salt, baking soda, baking powder, cinnamon, and nutmeg and process briefly to blend. Toss in the butter cubes and process until the butter is well incorporated and the dough begins to clump and pull off the sides of the bowl. Add the egg yolk and pulse until the dough comes together with no dry pockets.
- Line a work surface with a large sheet of plastic wrap. Turn out the dough onto the plastic wrap and form it into a log about 10-inches/25cm long and 1 1/2 inches/3.8 in diameter. Wrap the dough tightly. Chill the dough until firm, about 3 hours in the refrigerator.
- Position a rack to the center of the oven and preheat it to 350 degrees F. Line 2 baking sheets with parchment paper. Use a thin, sharp knife to slice the dough log into 2 dozen rounds, each just shy of 1/2-inch/1.25 cm thick. Transfer the rounds, evenly spaced about 2 inches/5cm apart, to the prepared baking sheets. Bake until golden and firm on the edges with a bit of give in the centers, about 12 minutes. Transfer the cookies to a wire rack to cool completely—they will crisp all the way through as they cool.
To Make the Icing:
- In a small bowl, combine the egg white, powdered sugar, vanilla and salt. Mix with a handheld electric mixer until smooth and thick. (Alternatively, you could also do this in a stand-up mixer or in a medium bowl by hand.) Blend in 1 teaspoon of water until smooth. To ice the cookies, working 1 at a time, kiss the tops lightly to the surface of the icing—you want to just show the cookie to the icing, not submerge it.
- Let the excess icing drip off for a moment, and then set the iced cookie on a wire rack. If the icing begins to firm while you’re dipping, loosen it with a few drops of water. Allow the icing to dry completely before serving, about 1 hour.
- Store in an airtight container for up to 1 week.
Notes
Nutrition
Nutrition information is automatically calculated, so should only be used as an approximation.


I really liked these cookies. It was everything I hoped it would be (similar to OG GMA’s). Like another commenter, I had trouble gathering the dough into a log. I added an additional yolk like someone did and that helped so much, though I wish the developer would’ve been a bit more detailed with what the texture was supposed to look like. I kept watching the video for the split second the log was shown. Her’s looks a bit darker and wider than mine did, but I’m glad there was a note that spoke to the small crumbles when cutting the log. I liked the texture on day 1 but it seemed to soften after that. Any suggestions? Was it that double yolk? I will be making these more often as they were too good to make only once a year.
What happens if the dough roll is left in the fridge for a couple of days? Is it still good to use?
Yes should be fine to use up to three days in the fridge!
These are excellent. Better than the store bought ones.
Wanted to give them a 4 5 but it wasn’t an option.
Even cut some a little thicker and they were just as good. Baked them longer.
Was concerned about the raw egg white in the icing. We have our own chickens so didn’t worry as much. Considered using egg whites in a carton since it is pasteurized.
Thank you for the recipe!