
Disclosure: This post may contain affiliate links, which means I may earn a commission if you click on the link and make a purchase.
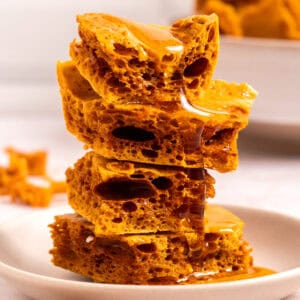
This Honeycomb Candy is one of the most impressive treats you can make with barely any effort! With just a few simple ingredients and 10 minutes, you’ll have gorgeous, golden candy with the most satisfying crunch and delicious honey-toffee flavor. It makes the perfect homespun gift alongside my homemade sugar cubes, tanghulu, and homemade vanilla extract.
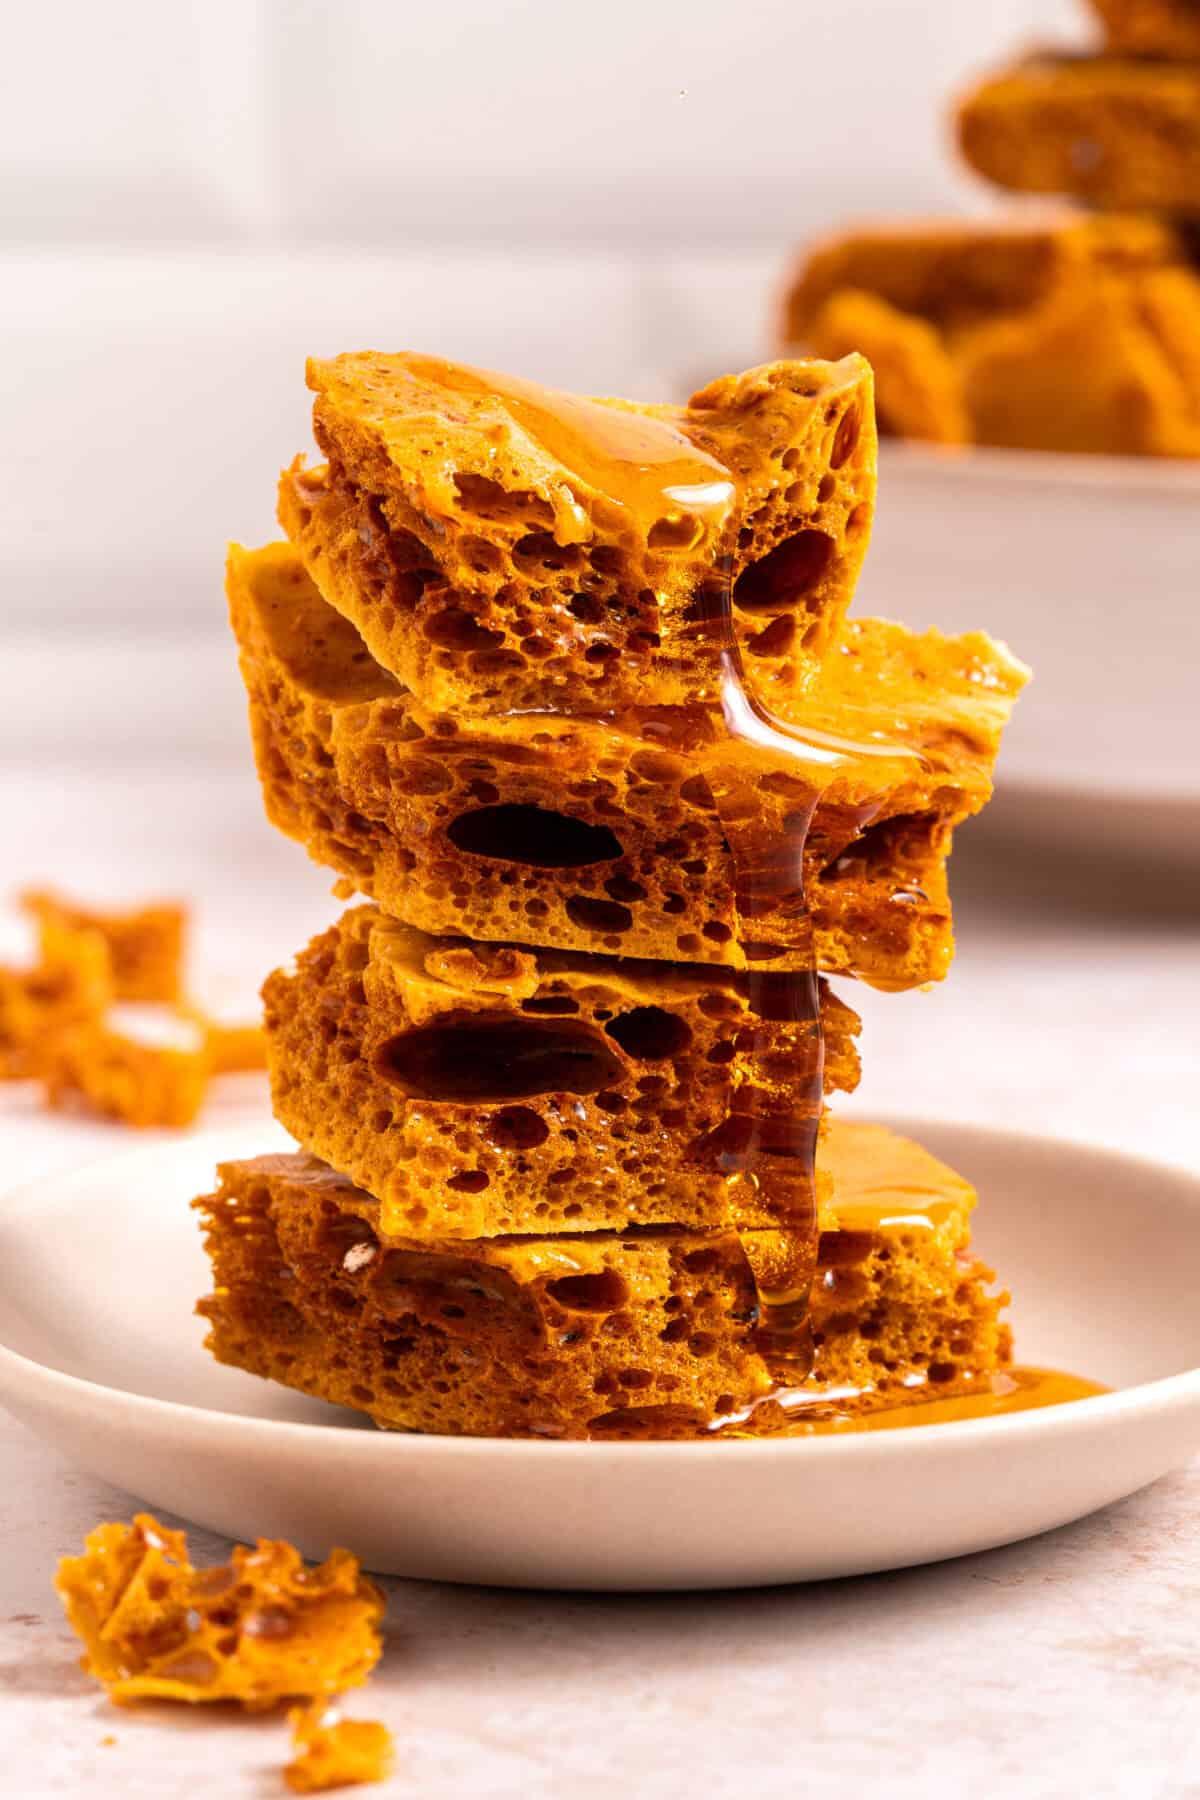
The magic happens when baking soda meets hot caramelized sugar, creating all those beautiful air pockets that look just like real honeycomb. Cook your sugar mixture for a few minutes, stir in the baking soda, pour it onto a baking sheet, and you’re done! It sets in about a minute, then just break it into pieces and enjoy. Try it on top of this Brown Butter Pecan Cake.
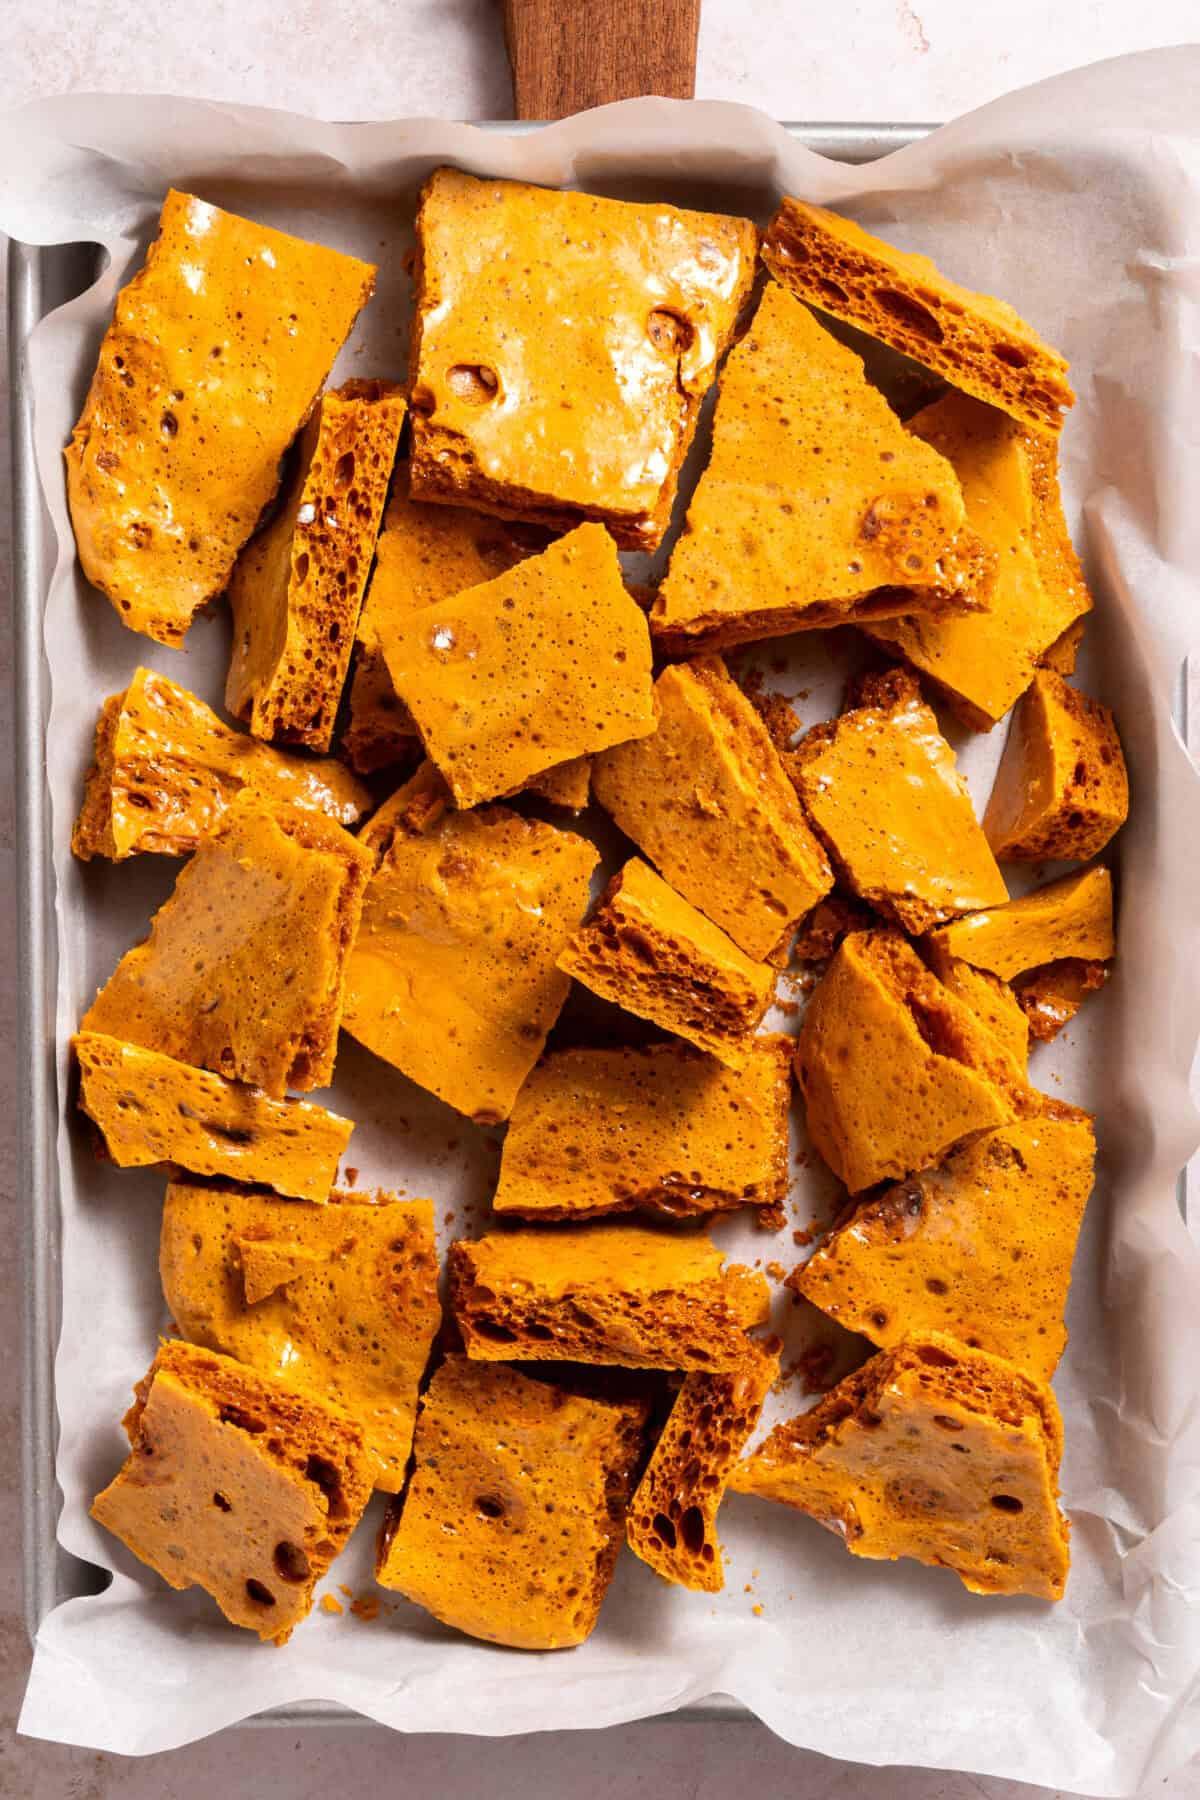
Ingredients and Equipment You’ll Need for Honeycomb Candy
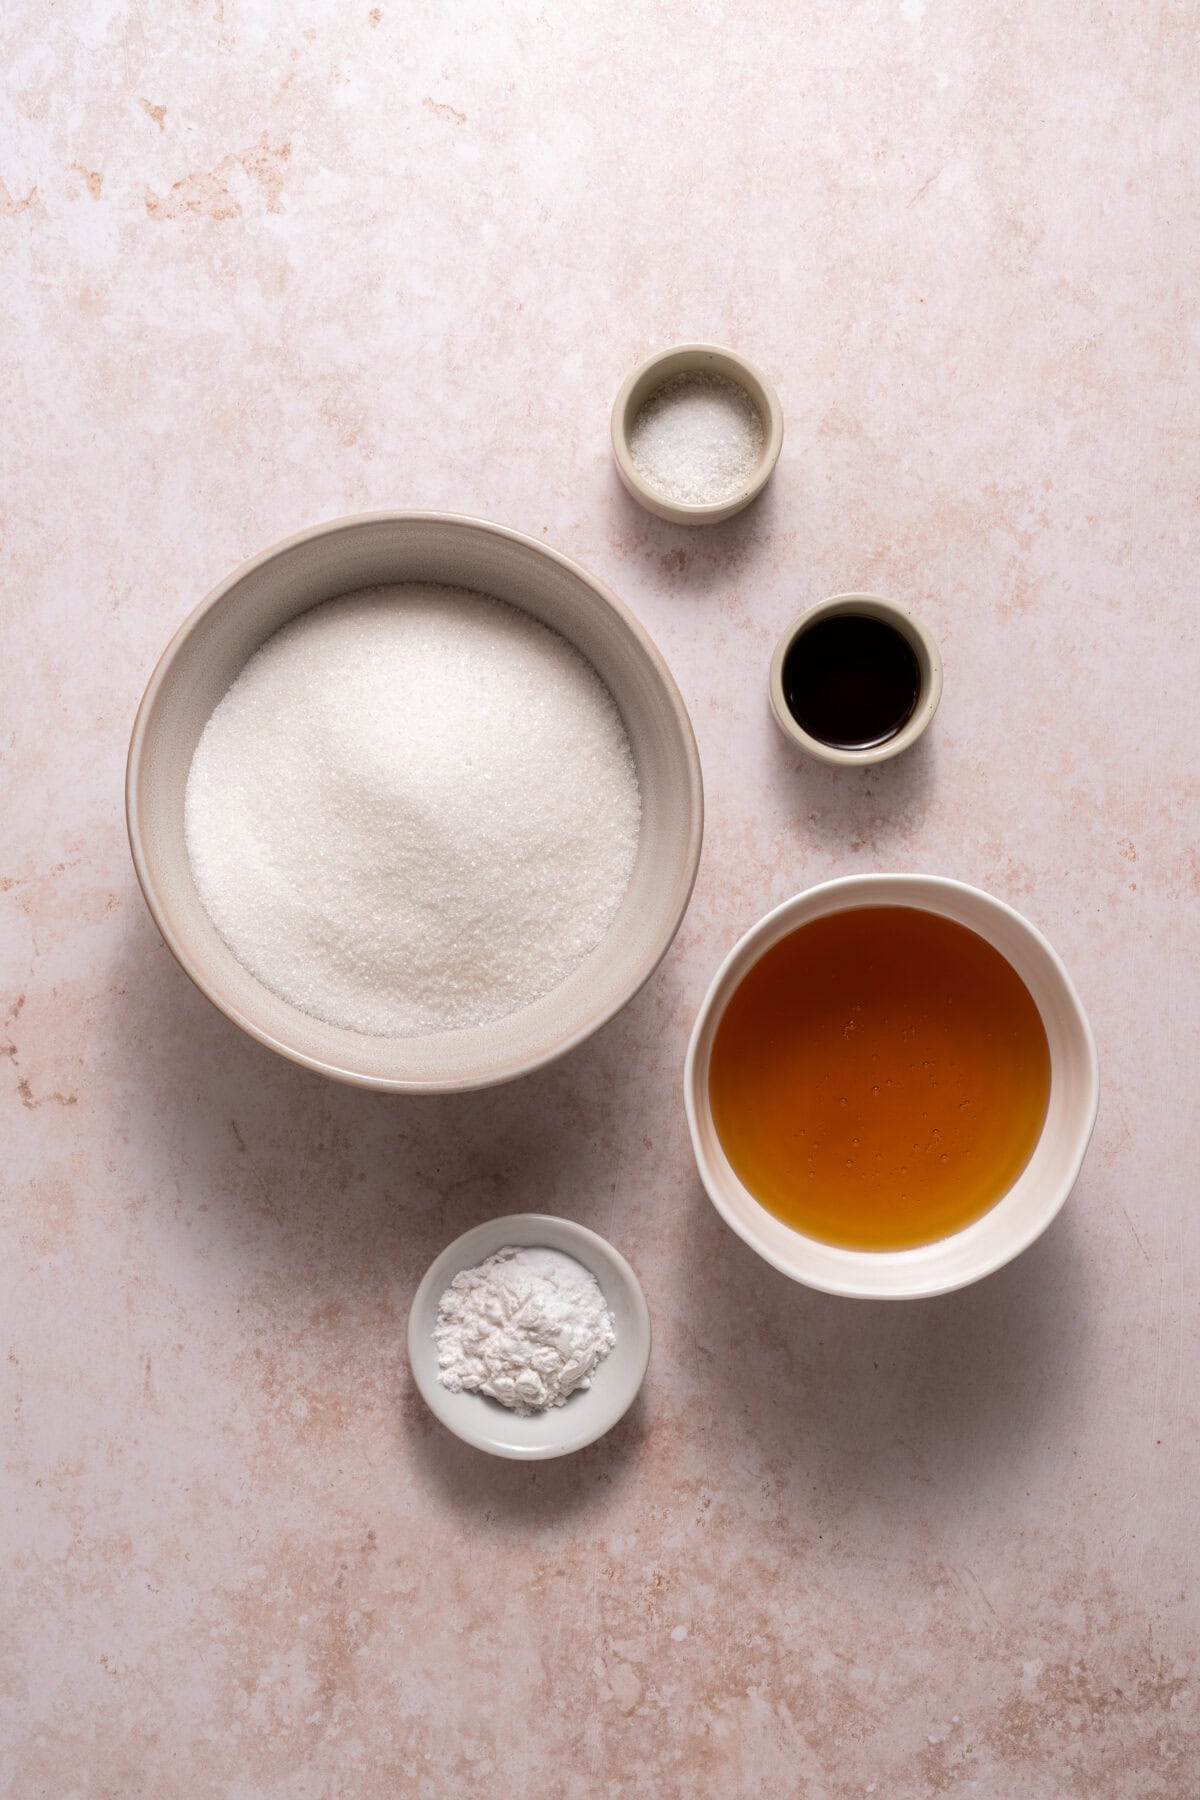
- Granulated sugar – This is critical in adding caramelization to the candy.
- Honey – I used clover honey, but feel free to use wildflower or another flavor you like.
- Baking soda – This gives the honeycomb candy that delicious, fluffy, airy texture.
- Large pot or Dutch oven – I used a 5-quart Dutch oven. When you add everything to the pot, you’ll think it’s a bit silly and it’s way too big, but when the baking soda is added, the whole thing bubbles up quite a bit, so you want that extra space. SAFETY!
- Silicone spatula – I prefer a silicone spatula because the candy doesn’t get stuck to it, and it can easily scrape the candy mixture out of the pot
- Thermometer – I used a digital thermometer, but you can use what you have. We need the candy to reach 295℉ to achieve the right texture.
For the rest of the ingredients, please refer to the recipe index card!
How to Make Honeycomb Candy
- Prep. Sift the baking soda. Line a sheet tray with parchment paper. Have a silicone spatula and thermometer handy.
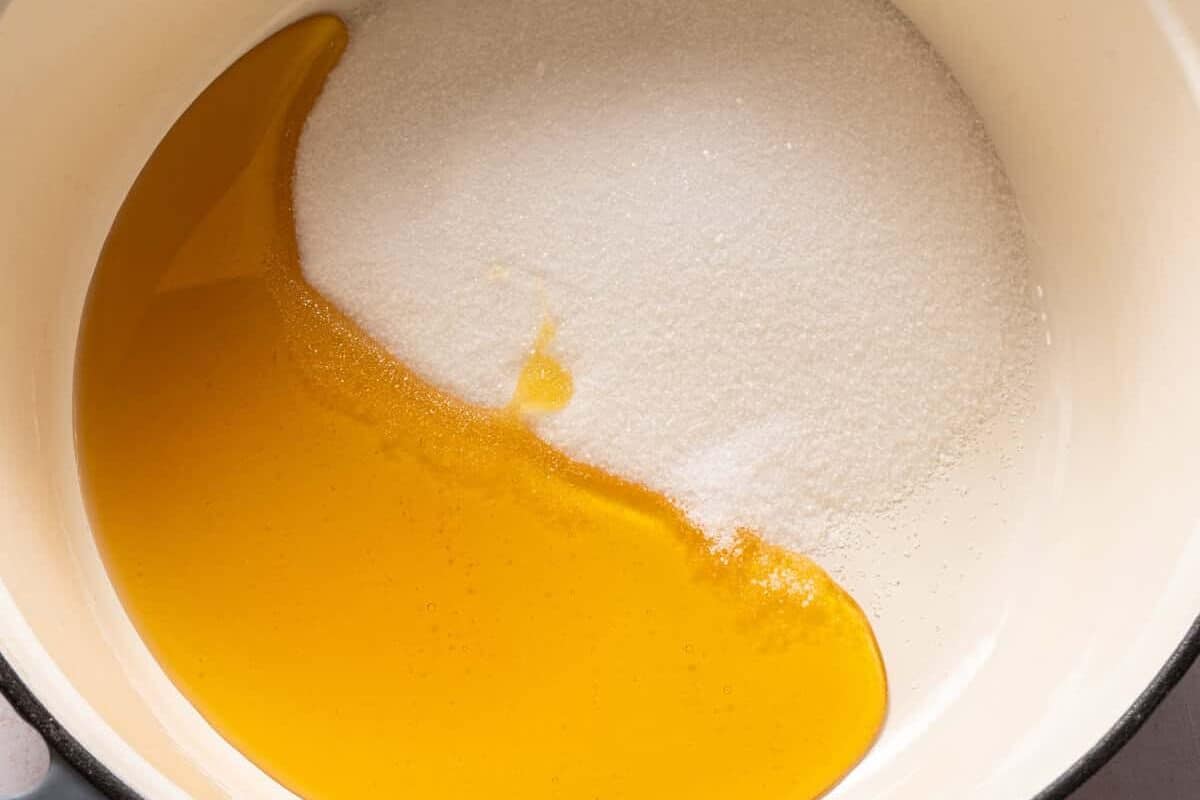
- Add sugar, honey, and salt to a large Dutch oven. Heat mixture to 295℉.
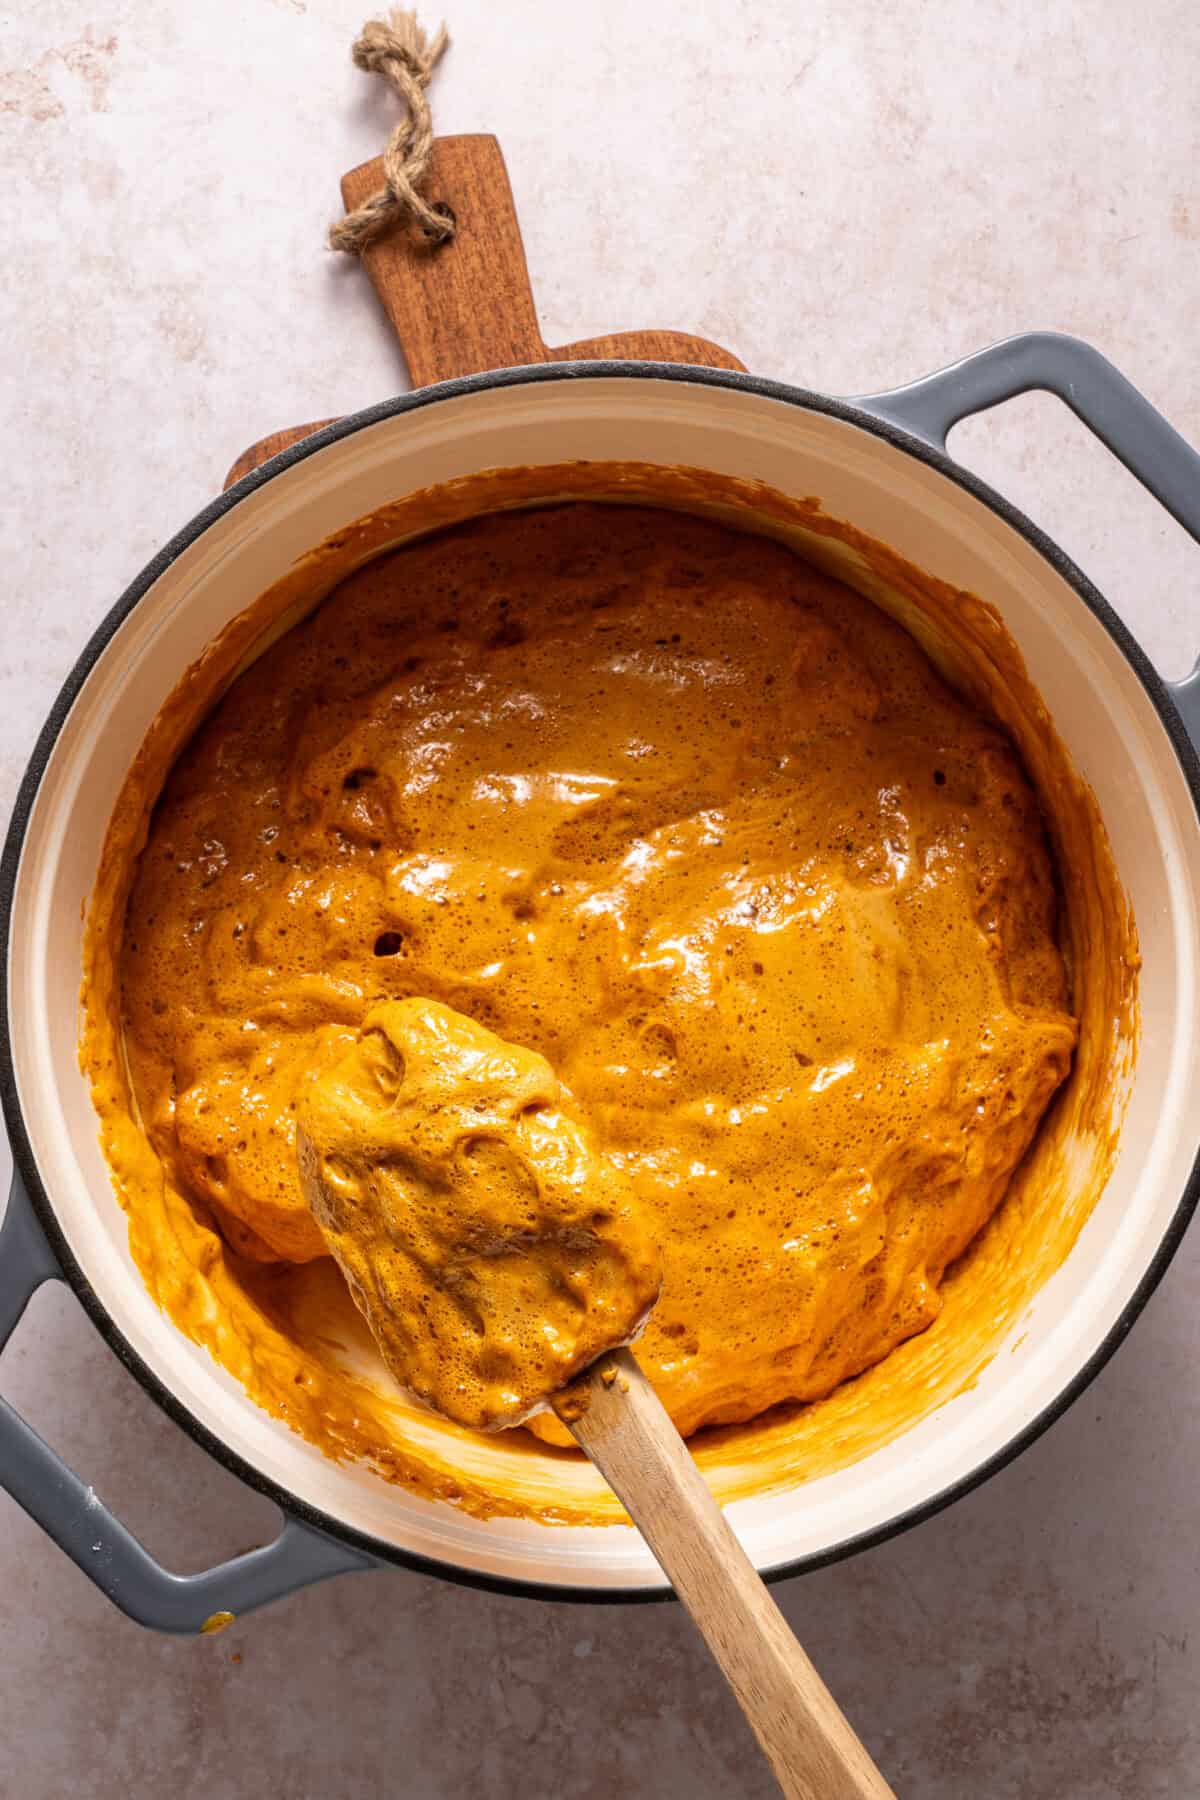
- After mixture has browned, turn off the heat. Add vanilla and baking soda and mix until dissolved.
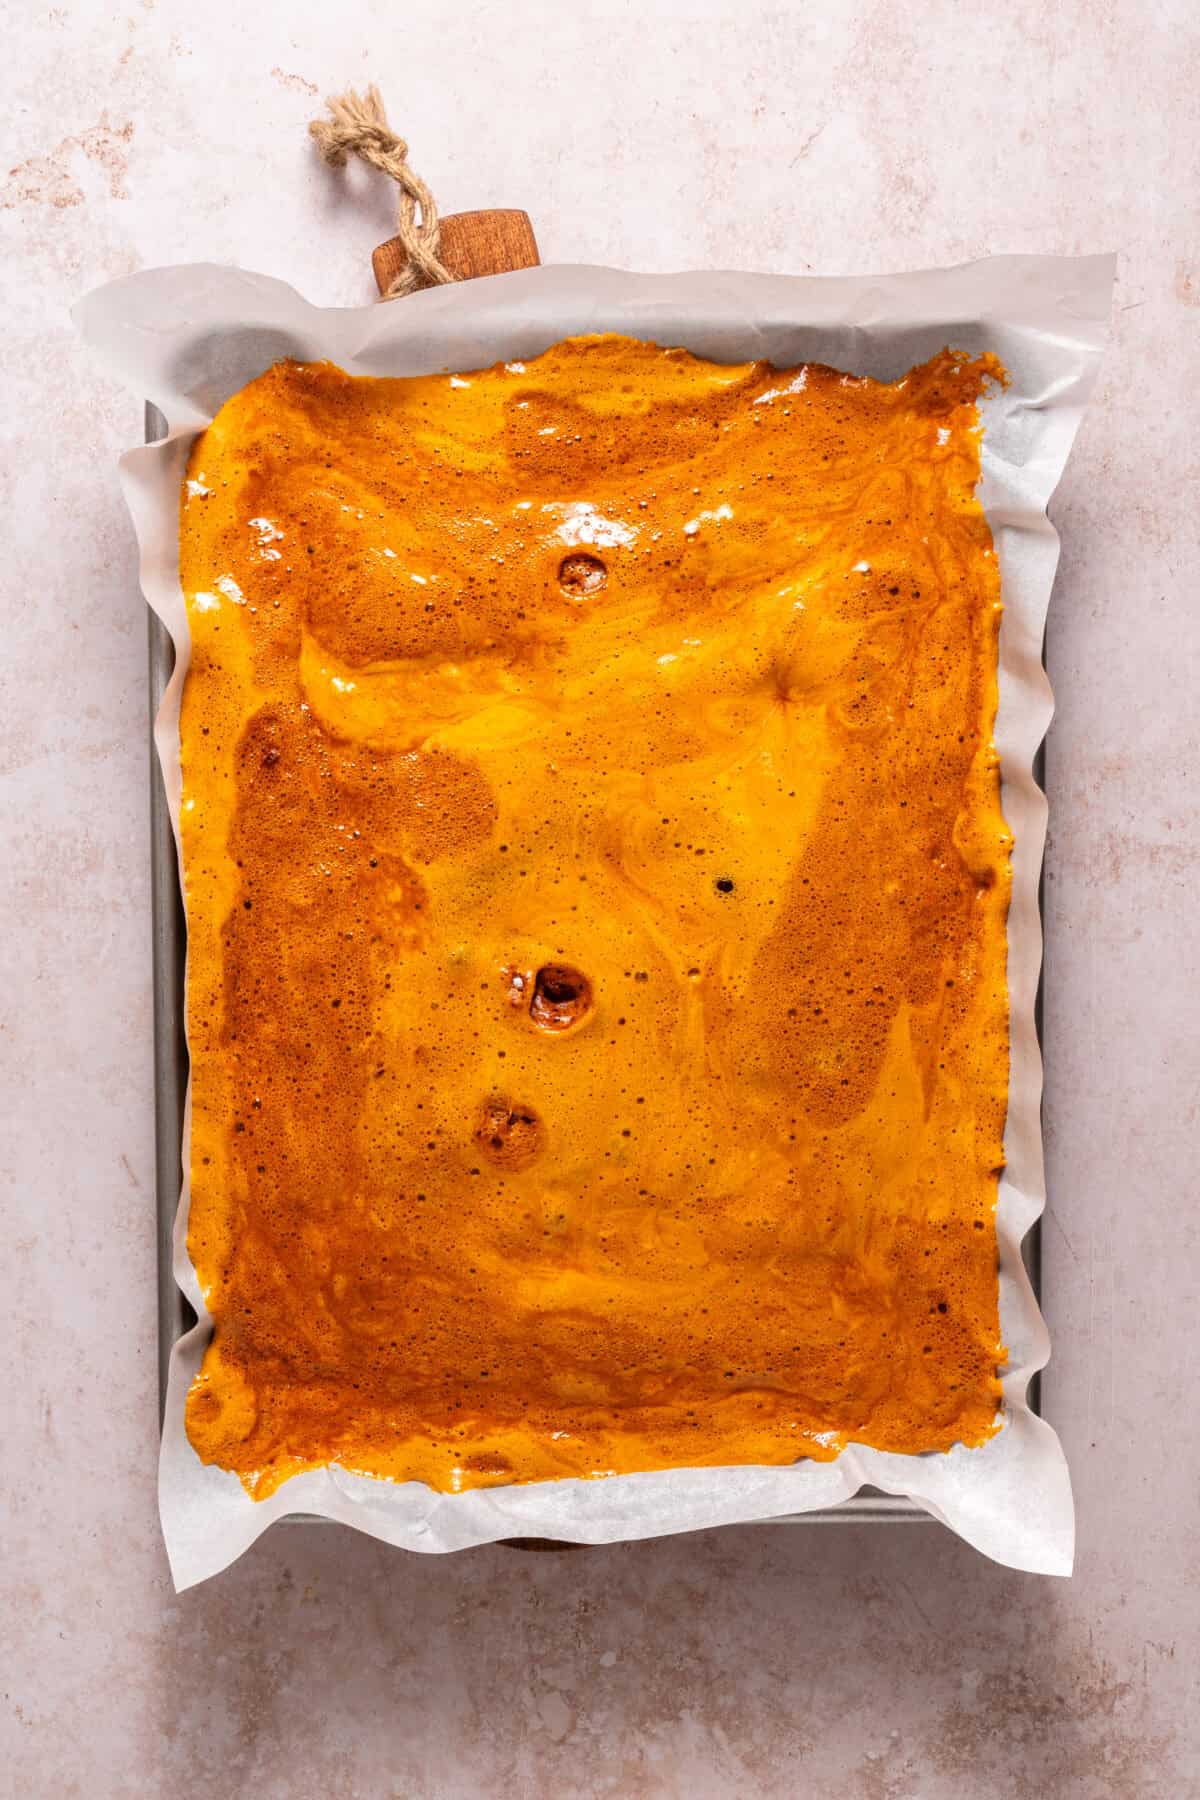
- Pour mixture out onto sheet tray.
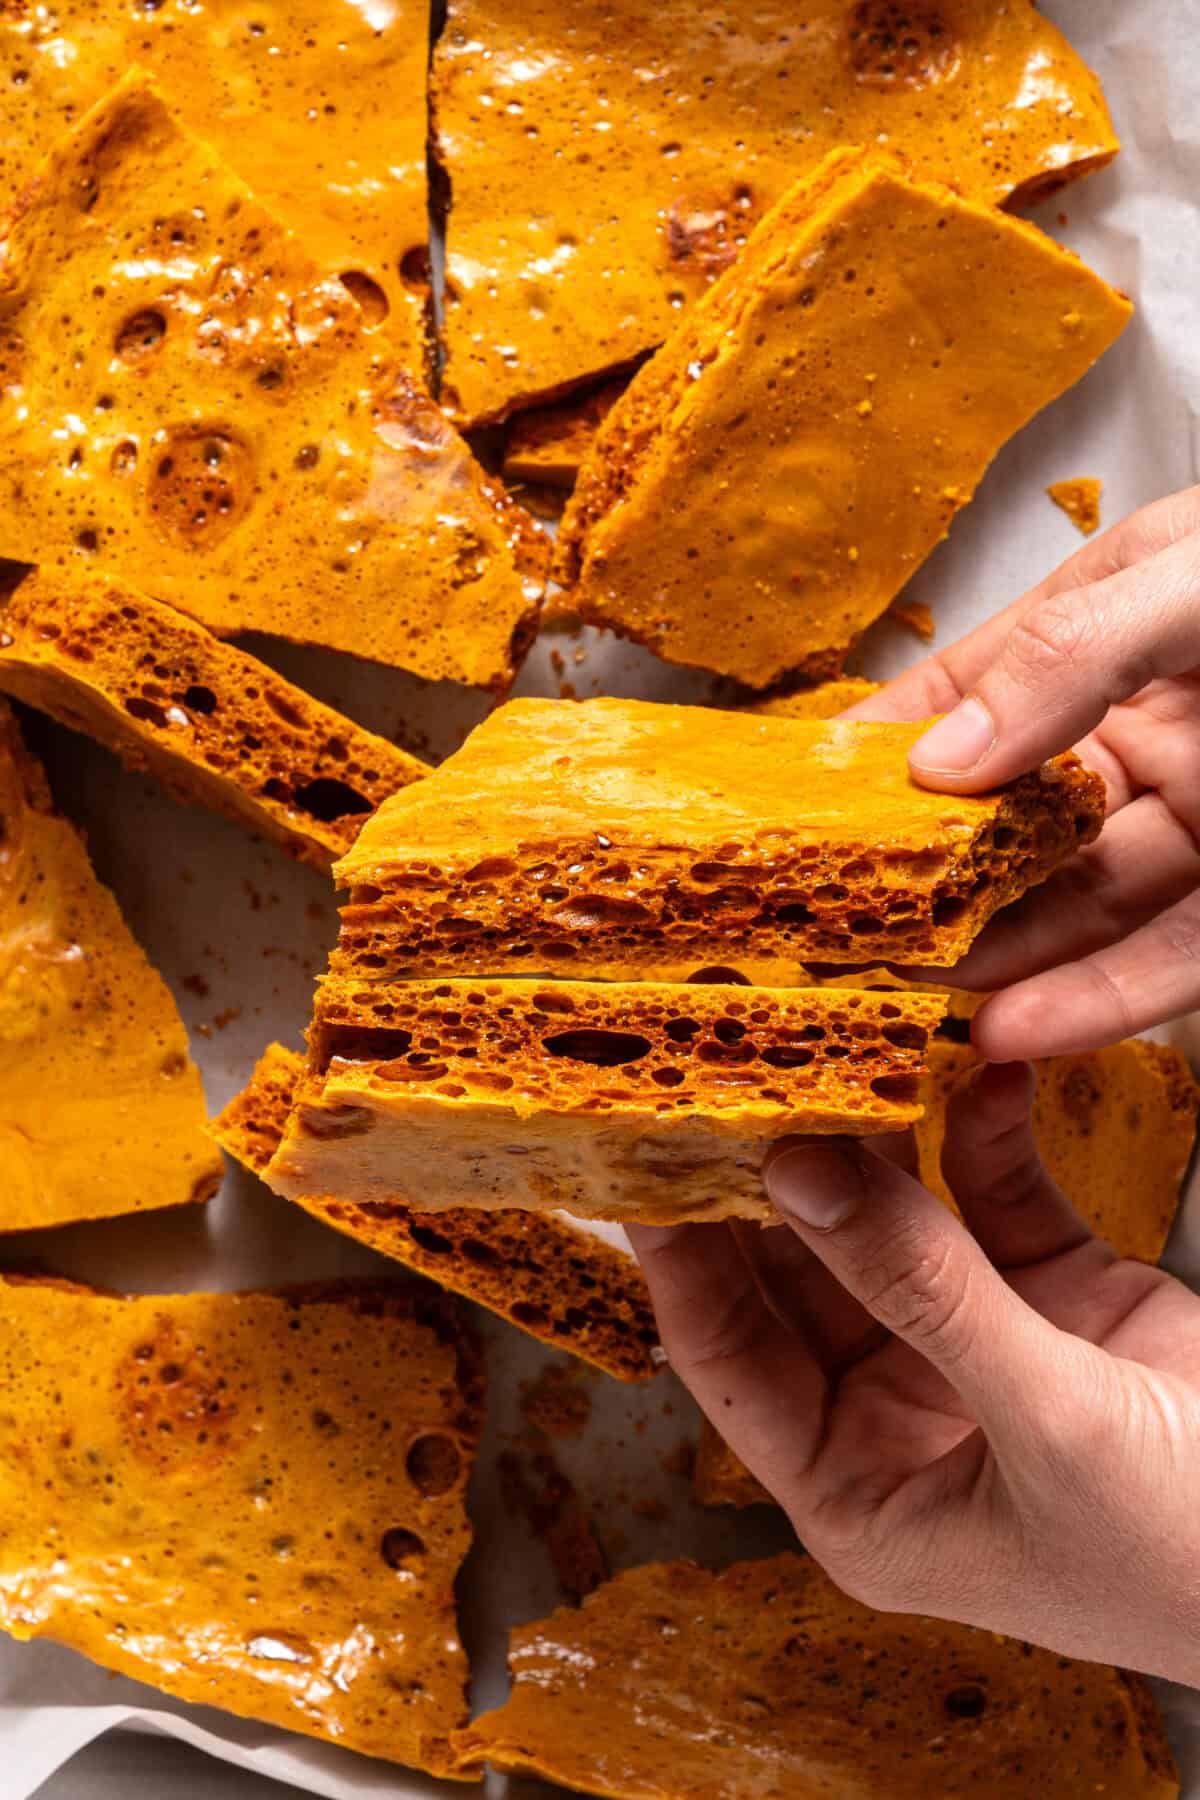
- Let the candy cool and set. Then break the candy apart into desired pieces.
Tips and Tricks
Prep! – It’s important to have all of your ingredients and baking sheet ready. This recipe moves very quickly.
Use a large pot. I used a 5-quart Dutch oven because once you add the baking soda, the candy bubbles up a lot more than you think!
Thickness – I used a half baking sheet. And it was on the thinner side. If you want it thicker, then feel free to use a 8×8 inch baking pan lined with parchment.
Cook the mixture for the full 3 minutes, as chewiness is a result of the mixture not cooking long enough.
Store honeycomb candy in an airtight container. If you live in a very humid place, you might have trouble keeping it crispy for a long period of time.
What to do with Honeycomb Candy?
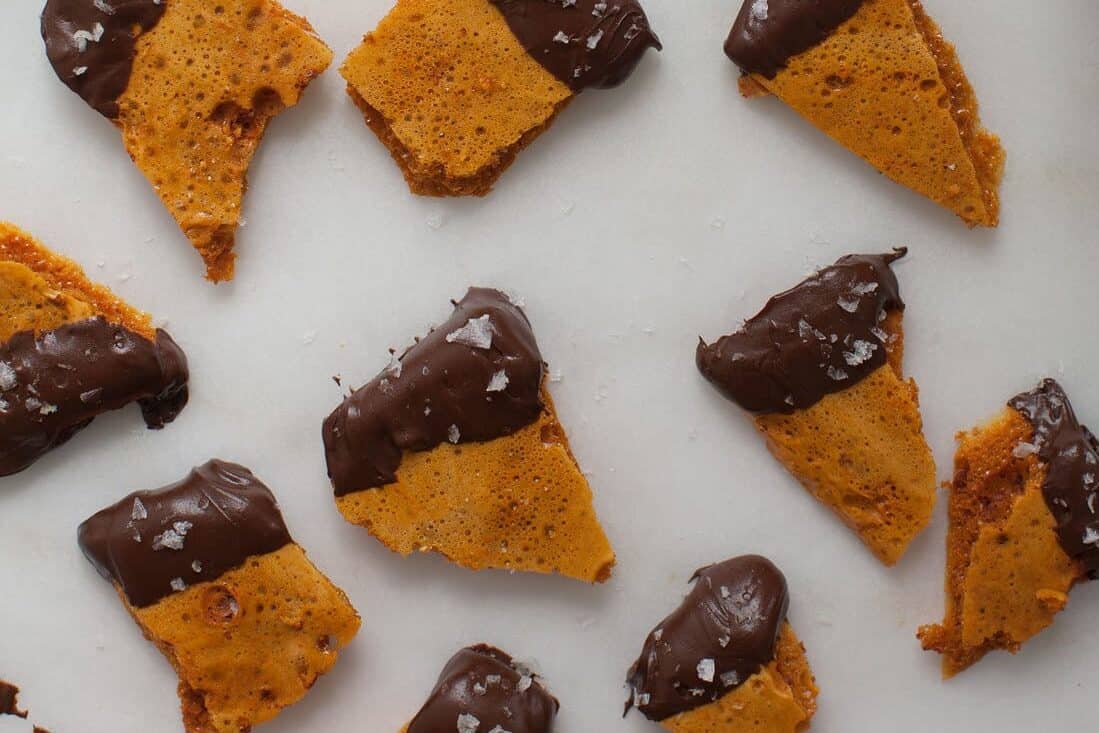
- Chocolate – Dip the broken pieces in chocolate and top with a bit of Maldon sea salt.
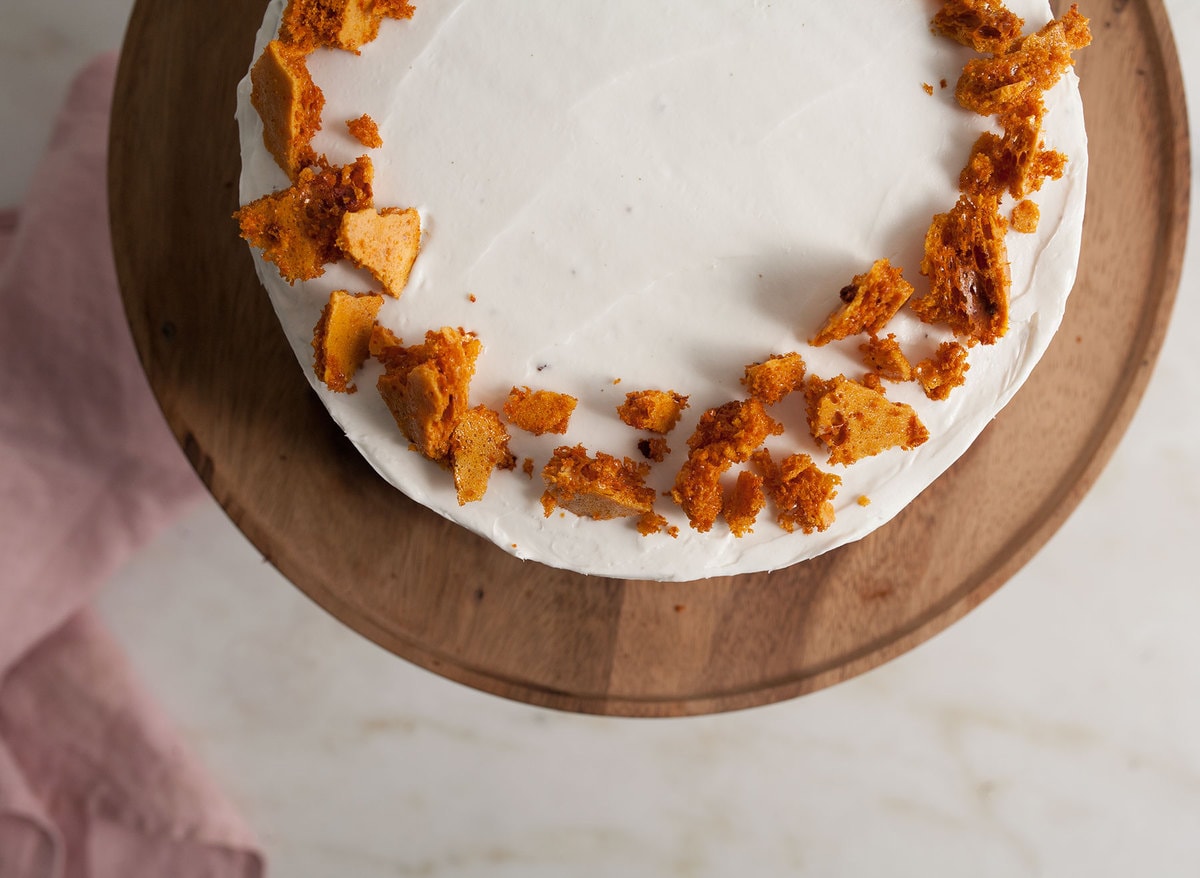
- Cake – Decorate a cake and garnish it with honeycomb shards. Instant drama and beauty.
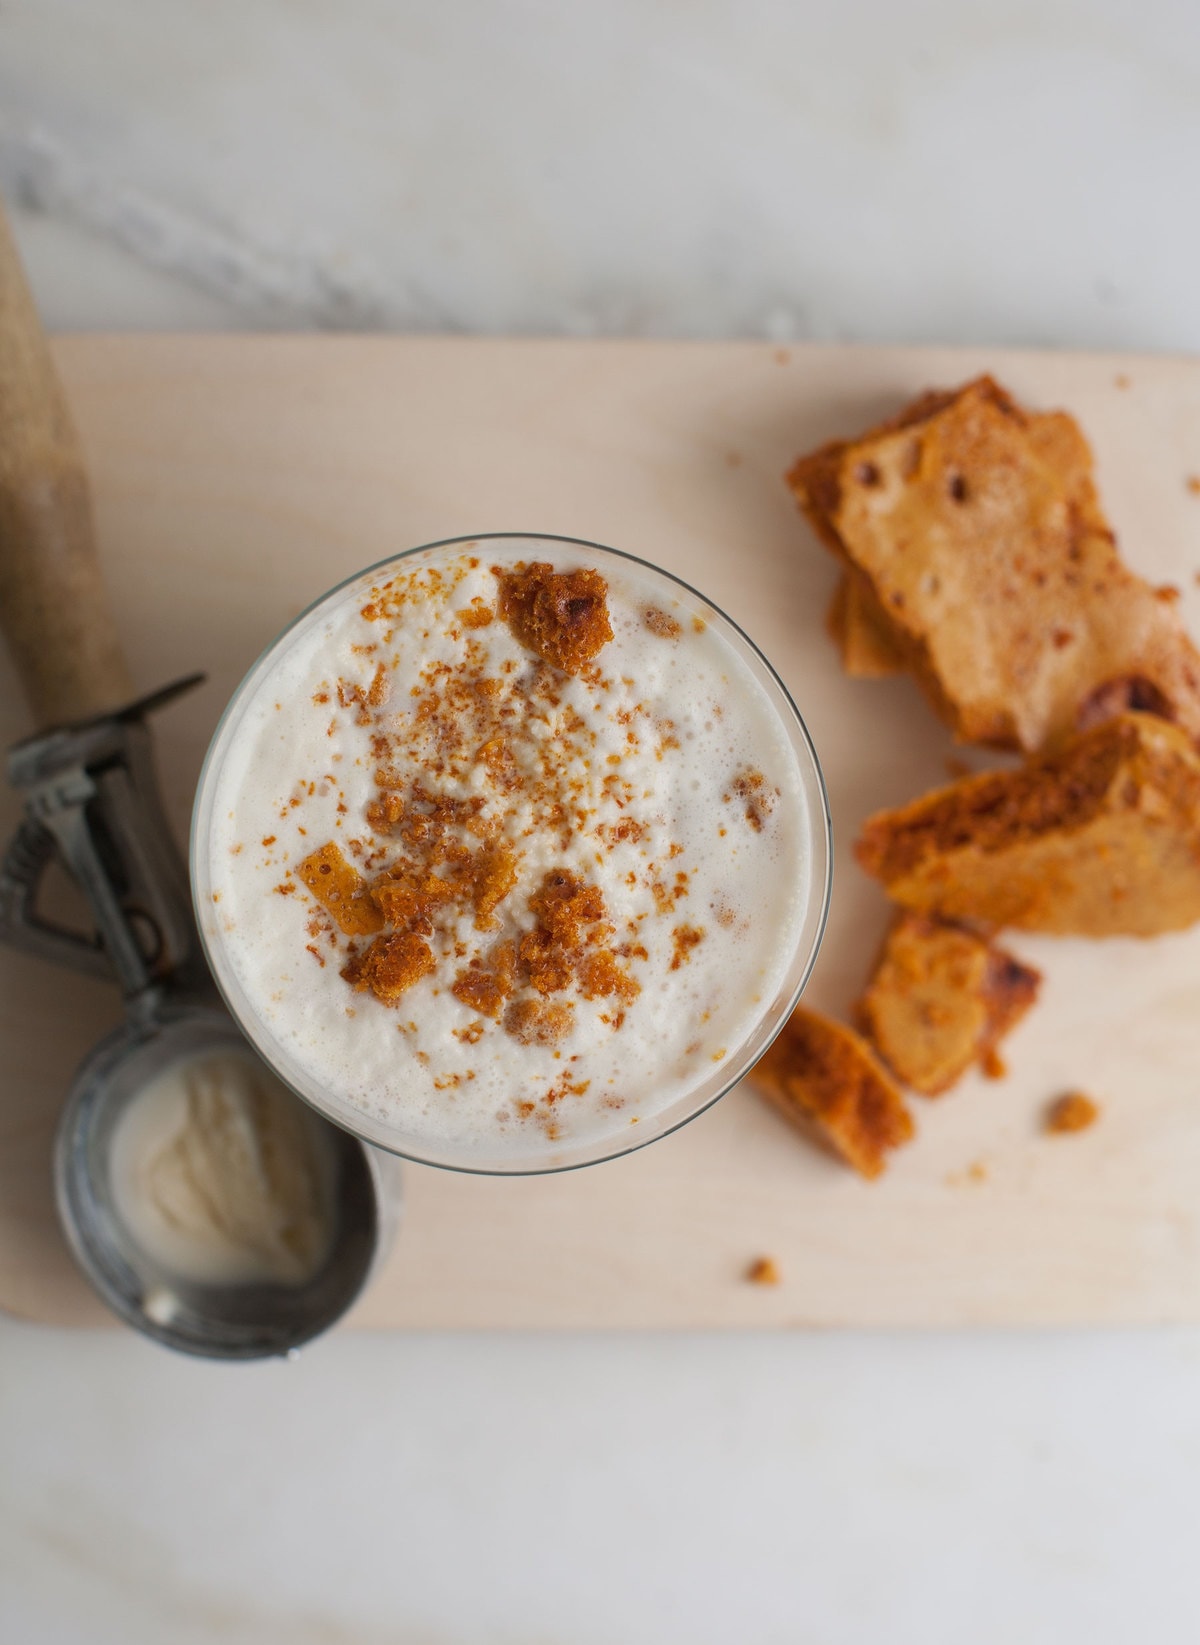
- Milkshake – The best part about milkshakes are the mix-ins which give it a tremendous amount of texture to an otherwise silky smooth dessert. The honeycomb doesn’t get soggy, instead it provides this wonderfully crisp chewy consistency throughout.
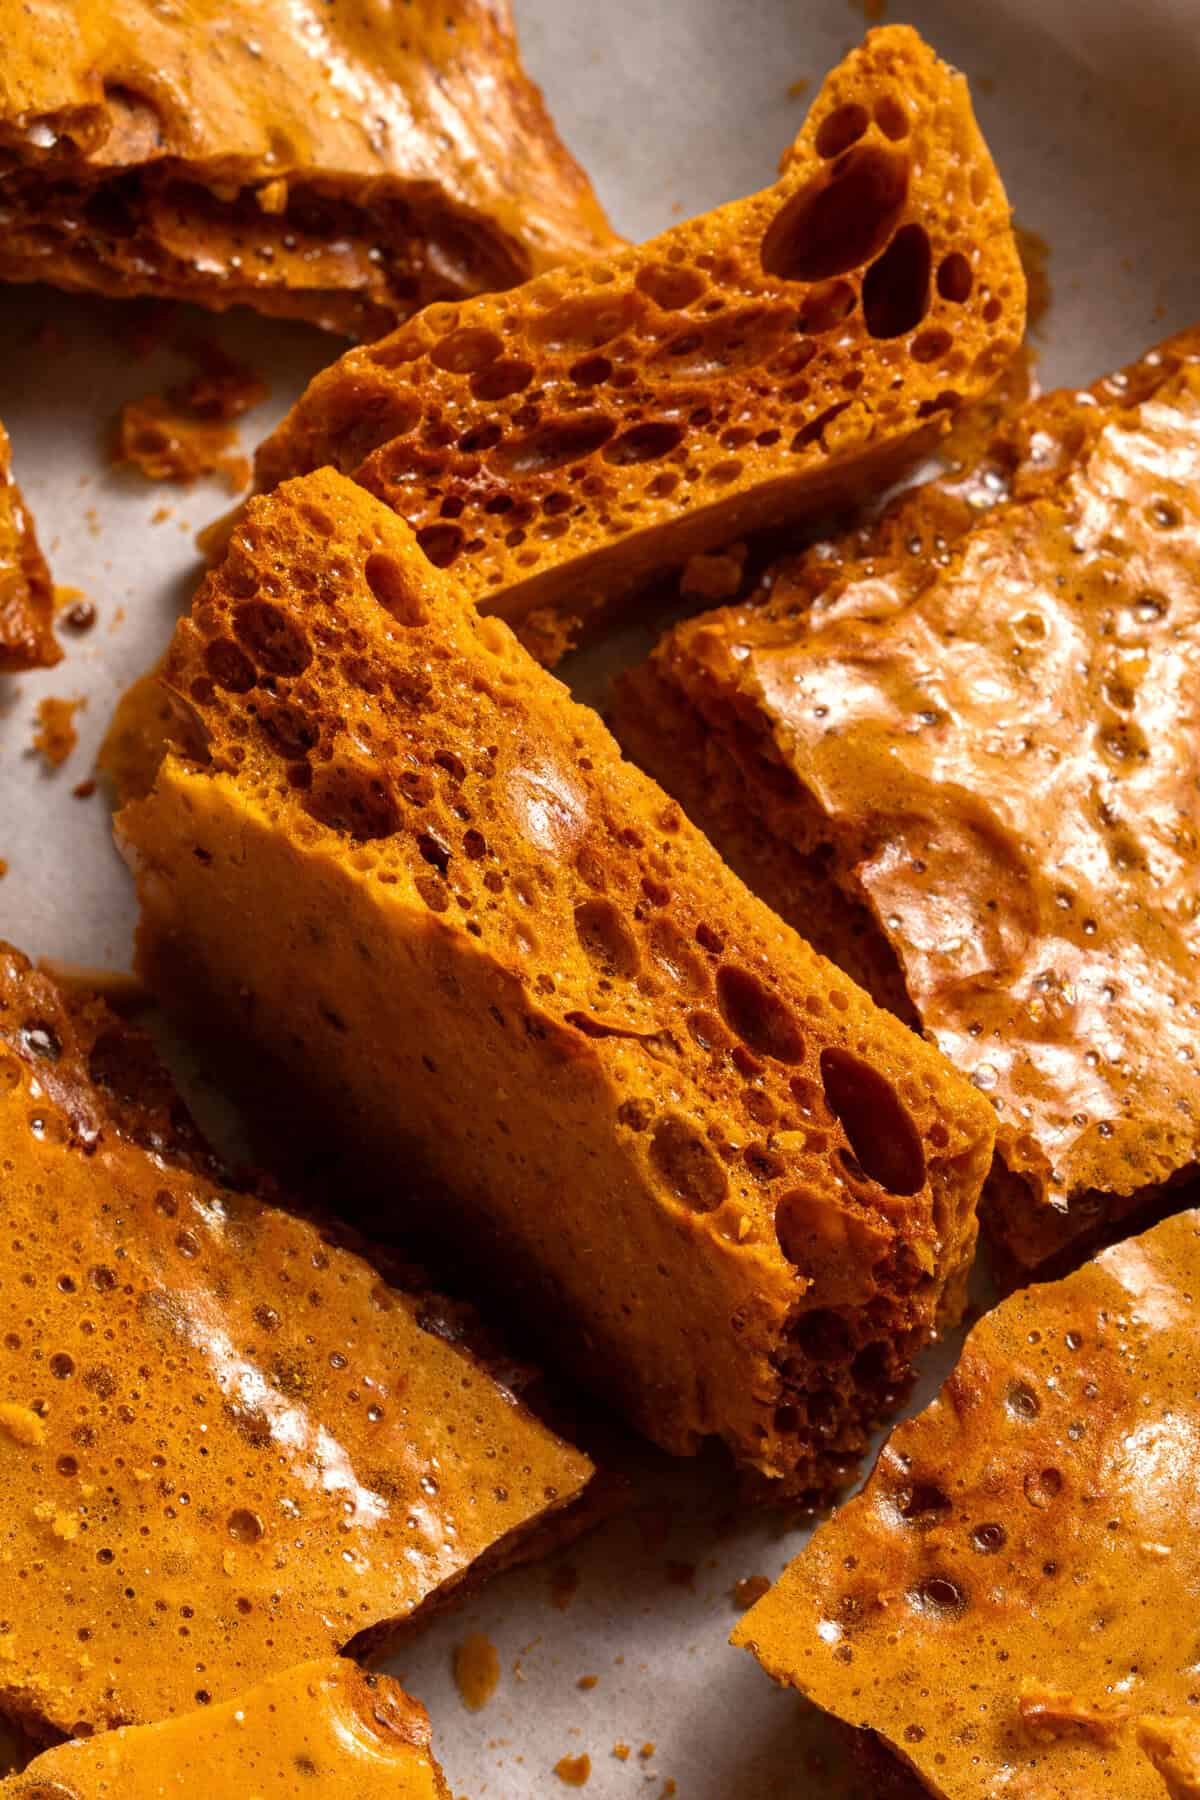
- Gift It! – And of course, you could just enjoy it on its own. Put it in a bag with a lil’ twine on top for a lil’ present. Who wouldn’t want a bag of Honeycomb Candy!
More Honey Desserts
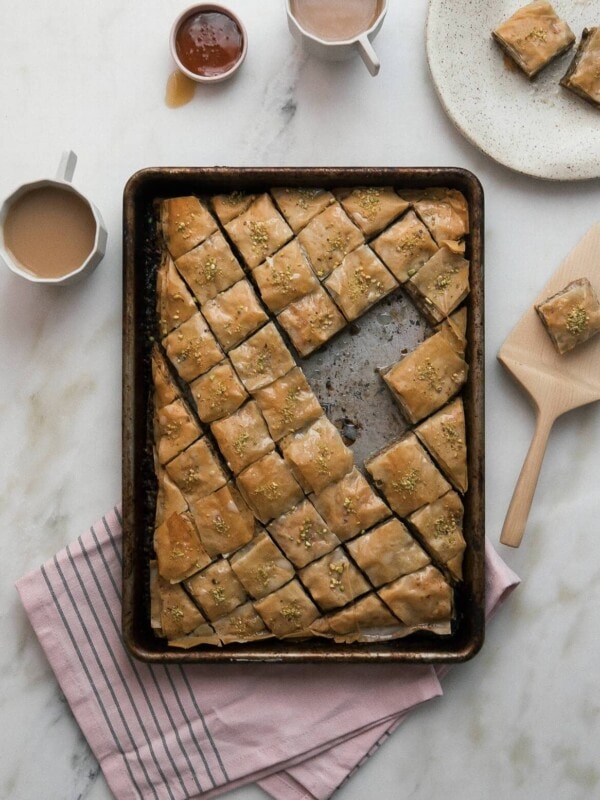

If you tried this Honeycomb Candy or any other recipe on my website, please leave a 🌟 star rating and let me know how it went in the 📝 comments below. Thanks for visiting!
Honeycomb Candy
Equipment
- 1 baking sheet lined in parchment
- 1 (4-quart) pot
- Digital thermometer
Ingredients
- 1 tablespoon baking soda, sifted
- 1 1/4 cups white granulated sugar
- 1/2 cup honey
- Pinch kosher salt
- 1 teaspoon pure vanilla extract
Instructions
- Sifting the baking soda is a crucial step in this recipe because it tends to be clumpy. I like to sift it into a small bowl and have it ready.
- This recipe goes very quickly so gather all of your ingredients and supplies. Line a baking sheet with parchment and have it nearby. A silicon spatula also comes in handy with this recipe.
- In a large pot (I like to use a 5-quart Dutch oven), pour in the sugar, honey and salt. Heat the sugar mixture to 295 degrees F, about 3-5 minutes, stirring it with a silicon spatula to ensure even caramelization. Cook it until it turns an autumn-like brown.
- Turn off the heat and then immediately add mix the vanilla extract and baking soda. The mixture will foam up quite a bit, continue stirring until the baking soda completely dissolves. Quickly pour the honeycomb mixture onto a sheet of parchment. Allow it to cool completely before touching it, about 5 minutes.
- I waited about 5 additional minutes before attempting to break it apart. I really wanted to make sure it was set. Break the honeycomb apart and transfer to an airtight container. Depending on where you live, the moisture can set in and make it a lot less crisp.
Notes
Nutrition
Nutrition information is automatically calculated, so should only be used as an approximation.
This post was originally published on October 15th, 2016. It has been since updated with new information and formatting.








I definitely ended up with a crunchy honey- combed candy but at 295° my candy tastes burnt and has a terrible bitter (baking soda) taste to it. I doubled the recipe so perhaps if making a double batch, maybe you don’t need to double the baking soda?
I get overzealous trying new recipes – and should learn my lesson to start with single batches. Definitely got the crunchy – but bitter and burnt at 295°. Will try again with exact recipe – single batch but any helpful tips would be appreciated.
looked amazing! was crunchy but it was chewy and sticky, i did this recipe without vanilla extract and used a little bit of water to dilute it and boil off
This recipe was so easy and honestly even though I messed up the first batch and it was more like honey taffy it was my mistake and not the instructions. I ended up putting it in the freezer and we break off pieces to put in tea. The second time I got it right. My only suggestion would be changing the cooking time, I used a full baking sheet and it definitely did not cool in the 10 minutes from the instructions. More like 30-40. Other than that, this was perfect
Has great flavor but like other have mentioned this is not crunchy it’s soft sticky. I will use a different recipe next time.
Hmmm…it should end up crunchy!
Tried and it worked a treat! Literally.
The sugar was burnt. It took about around3-4 minutes to come to temp. I’m not sure what temperature I was supposed to heat it at as the directions did not say. I’m bummed it didn’t work out. Maybe that addition could help future attempts.
I am not sure what I did wrong, mine was super chewy and sticky, not crunchy at all.
I made mine using raw honey (it’s what I had, and I wasn’t running back out to the store), and it came out perfectly! Thank you! It was such a big hit.
I’m not sure what I did wrong (possibly added a smidge too much of the vanilla maybe) but mine isn’t getting crunchy at all..
the recipe was so good but it did not get crunchy so im going to try again. thank you!