Strawberry Chocolate Checkered Cookies

18
Updated Dec 24, 2025, Published Apr 04, 2016
Disclosure: This post may contain affiliate links, which means I may earn a commission if you click on the link and make a purchase.
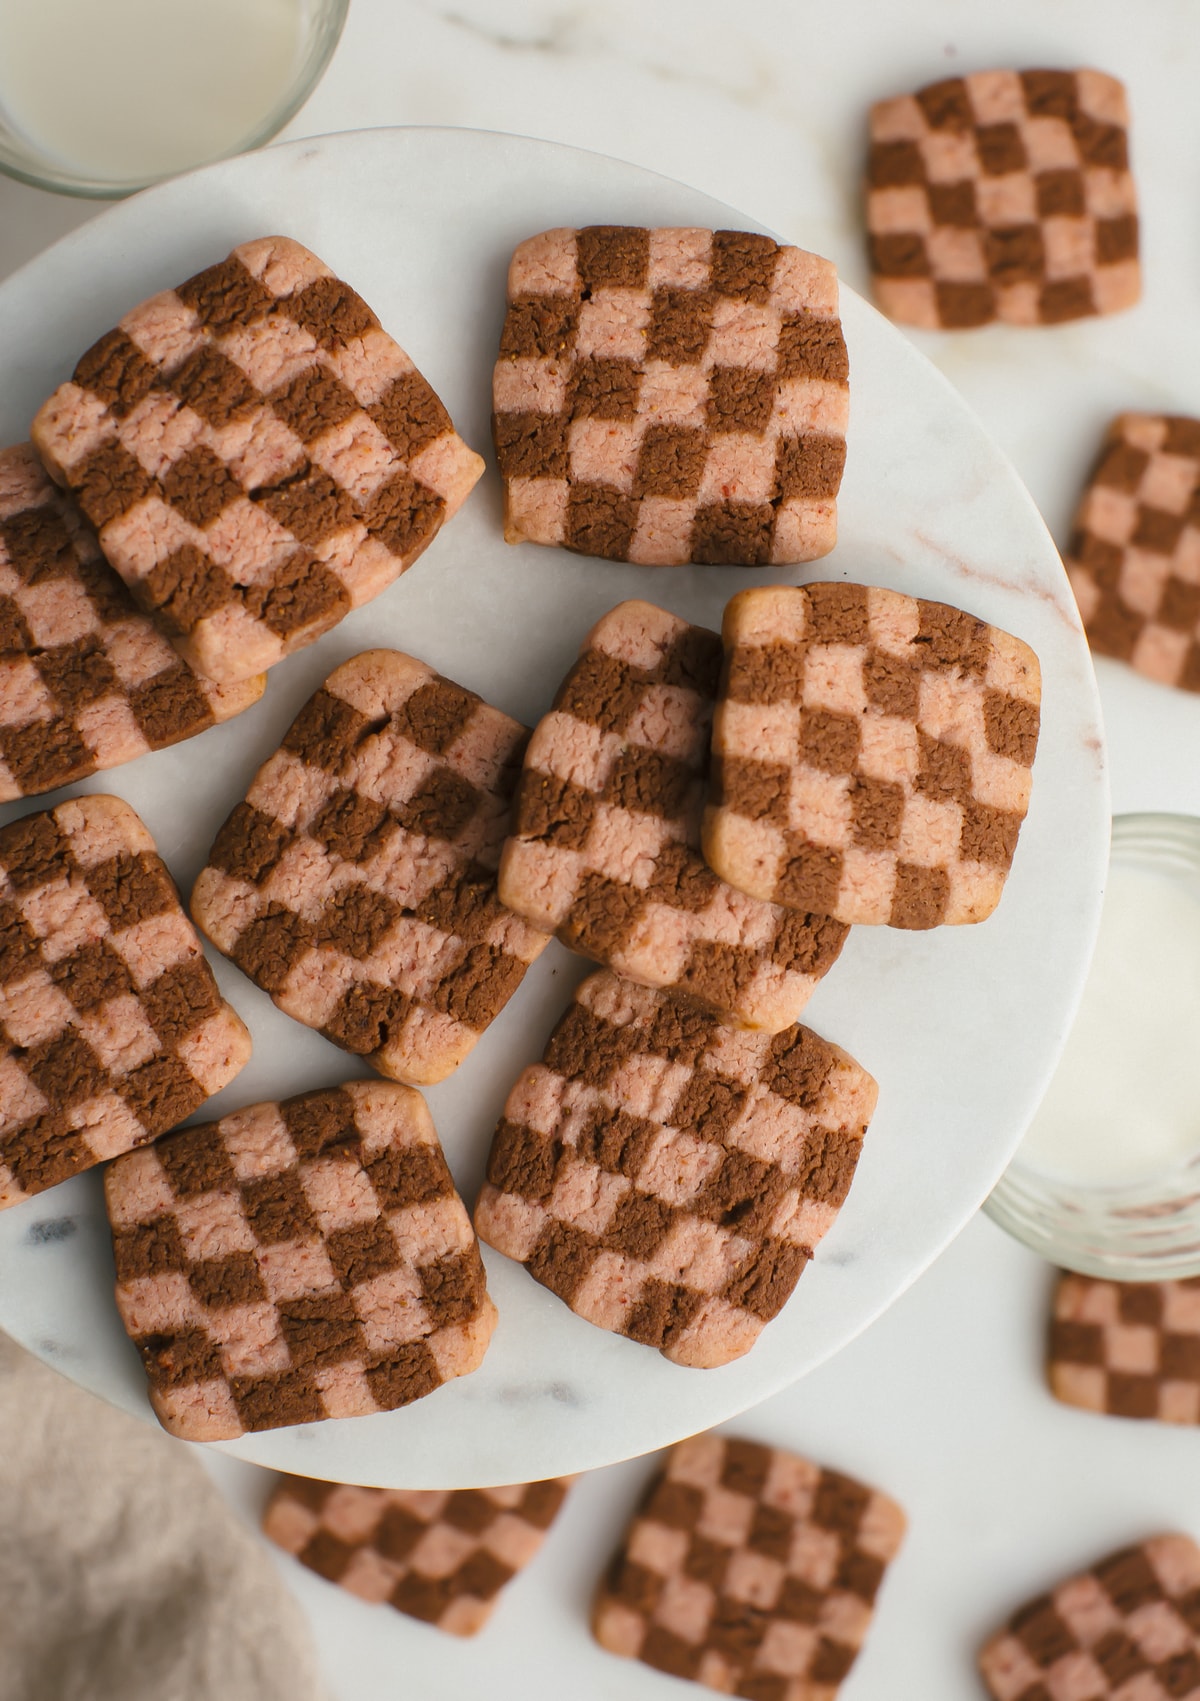
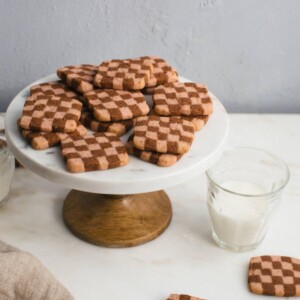
These strawberry chocolate checkered cookies are buttery, crisp, and perfectly tender. The dough comes together in minutes, and yes, the assembly is a bit of a project, but it’s actually pretty fun! Plus, they’re so adorable that every extra minute is completely worth it. Serve these up with a matcha latte.
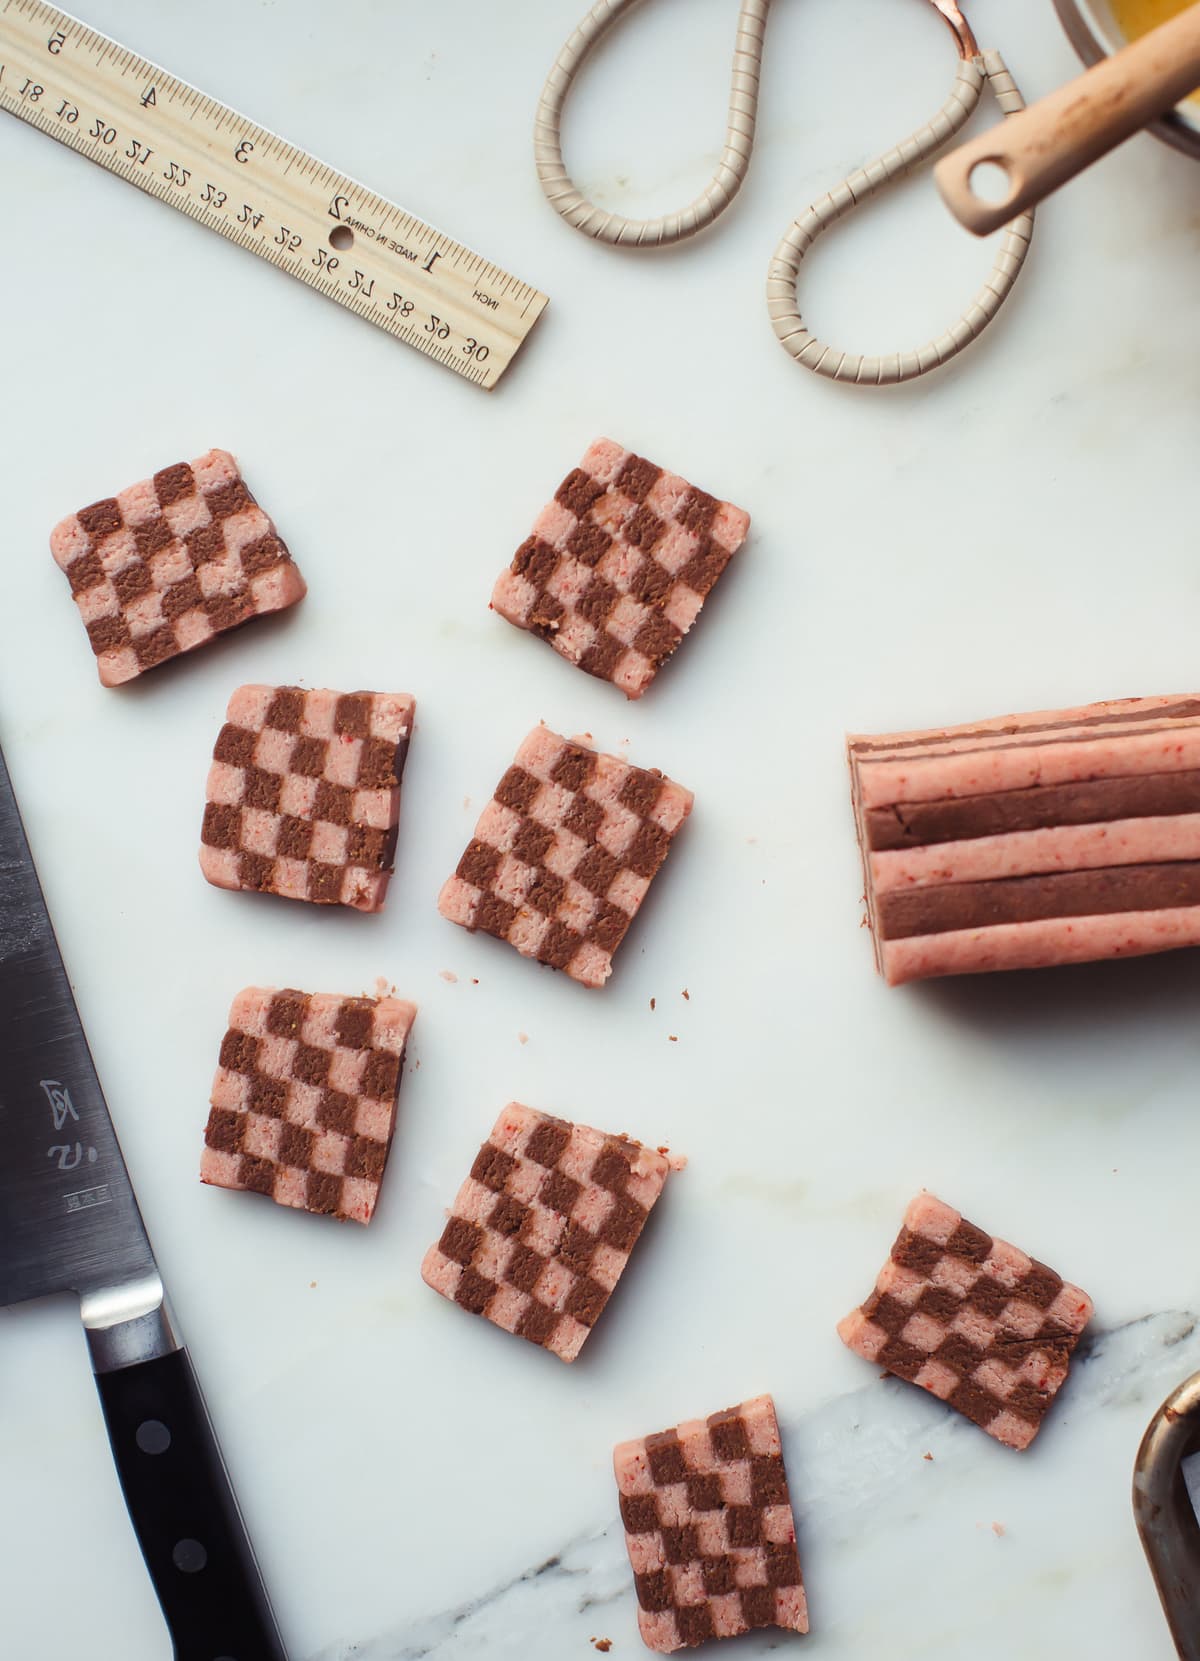
What I love about this recipe is how easily the dough comes together. You make one dough, split it in half, and then add cocoa powder to one half. The assembly is a labor of love, but the result is a stunning and delicious cookie that tastes like a chocolate-covered strawberry. They’re absolutely perfect for a homemade Valentine’s Day gift or to elevate your holiday cookie box! And if you’ve got freeze-dried strawberries left over, definitely check out my strawberry and cream cookies, strawberry rolls, and mini strawberry cake.
Ingredients You’ll Need for Strawberry Chocolate Checkered Cookies
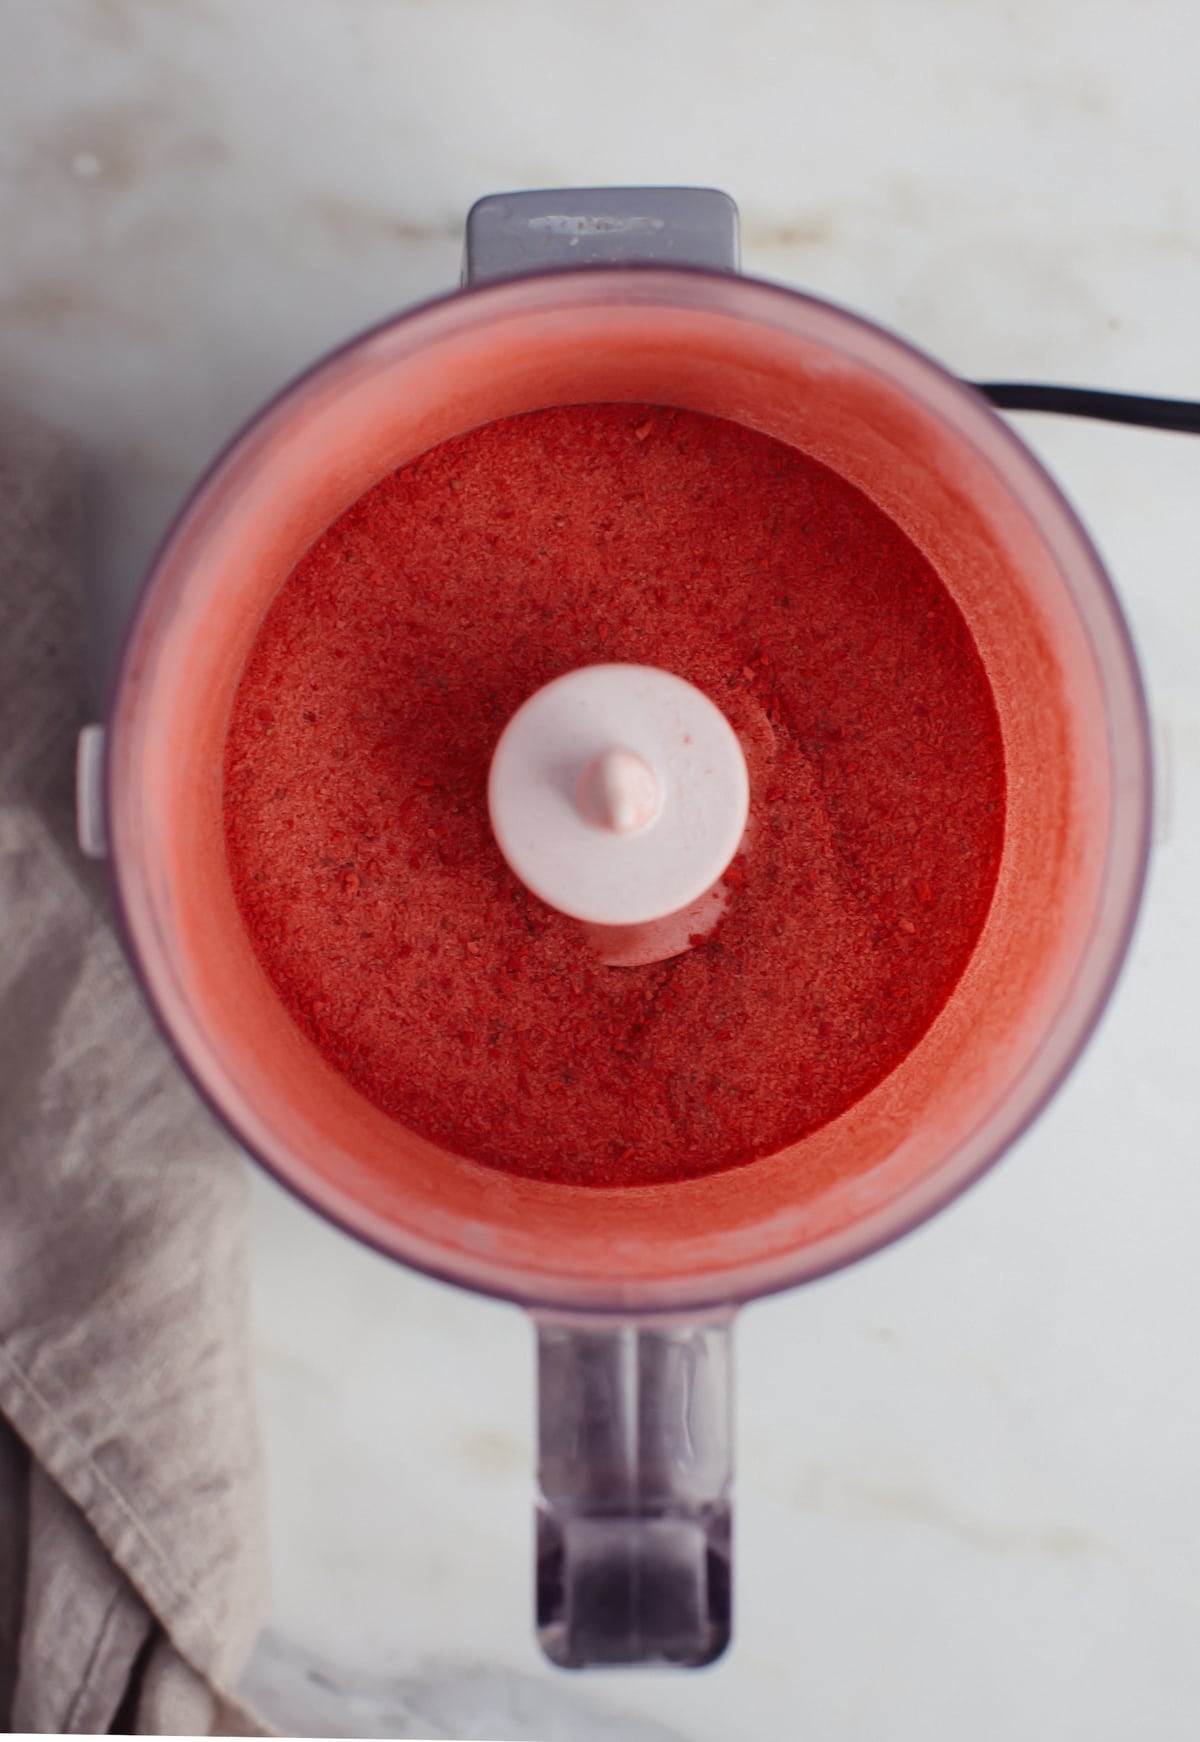
- White Sugar – Sweetens the cookies and helps them get those crisp, delicate edges.
- Freeze-Dried Strawberries – This is where all the deep fruity strawberry flavor comes from without adding any extra moisture to the dough.
- Butter – Makes these cookies super buttery and rich. It also helps create that melt-in-your-mouth, tender texture.
- AP Flour – The structure! Flour holds everything together and gives the cookies that classic shortbread-style texture.
- Unsweetened cocoa powder – This turns half the dough chocolate-y for that super cute checkered pattern.
- Egg – The yolk add moisture to the dough, while the egg white is the glue between the layers! Each layer gets brushed with egg white to help them stick together during assembly.
For the rest of the ingredients, please refer to the recipe index card below!
How to Assemble Strawberry Chocolate Checkered Cookies
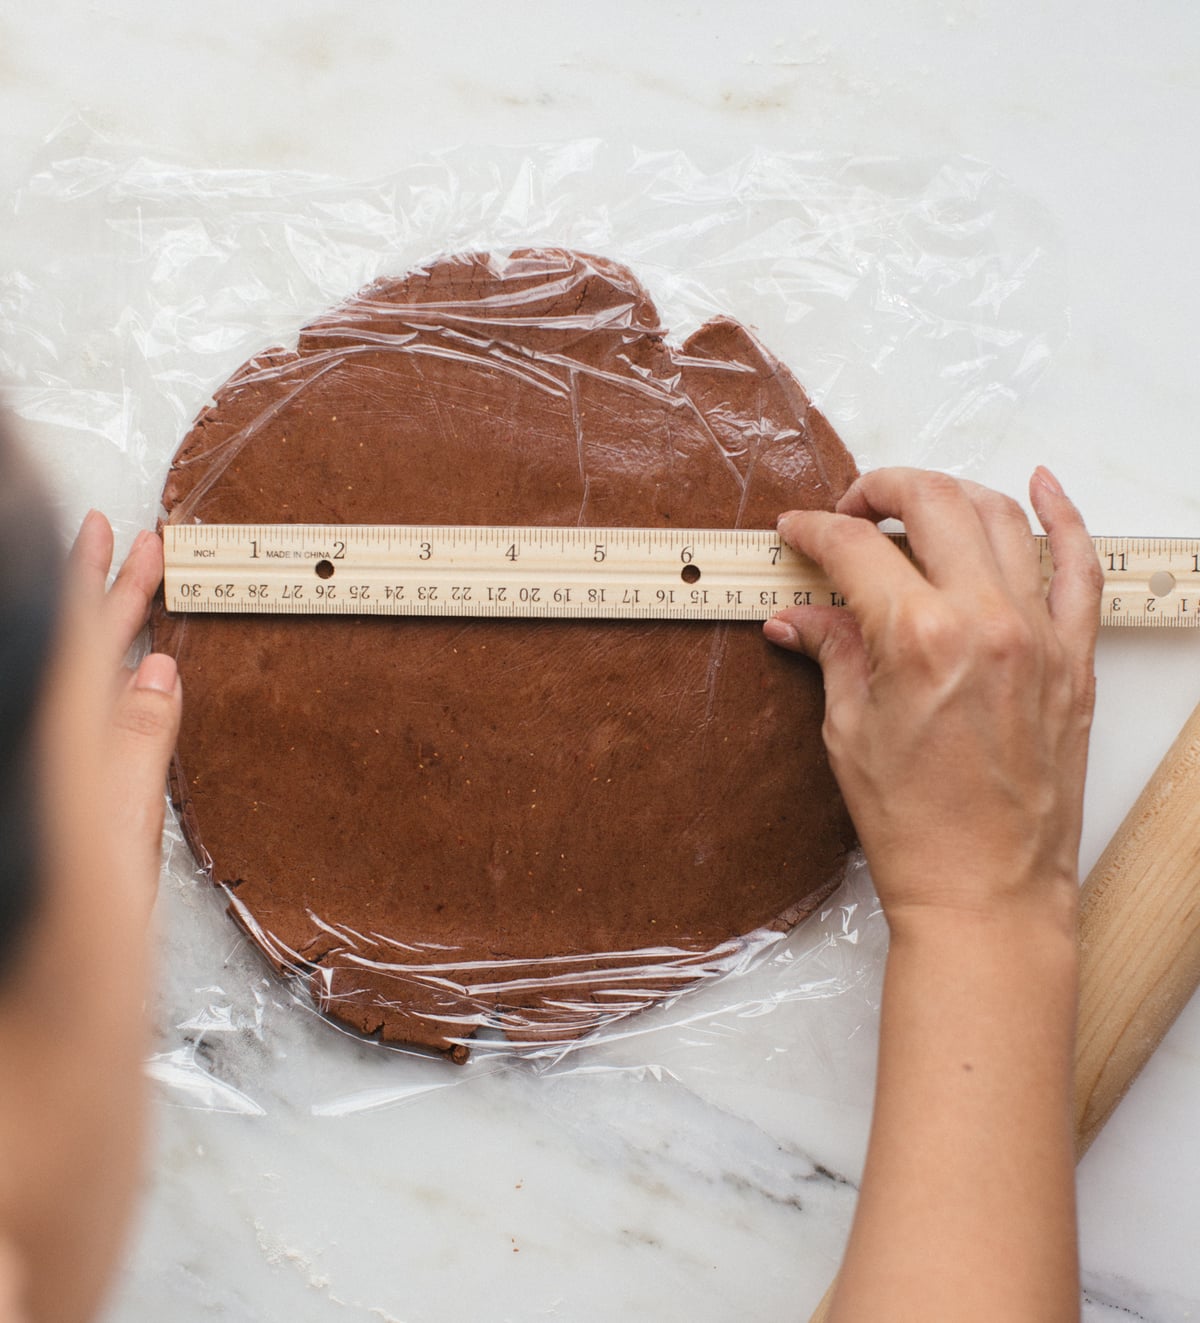
- Roll out each dough so it’s a 7-inch square that’s 1/2-inch thick.
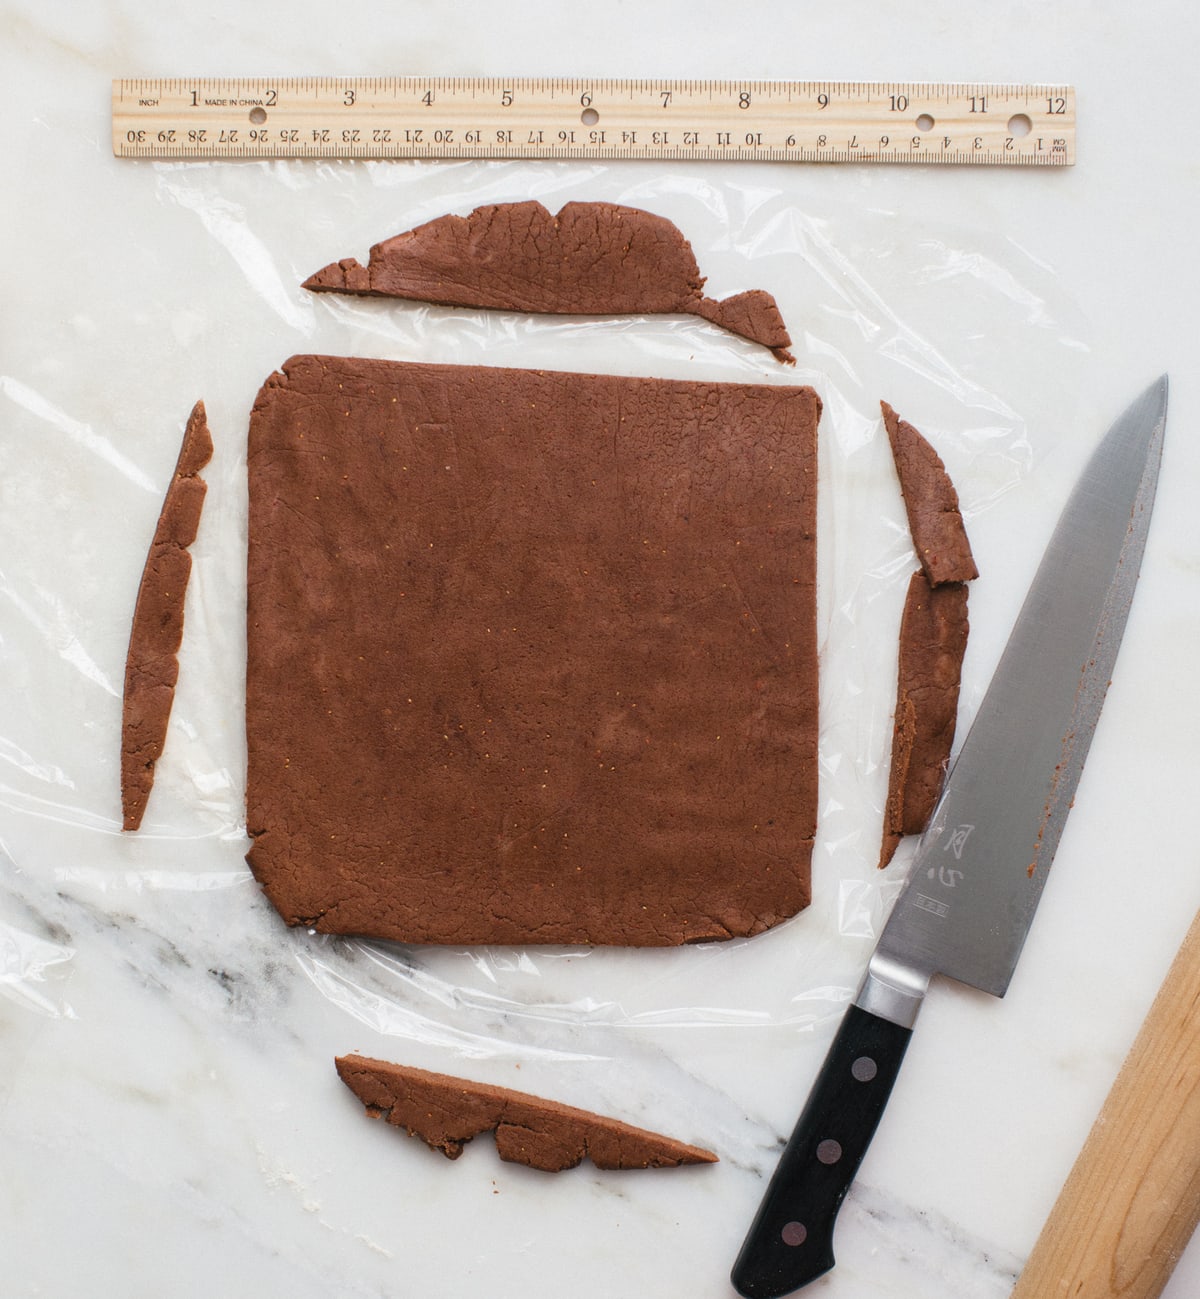
- Trim off any excess cookie dough.
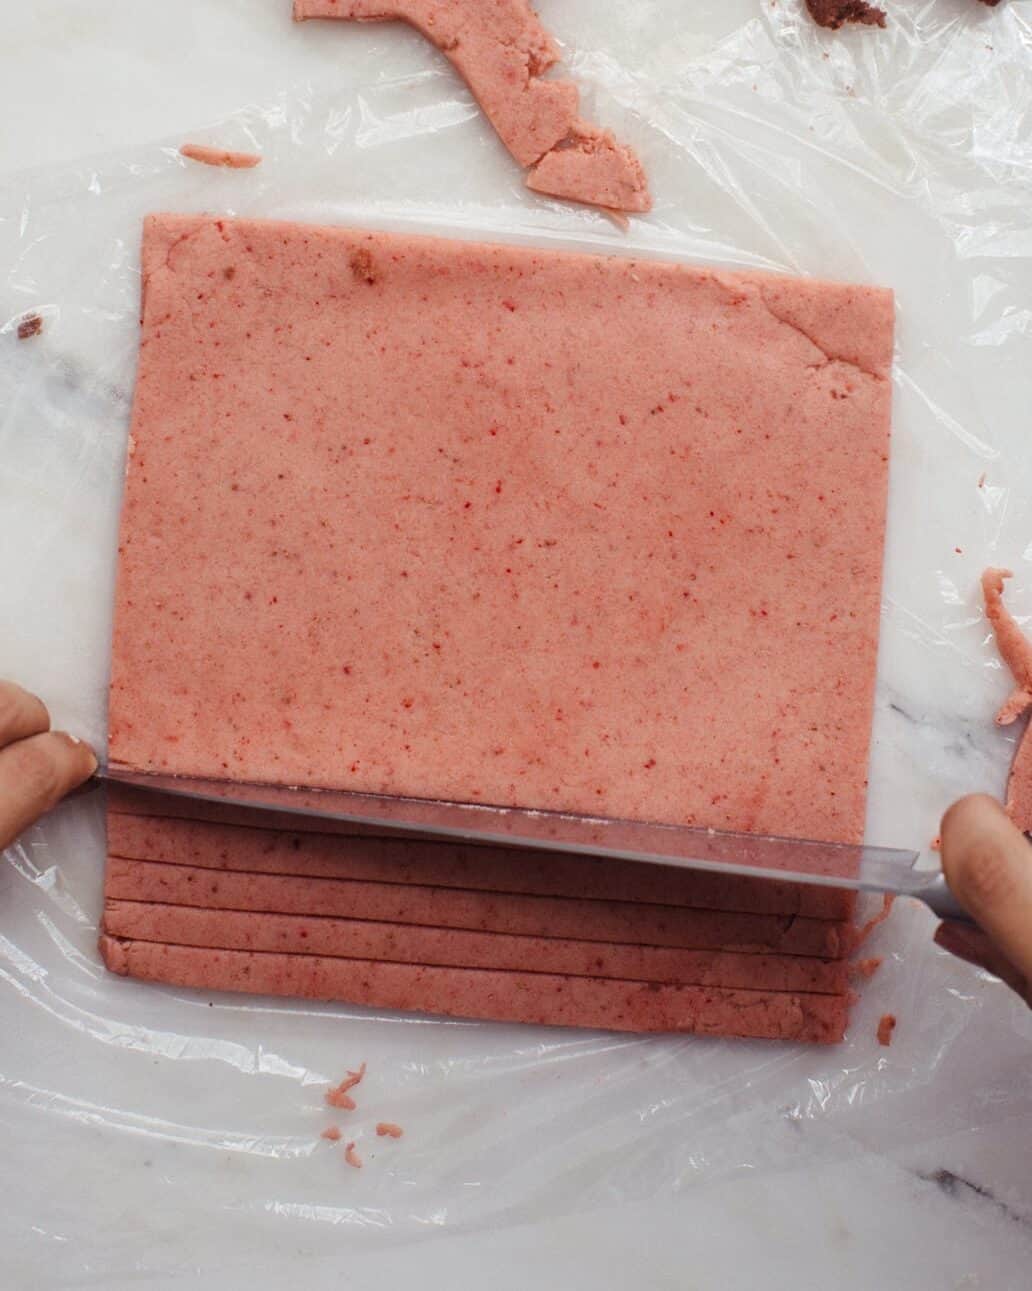
- Slice each square into 1/2-inch wide strips. You should end up with about 14 strips per batch of dough (28 strips total).
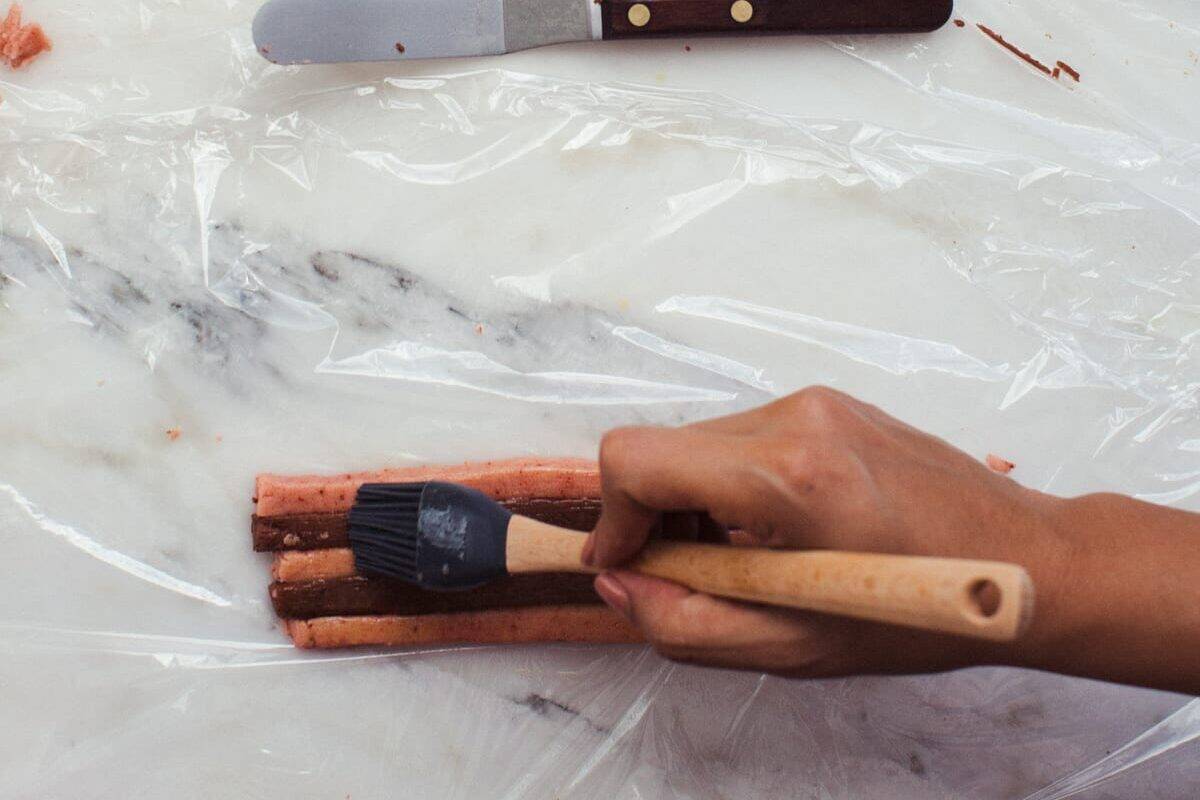
- Place 5 strips, alternating between colors, next to one another. Brush the top lightly with the beaten egg white. Repeat with the next layer, starting with the opposite color as before and alternating between colors until you have a total of 5 layers. Wrap the log with plastic wrap and let it chill in the freezer for 10 minutes.
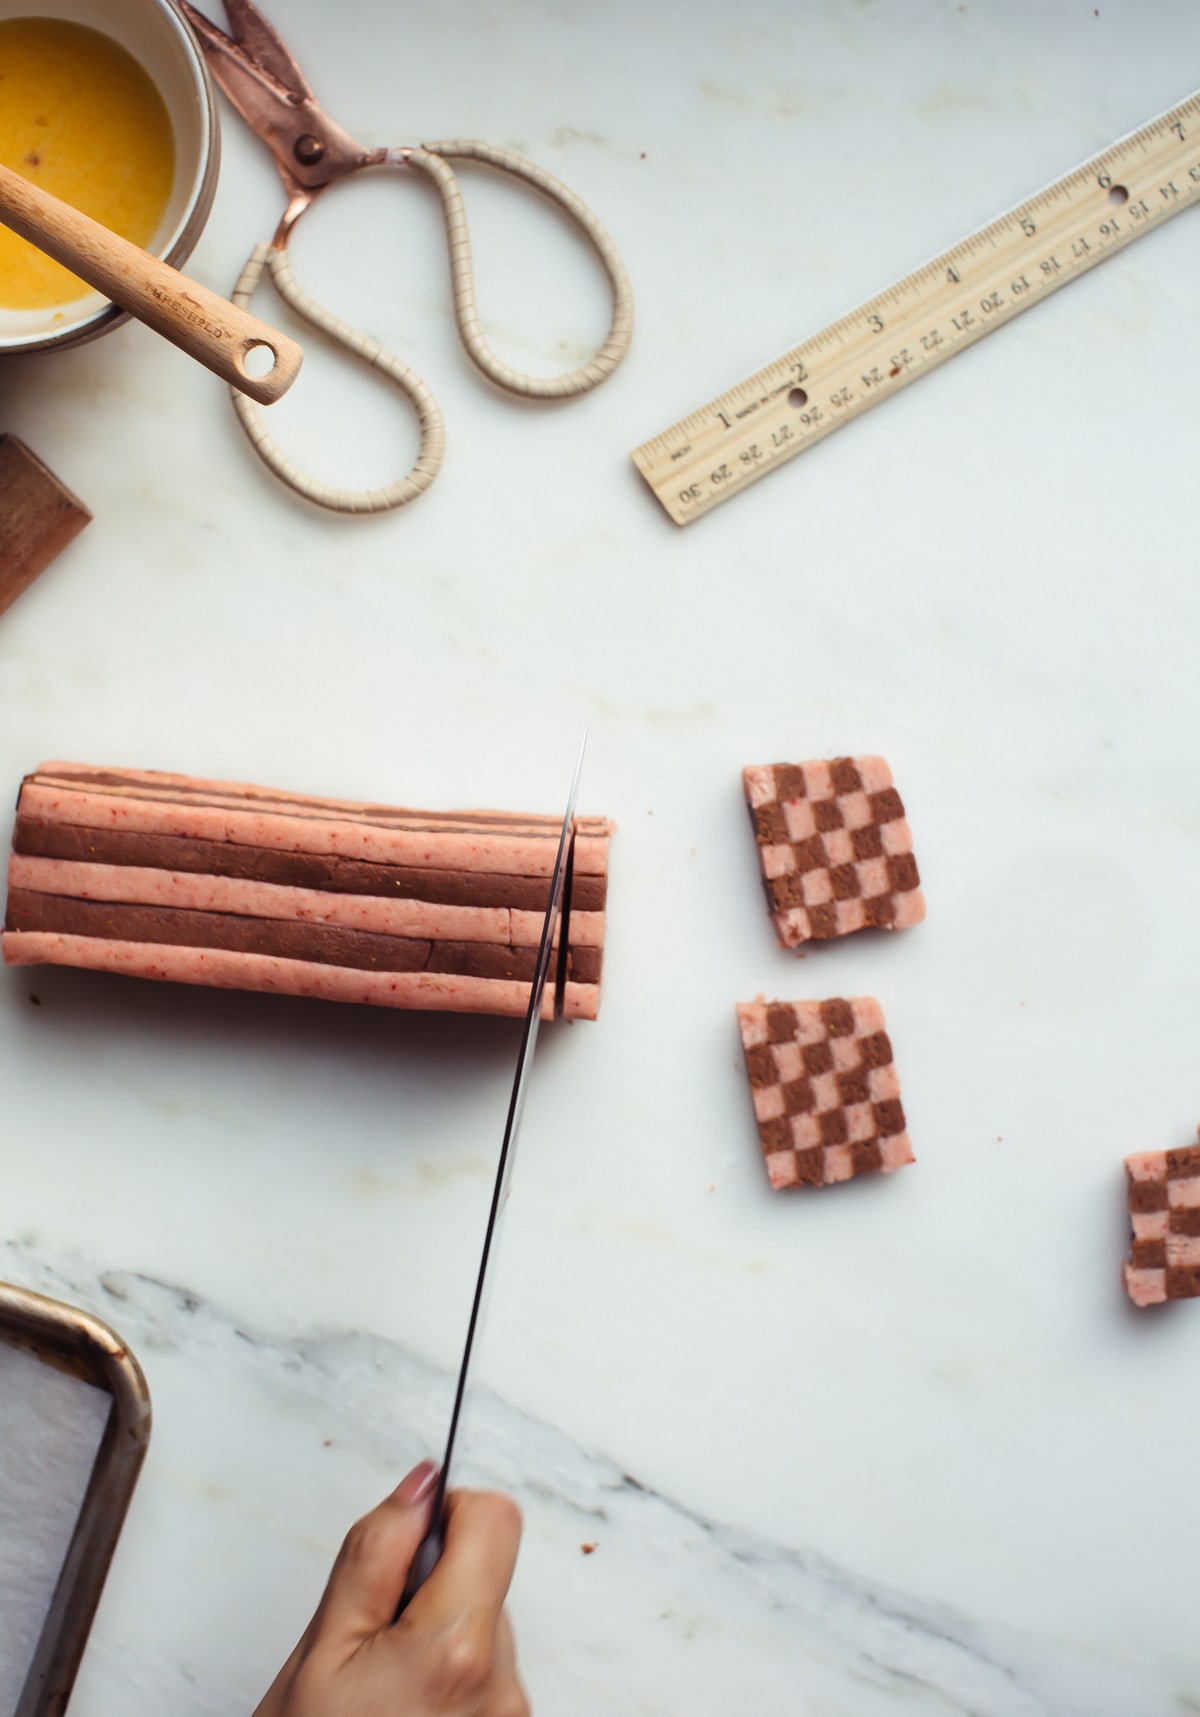
- Slice the logs into 1/4-inch to 1/2-inch thick cookies.
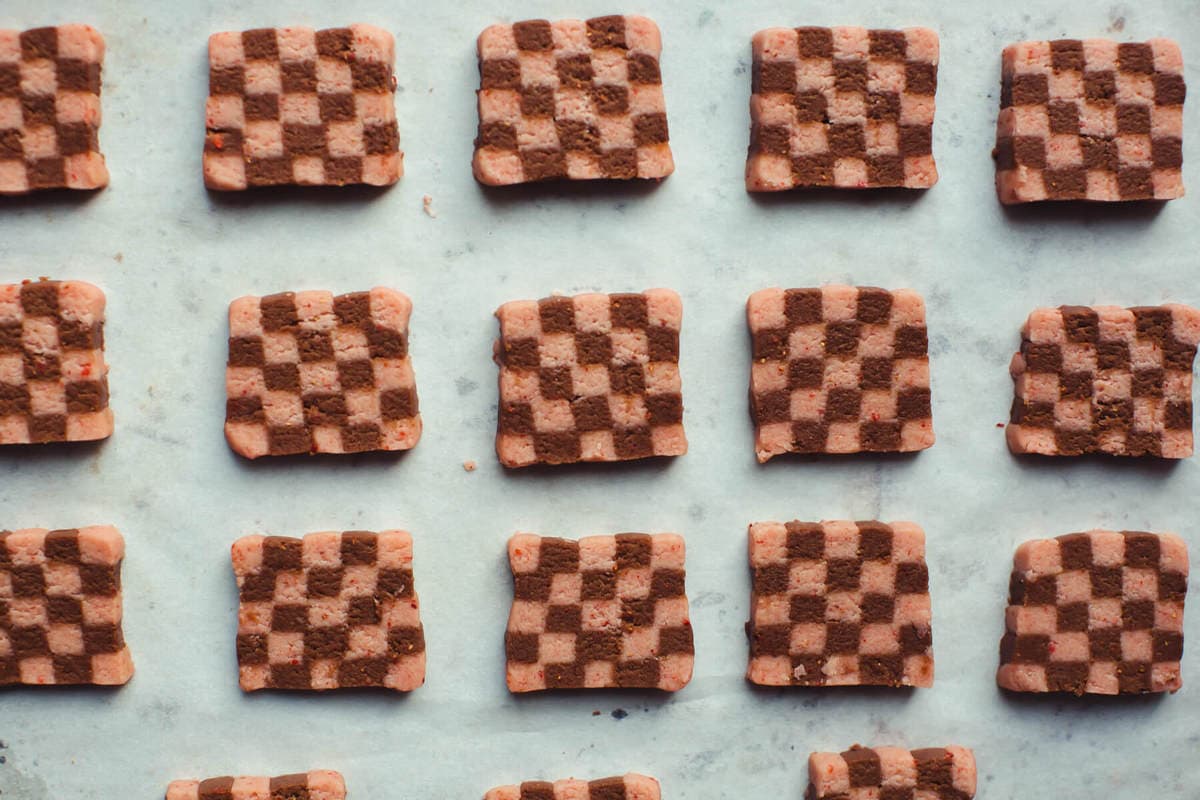
- Bake cookies at 350°F for 10 to 12 minutes.
Tips and Tricks
Chill the dough. It’s much easier to slice and assemble this way.
Have a ruler handy! A measuring tape works as well. Try to make your strips as even as possible to achieve the beautiful checkered pattern.
It’s okay if the strips break during assembly. Just gently piece together the strips and they will bake up perfectly.
More Cookie Recipes
Desserts
Chewy Pistachio Lace Cookies
Quick and Easy
Oatmeal Chocolate Chip Cookies
Desserts
Salted Caramel Linzer Cookies

Holiday
Heartbreak Cookies
If you tried this Strawberry Chocolate Checkered Cookies Recipe or any other recipe on my website, please leave a 🌟 star rating and let me know how it went in the 📝 comments below. Thanks for visiting!
Strawberry Chocolate Checkered Cookies
Equipment
Ingredients
- 3/4 (175g) cup white granulated sugar
- 3/4 (15g) cup freeze-dried strawberries
- 1 (227g) cup unsalted butter, at room temperature
- 1 teaspoon pure vanilla extract
- 1/2 teaspoon kosher salt
- 1 large egg, yolk and whites separated
- 2 1/2 (325g) cups all-purpose flour
- 1/4 (15g) cup unsweetened cocoa powder
Instructions
- In a food processor, add the sugar and strawberries and pulse until mixture turns to a reddish/pinkish powder.
- Transfer the strawberry sugar to the bowl of a stand-up mixer with the paddle attachment.
- Add the butter, vanilla extract, and salt. Beat until the mixture is light and fluffy and turns a pale pink, 2 to 3 minutes.
- Add the egg yolk and beat again until just combined Reserve the egg white for assembly.
- Add the flour, in two batches, and mix until combined. Remove half of the dough (you can eyeball this) and place on a sheet of plastic wrap. To the stand-up mixer with the remaining dough, add the cocoa powder and mix until the mixture is brown and chocolate-y throughout and the cocoa powder is thoroughly combined.
- Wrap the two doughs in plastic wrap, separately, and transfer to the fridge for 15 minutes.
- Roll out each dough so it’s a 7-inch square that’s 1/2-inch thick. Slice each square into 1/2-inch wide strips. You should end up with about 14 strips per batch of dough (28 strips total).
- Handling the strips delicately (I used a small offset spatula), place the logs, alternating between colors, next to one another. I placed 5 strips next to one another, as the first layer. Beat the egg white with a fork and then brush the top of the layer. And then repeat with the next layer, starting with the opposite color as before and alternating between colors. Repeat this process until you have 5 layers. (You’ll end with around 3 strips that will go unused—that’s ok!)Note: If any of the strips break during the building process, simply take the broken piece and place it next to the original piece. It'll be fine once it's all built. The egg wash will help everything bind together.
- Wrap the square log with plastic wrap and transfer to the freezer to chill for 10 minutes.Alternatively, you could chill it in the fridge for up to three days.
- Preheat the oven to 350 F and line a baking sheet with parchment.
- Slice the logs into 1/4-inch to 1/2-inch thick cookies. Place on the baking sheet giving them about 3 inches of space to spread. Bake for 10 to 12 minutes, until they've spread and have firmed up. Allow to cool completely on the baking sheet before transferring them to a cooling rack. Store in an airtight container.
Notes
Nutrition
Nutrition information is automatically calculated, so should only be used as an approximation.








Can these be made ahead of time and kept in the freezer until ready to bake?
Yes I would freeze the log of assembled dough. So assemble the log in the checkered pattern, and then wrap it in plastic wrap. Transfer to the freezer. I would thaw it in the fridge overnight and then slice it and bake it.
These were easier than they initially looked. I felt so proud when I cut into them and got a great checkerboard pattern. They baked up well, but I was hoping for a stronger strawberry flavor. Maybe it was the strawberries I used. I might add some more next time, but overall this was a fun recipe!
Ahh yay!! Im so glad they turned out, Kelli! What brand of freeze-dried strawberries did you use?
The cookies are so pretty! I never thought about freeze dried berries but I bet the flavor is incredible!
I saw cookies like this at Whole Foods this morning and I just had to revisit this post to let you know that yours turned out SO much prettier than theirs did!
Hahah amazing. This makes me feel legit!
What a clever idea! They are super cute!
Kari
www.sweetteasweetie.com
These are so cute. Definitely the kind of thing that will make people think that you went to a lot more trouble than you really did. HOW FUN! 😀 I love the idea of a strawberry cookie.
Mmmm, these look so light and delicious!!
xoxo Mollie
www.molliebellezza.com
How cute are those!
These look great and I completely agree about freeze-dried fruit, the flavour hit is so intense and it really works for things like meringue and macarons when you don’t want to introduce any extra moisture.
I really like the way this looks! It’s actually quite straightforward but the result is so pretty. And I am sooo looking forward to summer so that I can eat strawberries too!