Disclosure: This post may contain affiliate links, which means I may earn a commission if you click on the link and make a purchase.
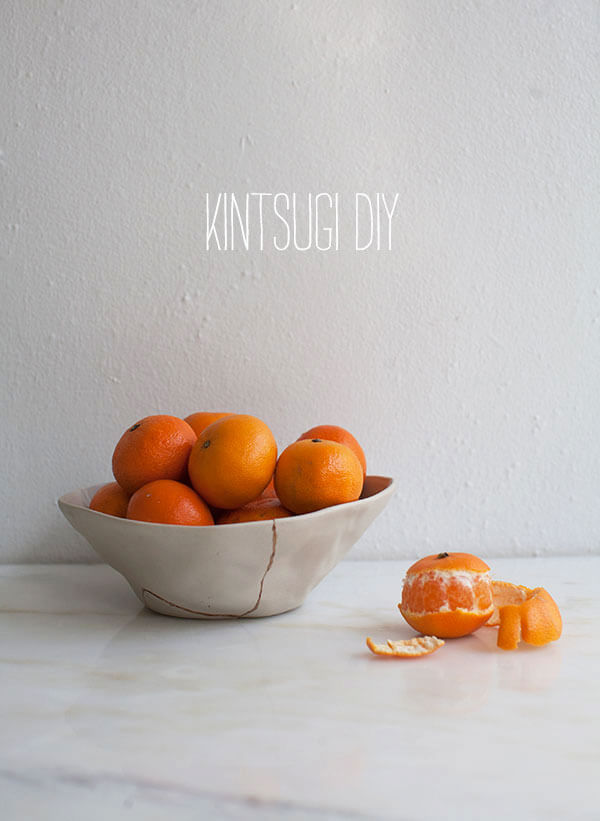
Kingsugi, The Japanese Art of Repair!
I guess you could say I like to collect a few things. I have a collection of vintage ice cream scoops. I have a few vintage salt and pepper shakes. And recently, I’ve been slowly buying beautiful ceramics.
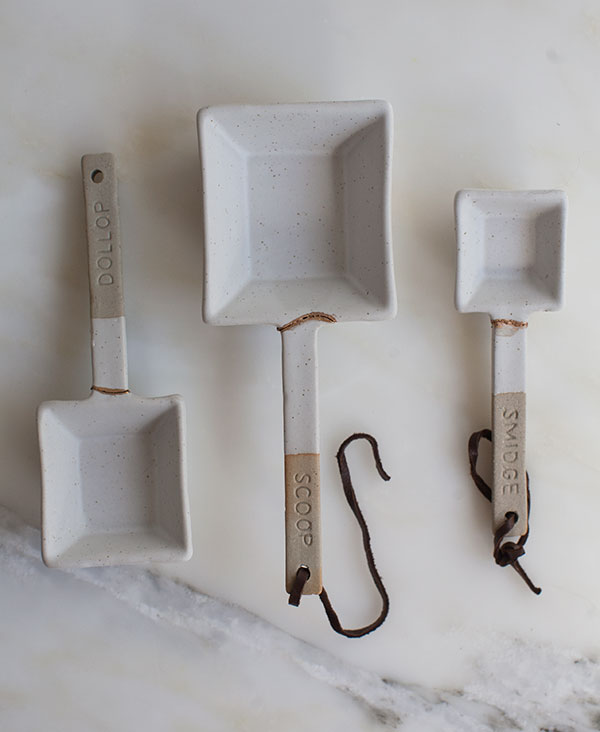
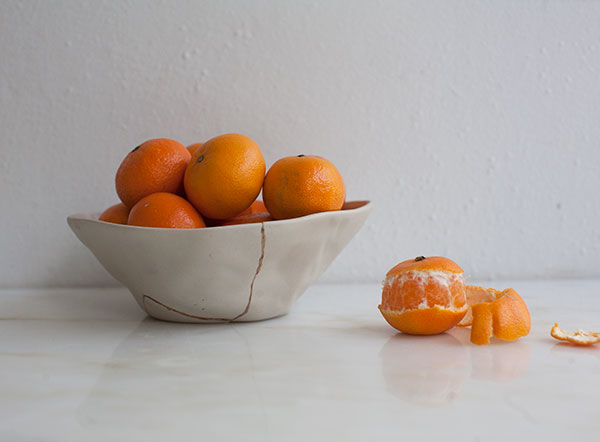
Well, a few of them have broken. The bowl you see pictured was broken by Amelia who excitedly ran into it when someone knocked on the door. (It was on the floor because I was unpacking from a shoot.) The spoons were broken because I didn’t realize the bag was on the bed and when I threw off the covers because I was exhausted, well, they went flying.
I always have something that needs repair. I always promise myself that I’m going to glue things back together and I often times do but this time I wanted to try something different.
Enter: Kintsugi. It’s the Japanese art of repair. Think of it like a beautiful rendition of gluing things back together. The philosophy behind kintsugi is about seeing the breakage and repair as part of the object’s history—embracing it rather than hiding it.
I feel like there could be some sort of analogy drawn out of this DIY and applied to life and I’m especially hormational today so I’ll stop while I’m ahead!
Traditionally kintsugi involves mixing a lacquer (gold, silver, copper) with a binding rice flour. It sounds simple, but nailing down that ratio is incredibly difficult. For some, repairs can take up to two months! People spend years learning this technique. It’s really beautiful!
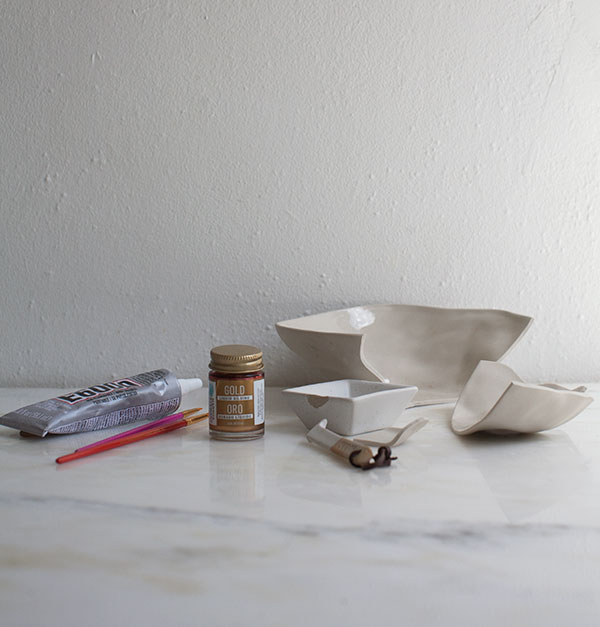
This is admittedly a huge shortcut. Here’s what you’ll need:
1. Gold Liquid Gilding
2. E600
3. Thin paint brushes
4. Your broken ceramics
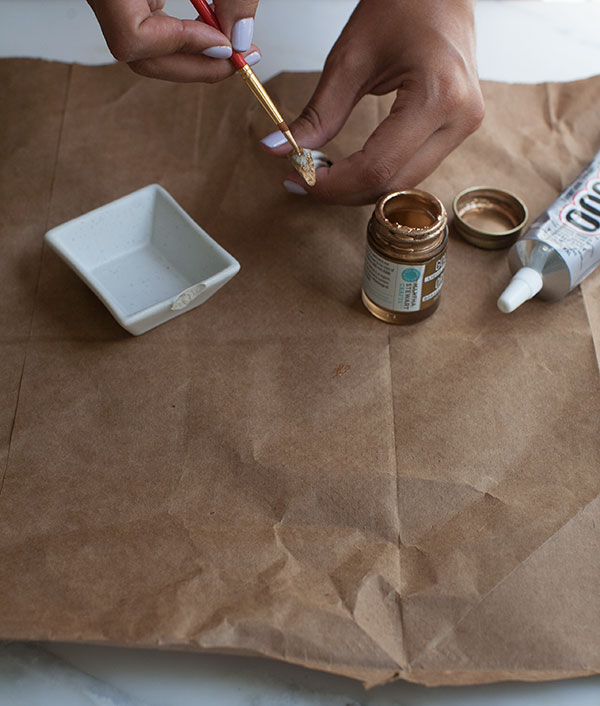
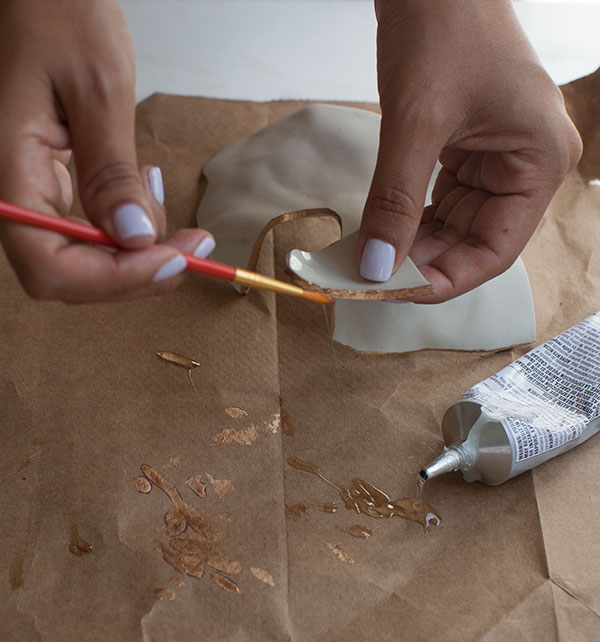
I found it easiest to do the painting process first. I gently went around the edges of the two broken pieces and then pushed them together.
Doing this made it so the paint pushed out a bit, creating a thin line. I allowed both pieces to dry completely, about 10 minutes.
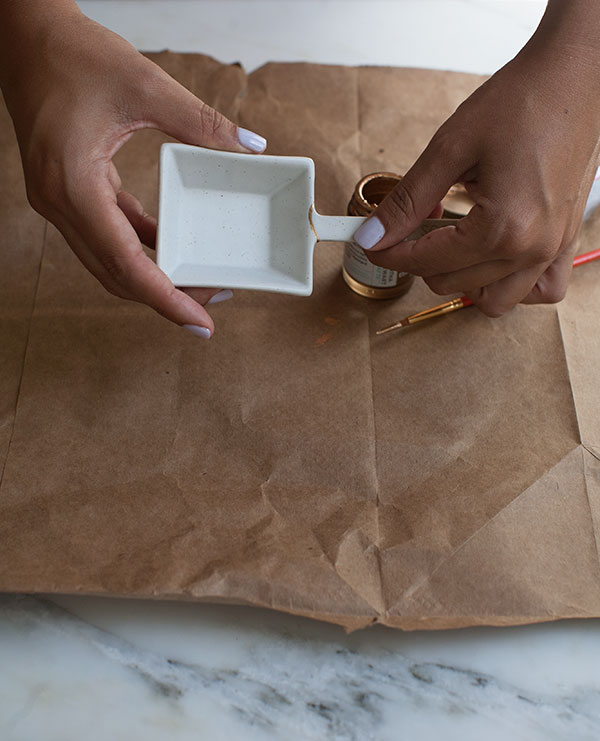
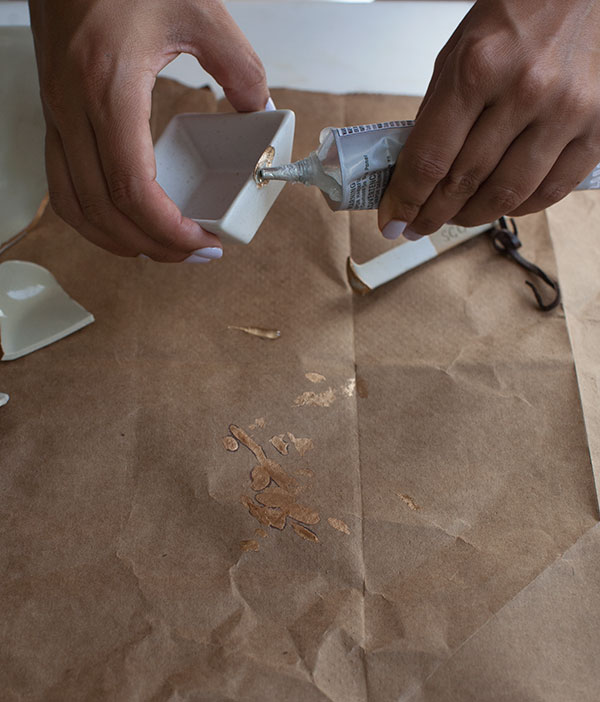
Next, I dabbed a bit of E600 (feel free to use your paint brush if you like) and pushed the pieces together once more. I found that a little went a long way AND that if I used too much, it would make the gilding all clumpy (you can notice one of the scoopers has some lumps, well, it’s from too much glue!)
I held the pieces with the glue together for about a minute and then allowed the object to dry, untouched, for about 2 hours.
That’s it! It couldn’t be simpler. Obviously, the technique varies slightly depending on the pieces you’re putting back together.
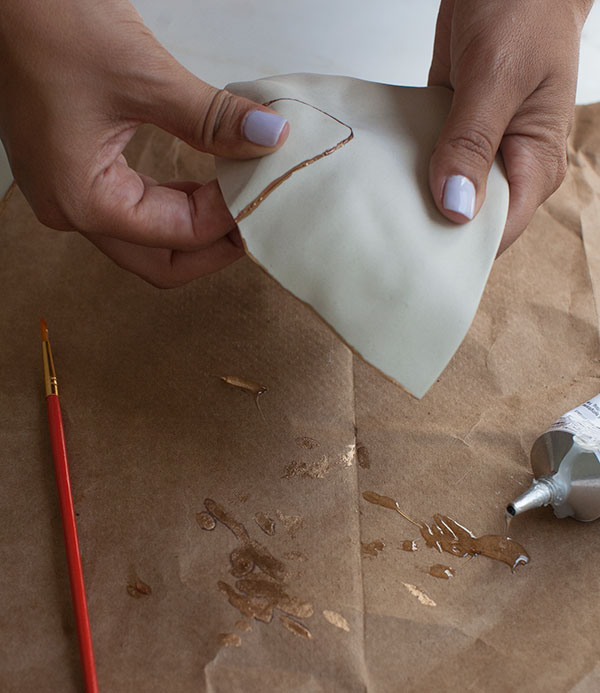
Remember that the gold line doesn’t have to be perfect. At first I was bummed because a bit of the gold liquid gilding sort of ran out and the line wasn’t absolutely perfect, but that’s the point.
And I sort of think that the bowl looks prettier with the gold cracks; it has character now, it’s been through it.


You explained that perfectly, thank you. I’ve been trying to find it with directions but this one was simplest. Now I gotta go look for my glue. Sincerely Patricia
Wonderful skill/art; Kintsugi. Id never heard of it. I will enjoy learning kintsugi over the upcoming winter months. Thank you.
Hi there, just wanted to ask if using the materials in your shortcut will still yield a foodsafe dish? I’m repairing a broken vinegar crock, for example.
Thanks!
Never mind! Just read comments below.
Hi, reading the back of the gold gilding packaging it sounds very toxic and like it should only be used as decoration. Are you recommending this as food safe or decorative?
yes it is mentioned in the post that this is for decorative use only.
Thank you so much for this wonderful tutorial! I’ve always thought it was a beautiful way to repair a broken item and honor it’s history. But I never thought I’d be able to do it.
I wonder if there is a way to do this with cracked bottles/items. Somehow getting it to follow the path of the crack all the way down to the bottom of the bottle. I have some awesome bottles that got cracked but not completely broken. Any ideas?
E6000 is “not recommended for any items that come into contact with food, drinking water or animals”
Hi! Totally randomly fell onto your blog and just wanted to say its awesome! You seem like a cool friendly person and I just wanted to give you props:) I hope your life’s been blessed and that you’re happy.
–Vance (IG: Vance1of1)
This came out so great! I tried my own with a vase but didn’t use direct gold liquid sealant and it looks like the difference was significant. Love your final results! You can see the results of my own attempts on a Goodwill porcelain vase here! (https://highlyunemployable.wordpress.com/2017/12/29/kintsugi-the-beauty-of-imperfection/)
I think I’ll go one step further since some of my fractures do not re-align perfectly. I’ll be finding some syringes from woodworking supply places and put some of the gold in a syringe and after e600 ing the pieces will do a follow-up with the syringe to fill deeper space where the paint brush may not settle in well. Then follow up with the brush. Just figured this out after not being satisfied with a re-glue and gilidng of a 6×9″ Grecian wall art. It looks great now, but I see spaces that need to look more finished. Thanks for this.