Disclosure: This post may contain affiliate links, which means I may earn a commission if you click on the link and make a purchase.
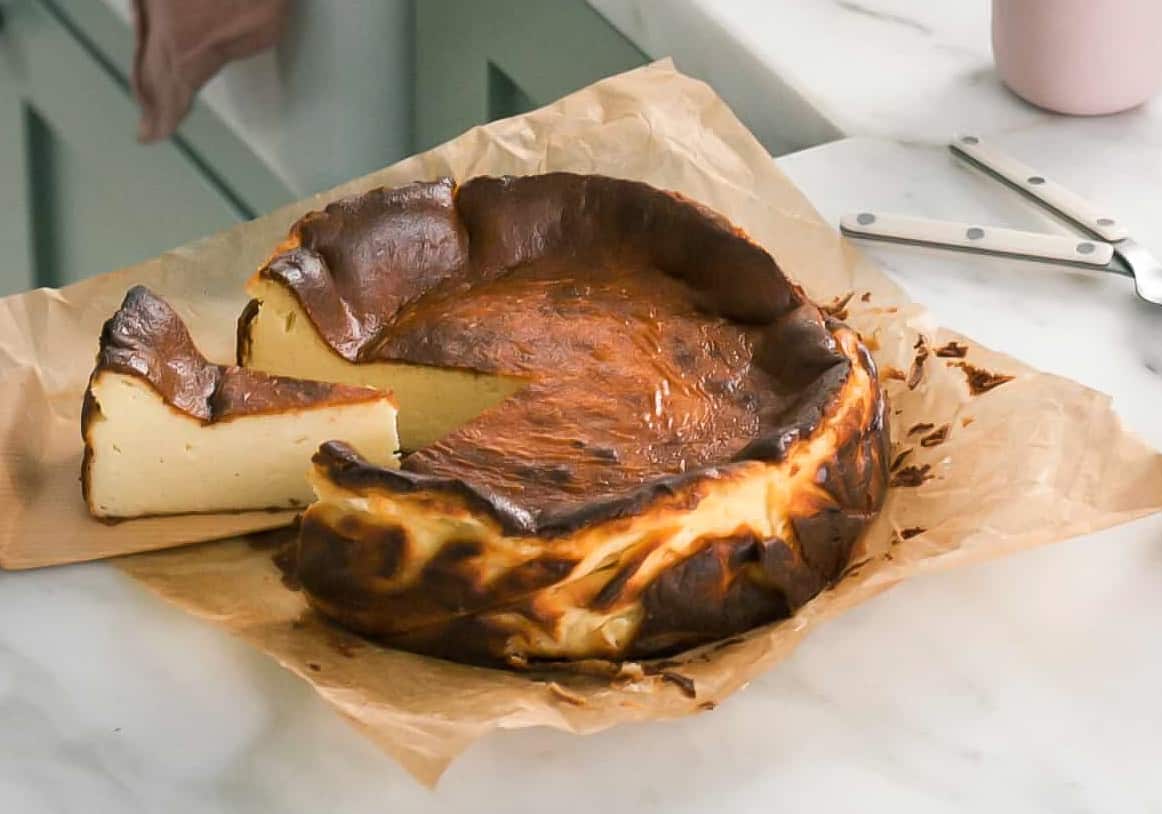
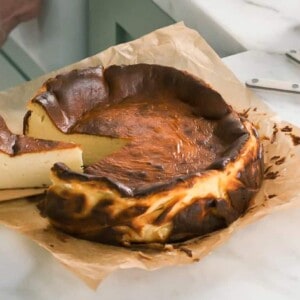
This burnt basque cheesecake has a caramelized crust with a creamy, rich interior. Basque cheesecake requires minimal ingredients, no special pan and zero water bath–so easy!
Serve this basque cheesecake for dessert with Spanish Paella and Pan con Tomate.
I guess you could call me a cheesecake enthusiast (including but not limited to my Marbled Chocolate Cheesecake Pumpkin Pie, Matcha Swirl Cheesecake and Dulce de Leche Cheesecake Bars), but Basque Cheesecake is wildly different. Let’s get into it:
Ingredients You’ll Need for Basque Cheesecake
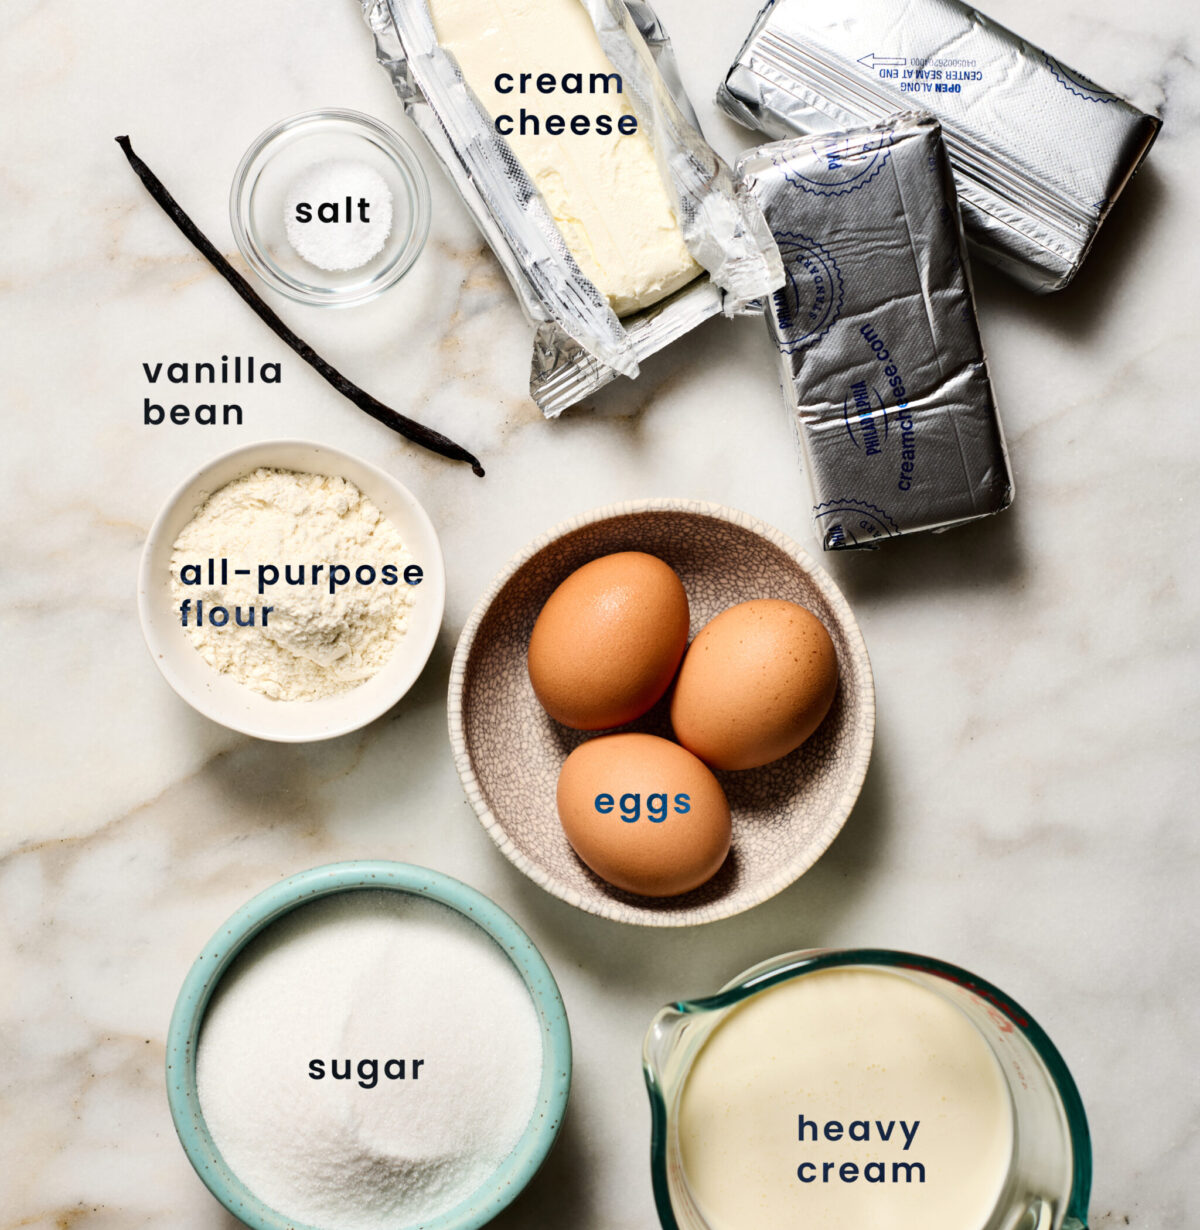
- Cream cheese. This is going to be the base for this delicious cheesecake.
- Heavy cream. The heavy cream really gives us whipped and airy texture to this cheesecake.
- All-purpose flour. This cheesecake has a very minimal amount of flour. It’s just enough to hold it together.
- Eggs. This adds richness and the best texture to this cheesecake.
- Vanilla. I like using a vanilla pod for this because it really shines in this type of application. BUT, if you don’t have one, no worries, just use store-bought or homemade vanilla extract.
For the rest of the ingredients, please refer to the recipe index card below!
How to Make Basque Cheesecake

- Butter your pan.

- Press a piece of parchment into the pan. The butter helps the paper stick to the inside of the pan.

- Beat the cream cheese. Pour in the sugar.

- Crack in one egg and mix it in until combined. Add the next egg and repeat combining.

- Pour in the heavy cream in a slow and steady stream. And beat it until it’s incorporated and smooth.

- Lastly, you’re going to sift in the flour. The sifting part is important because you want it to melt into the batter.

- Pour into the prepared bake pan and bake!

- When it’s done, it’ll be golden brown on top and super jiggly. 9. Let it set at room temperature for a few hours. It’ll fall as it cools. Slice it up and serve it.
Tips and Tricks
- Cream cheese – Beat the cream cheese first; this helps ensure it’s very smooth.
- Vanilla substitution – If you don’t have a vanilla bean pod, just use 2 teaspoons of extract (I like using homemade vanilla extract).
- Avoiding it from cracking – A lot of cheesecakes will crack when they’ve fluctuated from the oven to a shockingly cooler temperature.
- To avoid it from cracking, I like to open the oven door slightly toward the end of baking so it can gradually come to room temperature.
- How to tell it’s done – You’ll know when the timer goes off. It should jiggle in the center. Don’t worry, it will set. You want it to be creamy in the center.
Recipe FAQs
Yes! Be sure to allow it to thaw completely in the fridge before serving.
More Cozy Desserts
Desserts
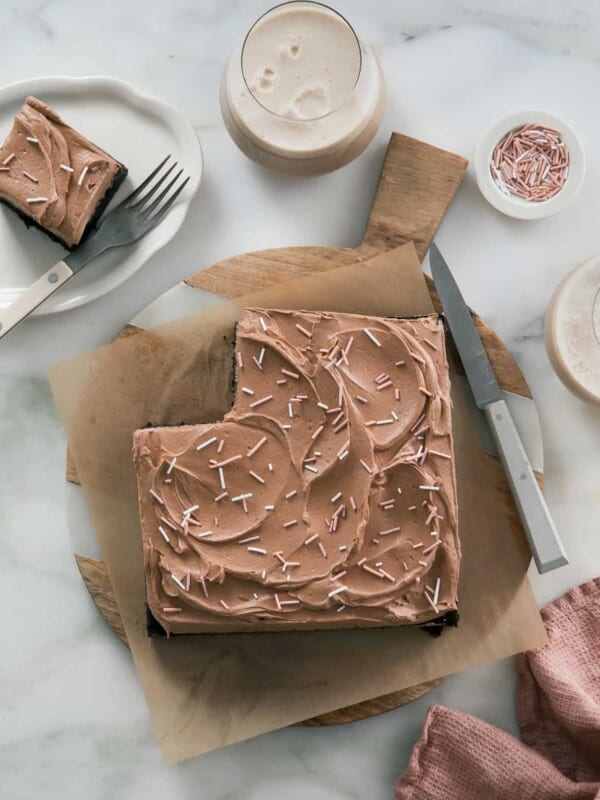
Mini Chocolate Sheet Cake
Desserts
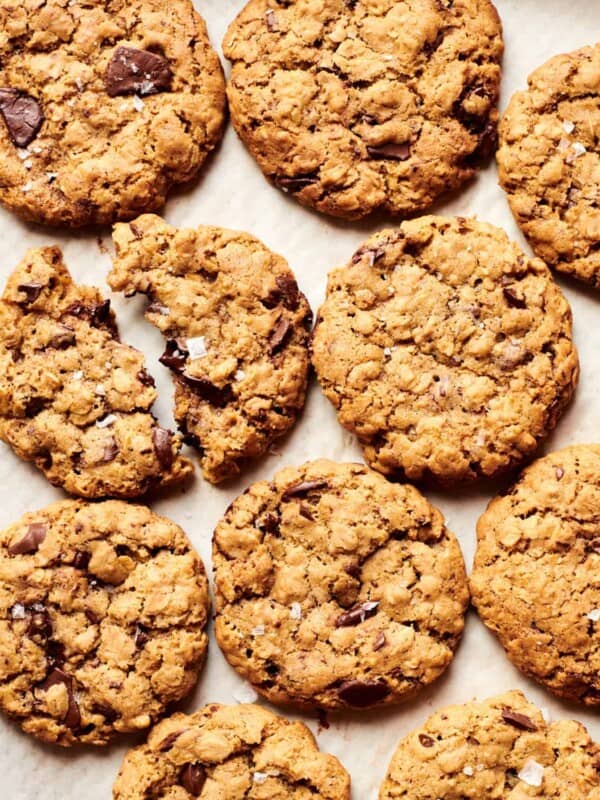
Oatmeal Chocolate Chip Cookies
Desserts
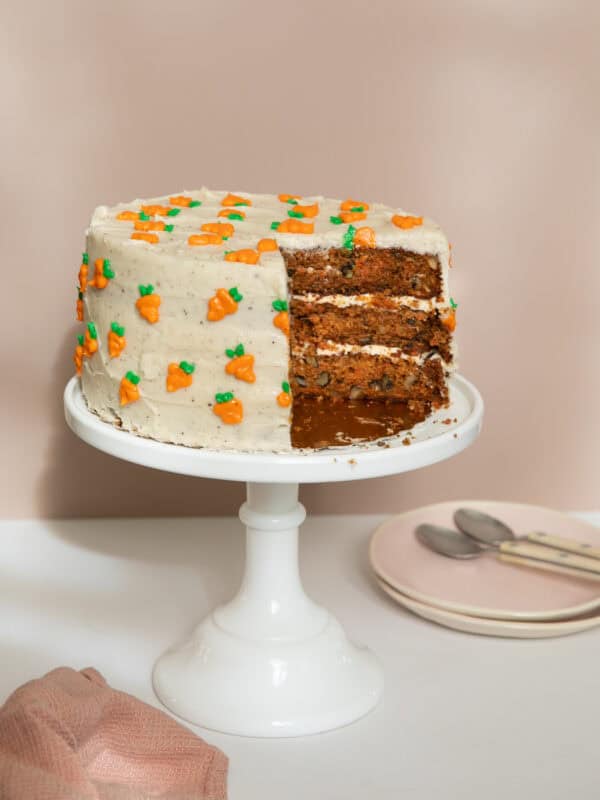
Best Carrot Cake
Desserts
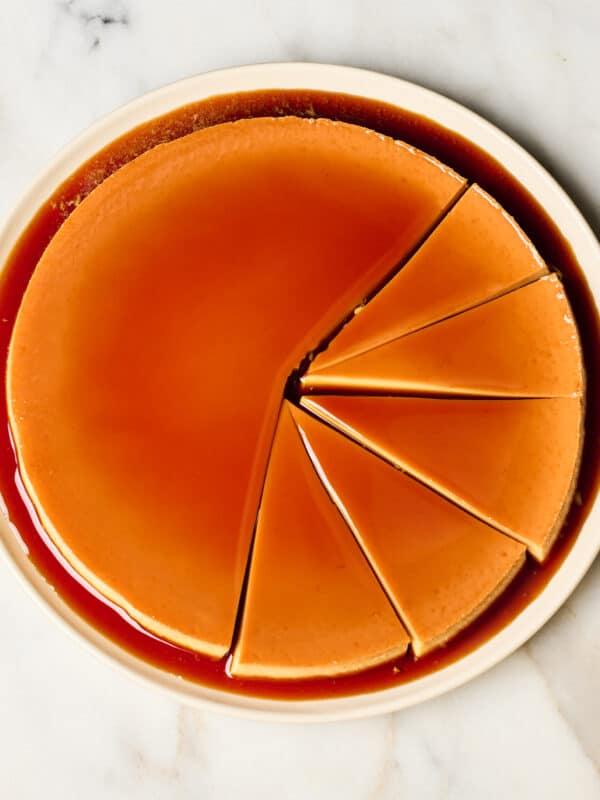
Flan
If you tried these Basque Cheesecake or any other recipe on my website, please leave a 🌟 star rating and let me know how it went in the 📝 comments below. Thanks for visiting!
Basque Cheesecake
Equipment
- 1 Sieve
- 1 8×8-inch cake pan
Ingredients
- 1 teaspoon softened butter, for the pan
- 24 ounces cream cheese, at room temperature
- 1 (200g) cup granulated sugar
- 1 vanilla pod, (or 2 teaspoons vanilla extract)
- 3 large eggs
- 1/2 teaspoon kosher salt
- 1 1/2 cups heavy cream
- 1/3 (40g) cup all-purpose flour
Instructions
To Prep the Pan:
- Rub an 8-inch cake pan (or a springform pan) with about 1 teaspoon of softened butter. This will help the parchment stick to it. Then press a sheet of parchment into the cake pan, pressing it up the sides and making sure it’s as close and secure to the pan as possible. Set aside.
To Make the Cheesecake:
- Preheat the oven to 400 degrees F.
- You can do this with an electric hand mixer or stand-up mixer. Add the cream cheese to the bowl and beat it until smooth. Pour in the granulated sugar and vanilla beans (or vanilla extract) and beat it until smooth and fluffy, about 1 minute. Next, crack in one egg at a time, mixing it in before adding the following one. Repeat until you’ve worked your way through the eggs. Add the salt and pour in the heavy cream in a slow and steady stream and mix until combined, about 1 minute. Lastly, sift in the flour and mix it in until just incorporated.
- Pour the cheesecake mixture into the prepared pan and smooth out the top. Smack it on the counter a few times so make sure it gets in those crevices in the parchment paper.
- Place the baking pan on a baking sheet (I do this in case there's any spillage–there shouldn't be) and transfer to the oven to bake for 45 to 50 minutes, until the cheesecake is puffed up and jiggly.
- Remove from the oven and allow to cool in the pan for about 1 hour. Remove it from the pan by lifting up the excess parchment. Allow it to cool for 1 more hour.
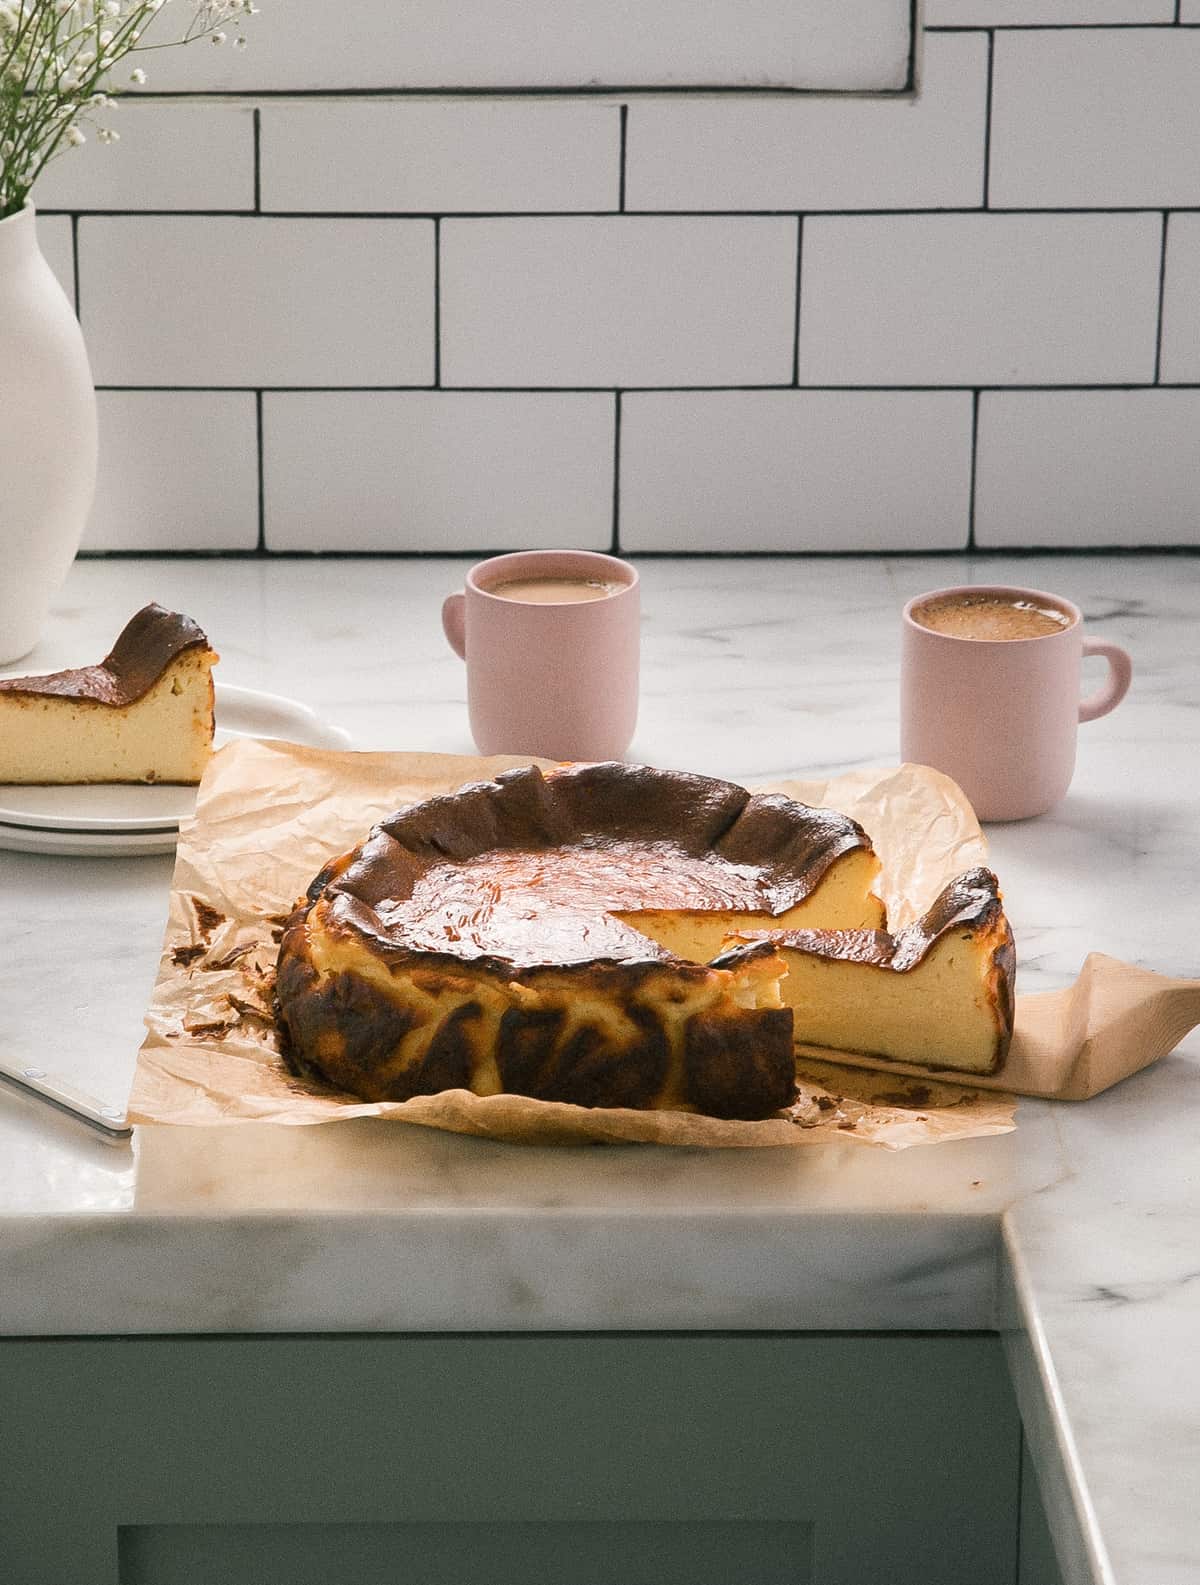
- As it cools, the cheesecake will fall in size and firm up. Peel off the parchment and slice it up. I like to serve this cheesecake by itself at room temperature.
To Store the Cheesecake:
- Store the cheesecake in an airtight container at room temperature. You're welcome to store it in the fridge if you like too. The cheesecake will be good up to three days in the fridge or in an airtight container.
Notes
- This recipe is super easy. But be sure to beat the cream cheese first. Just to ensure total smoothness.
- If you don’t have a vanilla bean pod, just use 2 teaspoons of extract.
- The butter in the pan seems strange because we’re using parchment but it helps with the parchment sticking to the pan and not moving.
- Make sure the parchment paper goes up the sides of the cake pan.
Nutrition
Nutrition information is automatically calculated, so should only be used as an approximation.


this cheesecake is a very unique cake and easy to make for beginners like me.
I just made this last weekend and it came out sooo good! I love that the recipe is for those of us who don’t have a springform pan. I will be making it again for my dad’s birthday.
love hearing this!
What is the depth size of your cheesecake pan? Can you use 8×2 or 8×3?
i used a 8×2 so either would work!
This was delicious & beyond simple! Perfect recipe, it was a huge hit at our dinner party.
I followed everything to a t in prep – but then I had to wait an extra 20+ minutes on cooking to just get a little browning on the edge. And then the top broke into 4 and then never set. I don’t think this is a good recipe. Maybe the ingredients are fine but the cooking is way off.
sounds like there might be something wrong with your oven. have you gotten it checked out?
Hello!!
3 (8-ounce) packages of cream cheese, would that be 226g?
Hi Adrianna 🙂 I love this recipe! The texture of the cheesecake is just perfect. Mine didn’t really brown on top, only on the sides. Do you think I missed a step or something? Or could it just be from using a different oven perhaps? Would it be possible to brown it after cooking with a torch?
It was still so delicious and caramelised on the sides!
Same thing here, didn’t brown on top, only the sides! Was wondering if I missed a step or had the rack in the wrong place…
I made this for my family today, and it was a hit. It was actually pretty simple to make. I baked it 55 minutes just to be sure it was done. It browned beautifully. It tasted great. The texture was great. Definitely keeping this recipe.
Hi, baked it. My butter was so runny. While it is baking, i saw my cheesecake through the oven window. It’s like swathing there was bubbles on top. Which step I am making mistake?
I baked it. My butter was so runny. While it is baking, i saw my cheesecake through the oven window. It’s like swathing there was bubbles on top. Which step I am making mistake?