
Disclosure: This post may contain affiliate links, which means I may earn a commission if you click on the link and make a purchase.
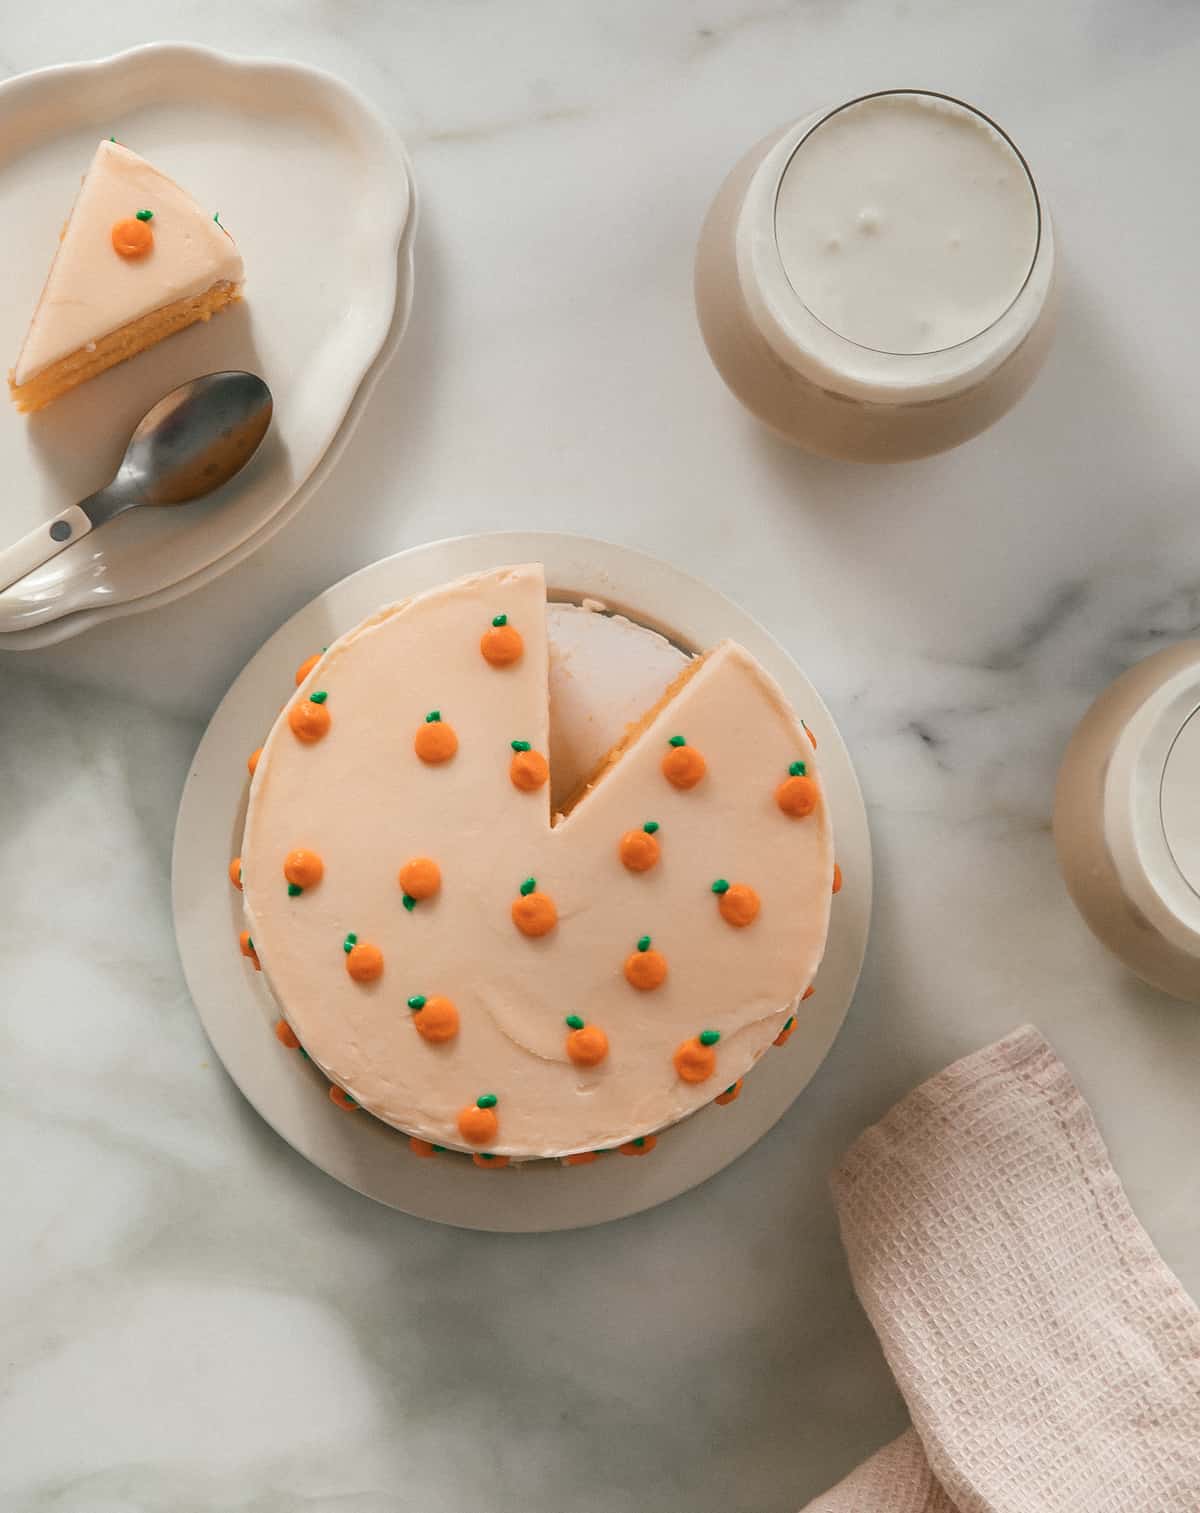
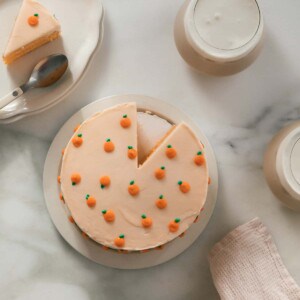
This creamsicle cake tastes like all of our childhood ice cream dreams but in cake form. A strong orange, cream and vanilla flavor are found throughout. And the texture of the cake is fluffy and delicious. Pair it with a fluffy cream cheese frosting for the most beautiful cake.
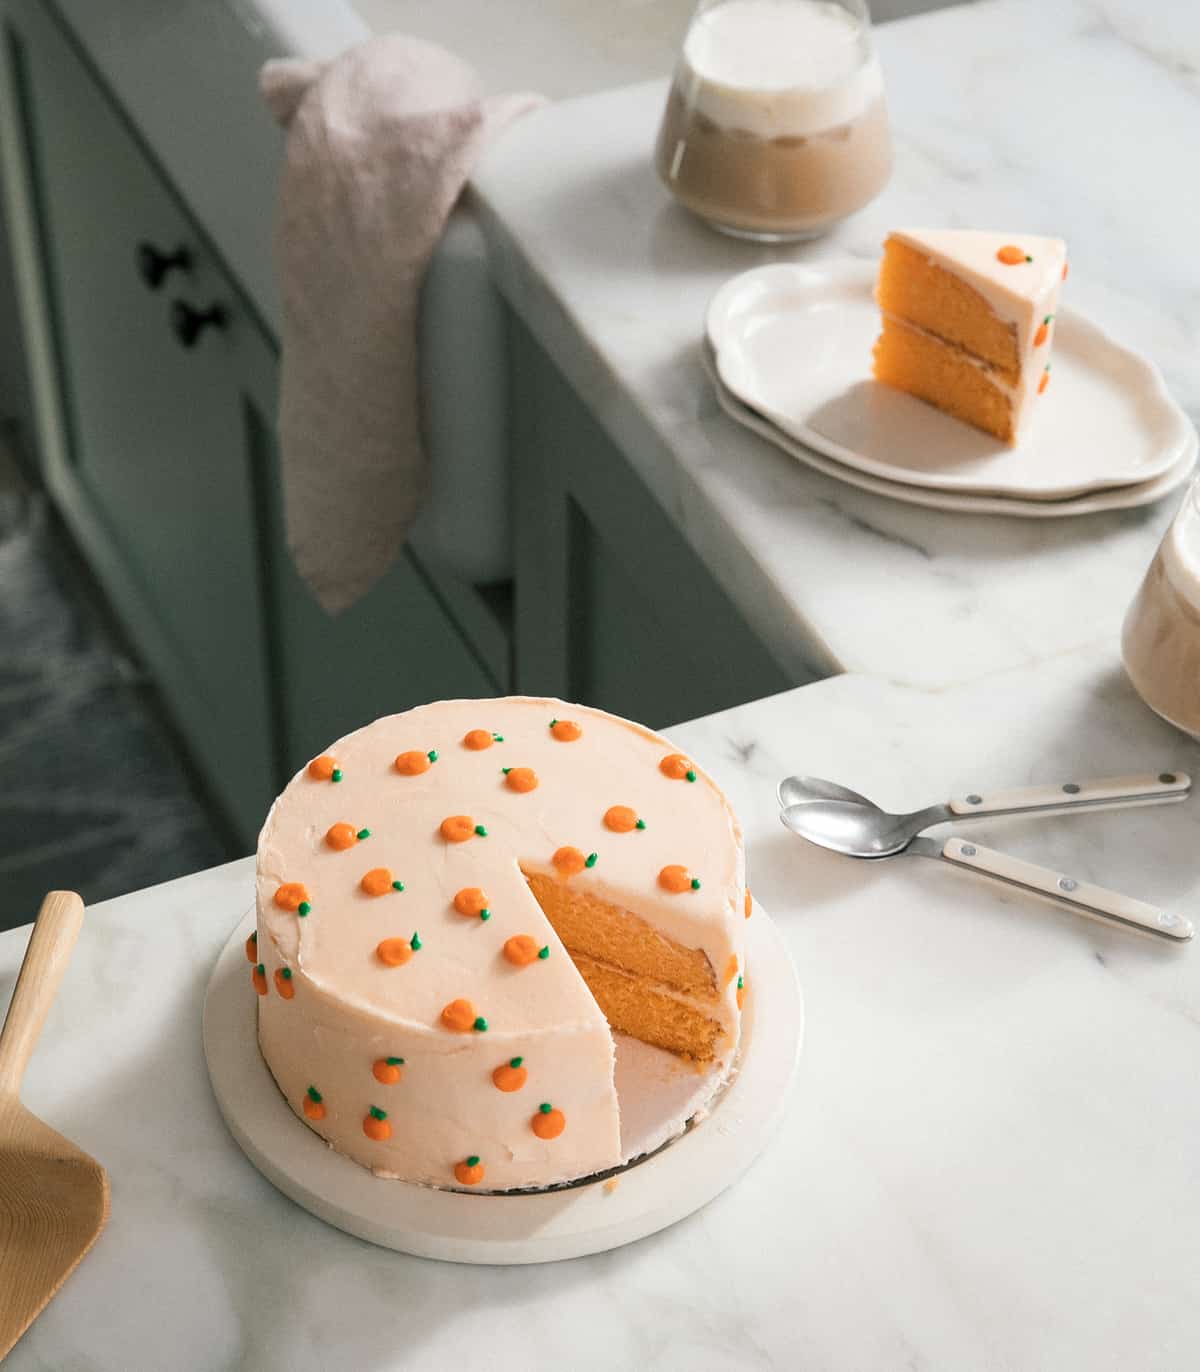
When I think of creamsicle, I’m taken back to those often times sketchy ice cream trucks that sold those popsicles that were orange on the outside with vanilla ice cream in the center. They were divine. This is essentially that but in cake form.
This cake is adapted from my other fruit cakes like my Mini Strawberry Sheet Cake and my Lemon Cake. All cute. And all delicious.
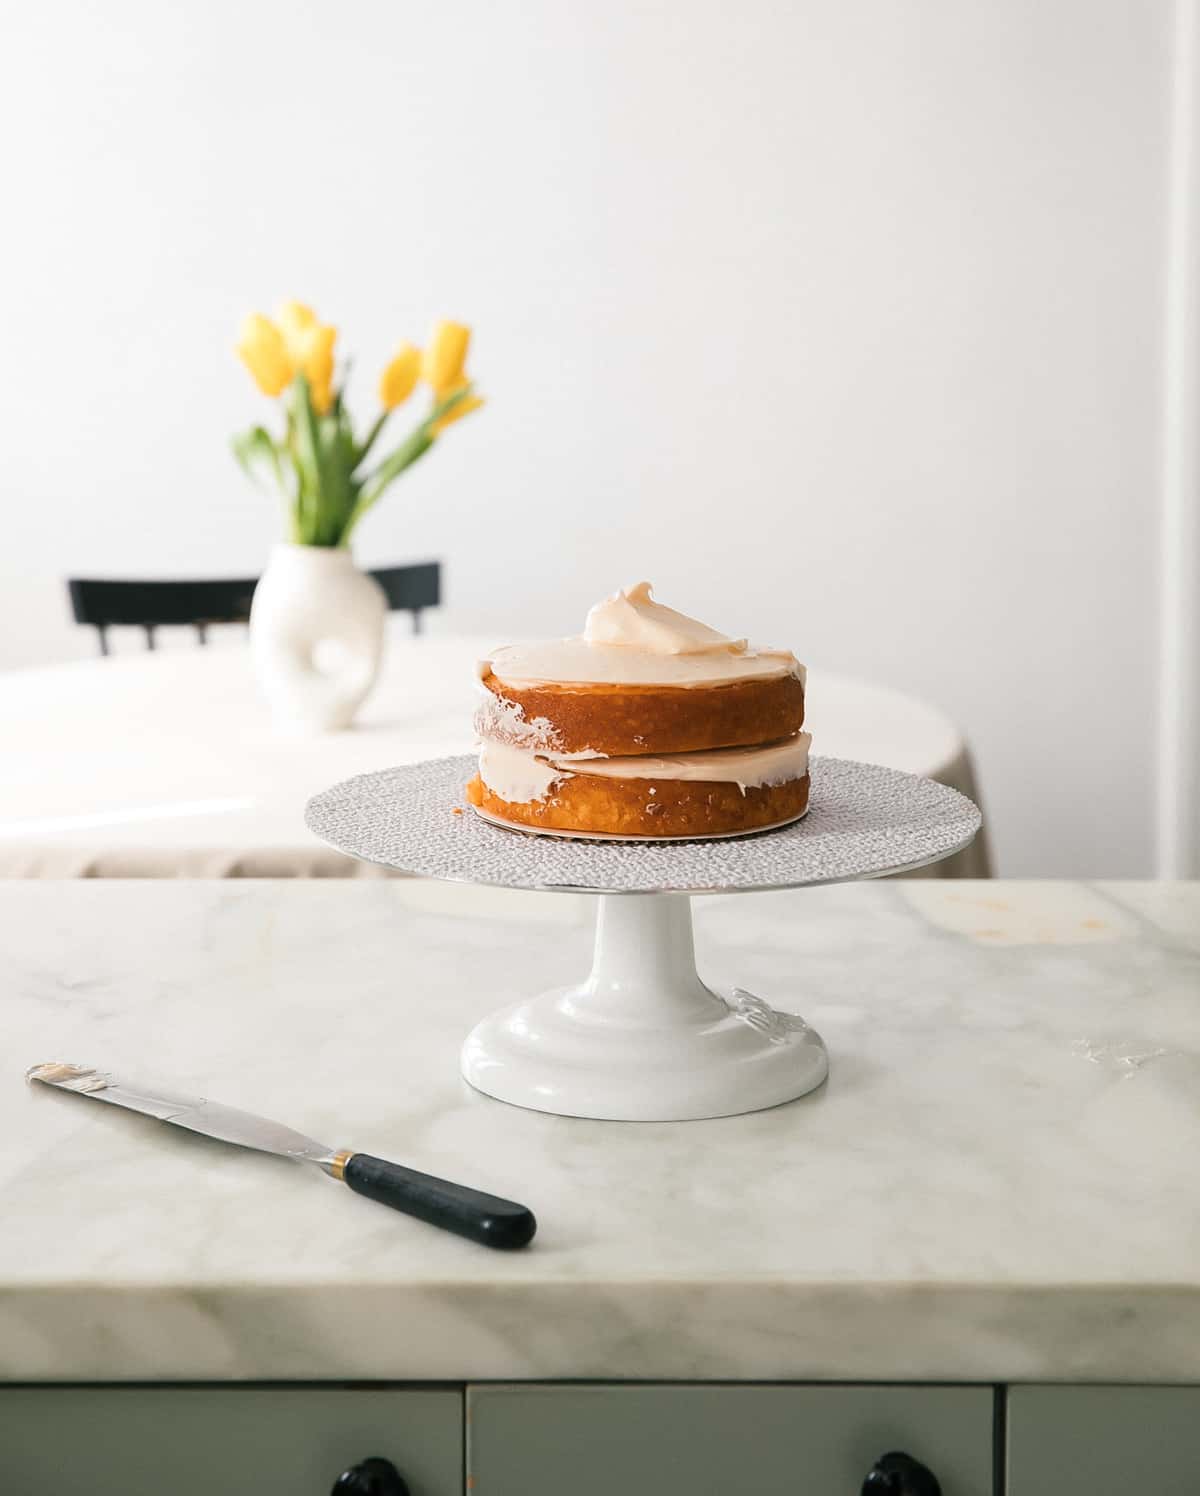
Ingredients You’ll Need for this Creamsicle Cake
- Oranges – I used sumo oranges for this cake and it was INCREDIBLE. But they’re only in season for a short window (January-March) so feel free to use naval oranges, cara cara oranges or even tangerines would be amazing.
- Vanilla extract – This cake uses a lot of vanilla extract. This is what contributes to the very creamsicle flavor.
- Butter and Oil – I love making cakes with both butter and oil. Butter gives the cake great flavor, while the oil ensures that it stays moist.
- Cream cheese – This adds such a great texture and added tartness to the frosting that is just unmatched!
For the full list of ingredients and ratios, please see the recipe card below!
How to Make This Creamsicle Cake
- Mix zest with sugar. The first step of all of my cakes with citrus is to aggravate the zest to release all of its fragrance and flavor. To do this, I like to mix the zest with the sugar. The sharp edges of the sugar crystals will help with aiding this process.
- Beat the sugar, butter and vanilla. Then, add in the butter and vanilla and beat away. Remember, fat carries flavor. All of this being beaten together will ensure a super flavorful, orange-tasting cake.
- Then you whisk together the milk, egg whites and orange juice. In goes in the dry ingredients and you alternate with adding the liquid ingredients until you get a cohesive cake batter.
- Divide the batter between two or three 8-inch prepared cake pans.
- Bake it until a skewer inserted into the center comes out clean, about 20 minutes.
- You can just beat all of the frosting ingredients together for a super simple vanilla American buttercream.
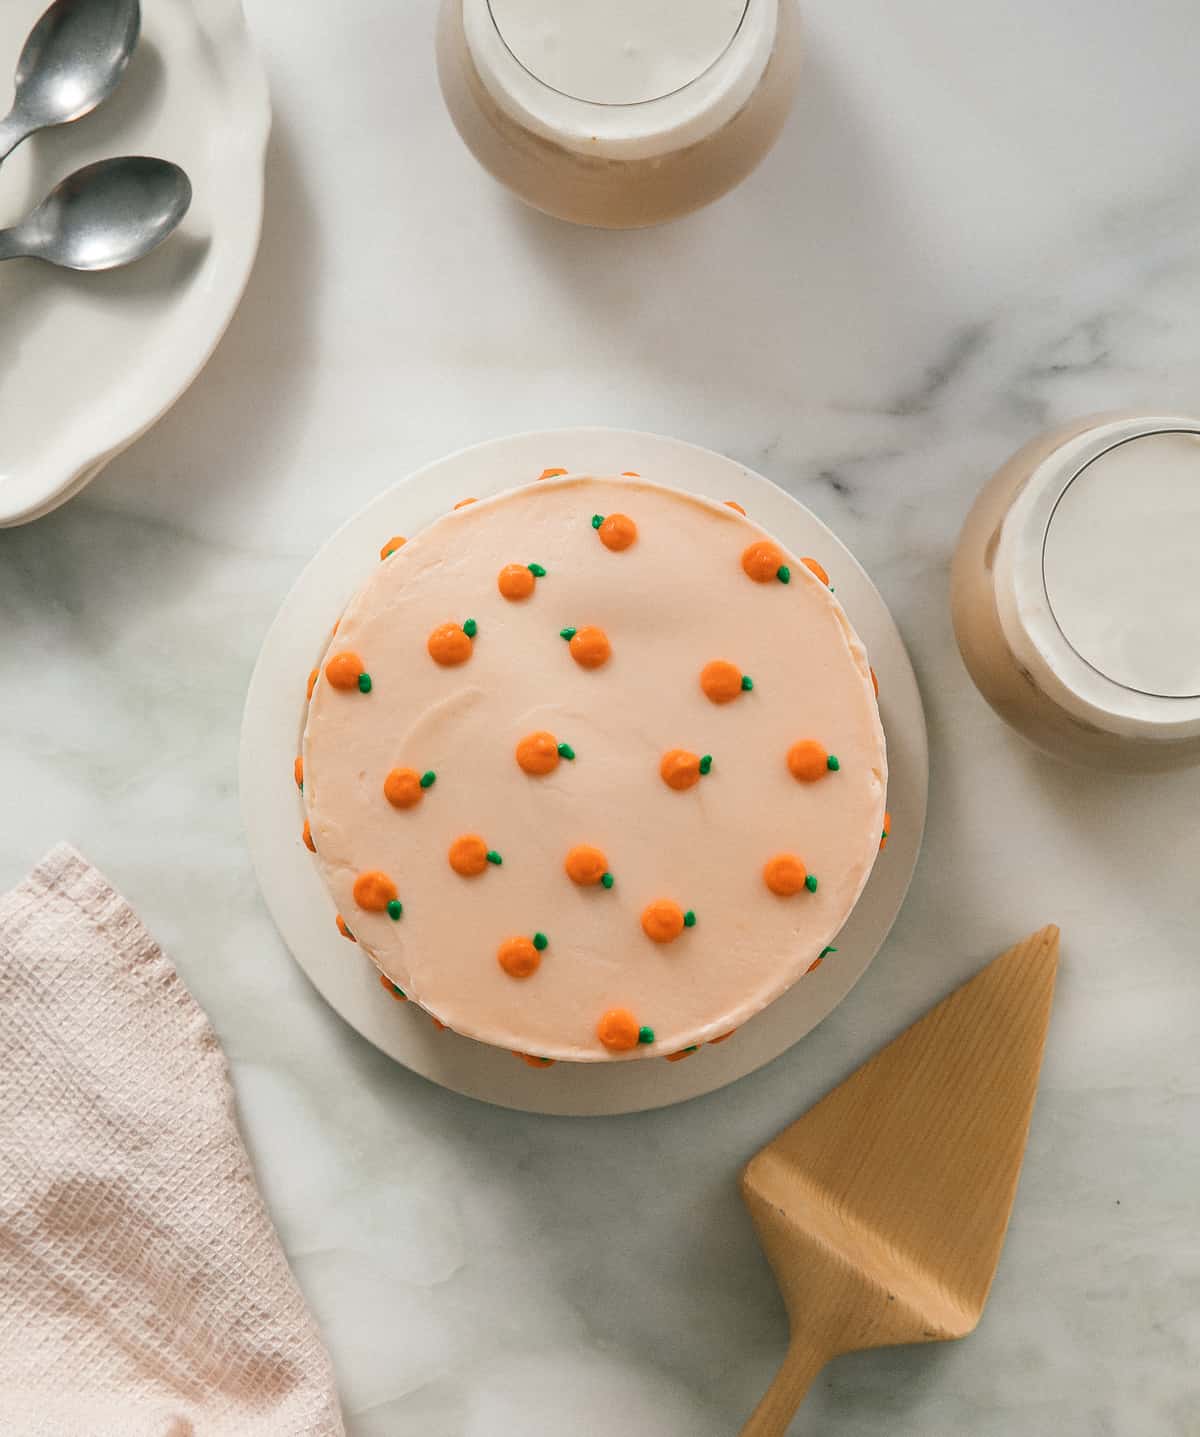
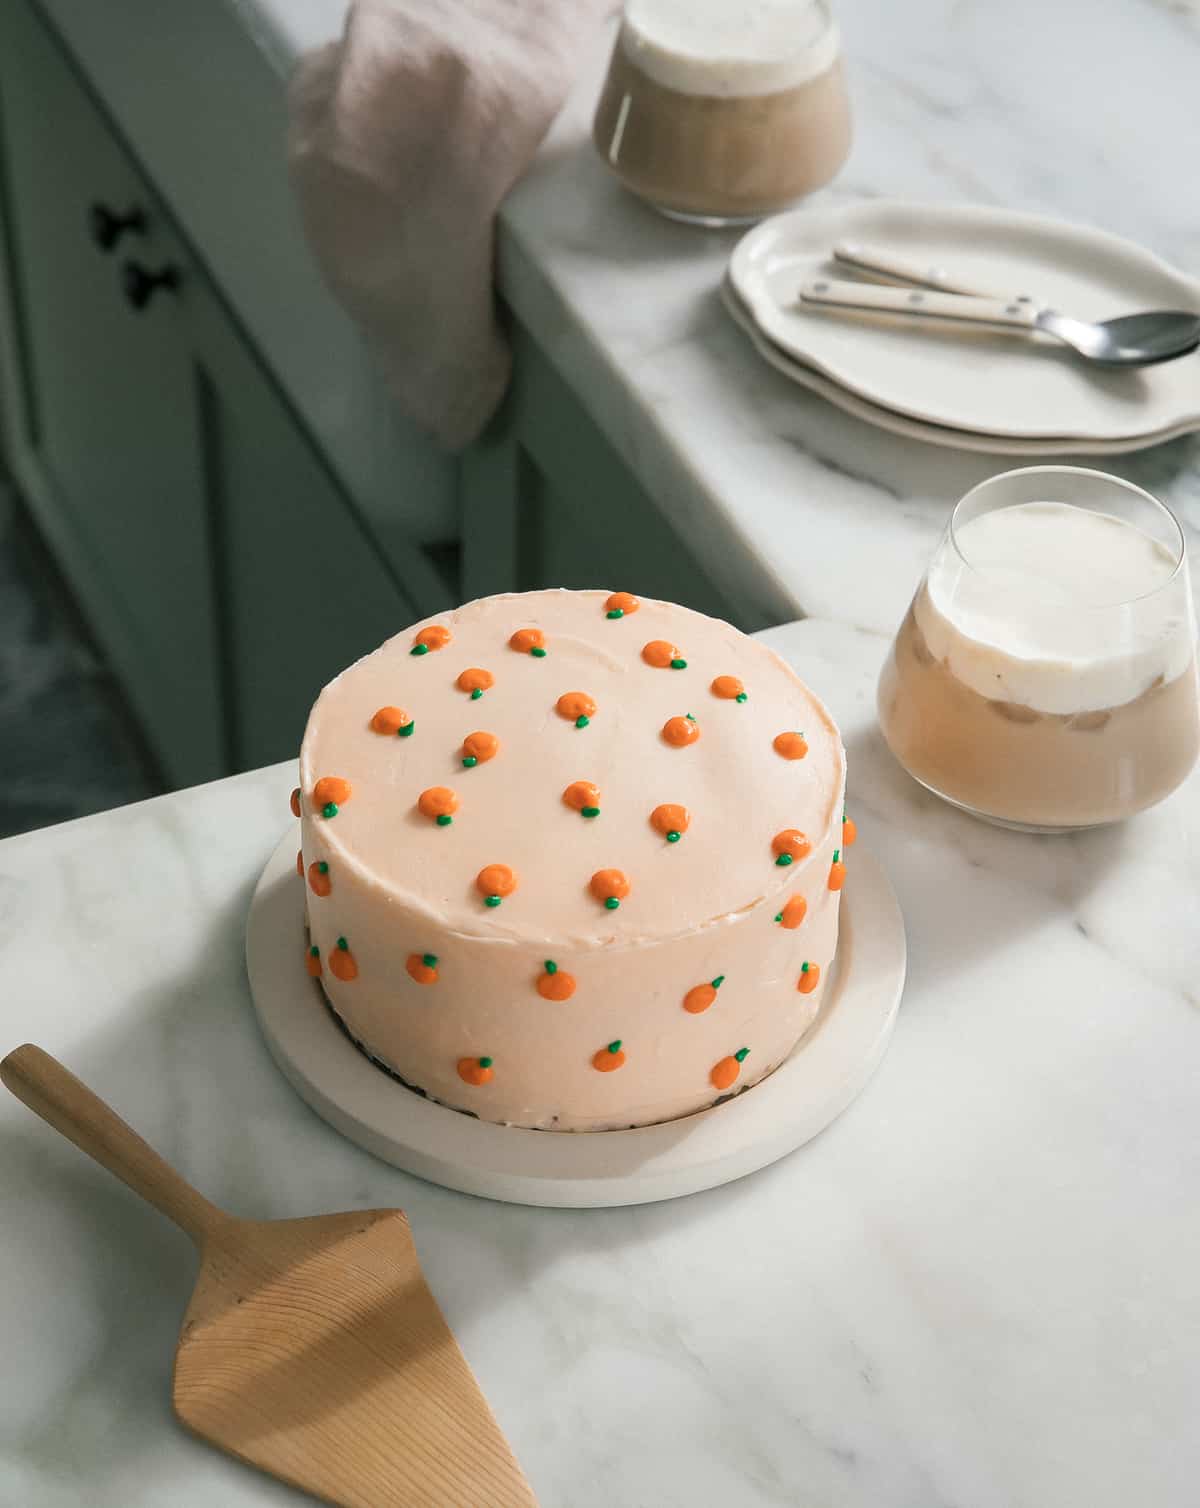
- The decoration of little oranges is up to you. But I include more detailed instructions below.
Tips and Tricks
- To Make Ahead – If you want to make this a day ahead, you can bake the cake layers and then wrap them in plastic wrap. Stick them in the fridge and decorate them the next day.
- To Store – I always suggest storing cake at room temperature. Cold cake is terrible. And it dries the cake out when not wrapped properly.
More Cozy Desserts Recipes

If you tried this Creamsicle Cake Recipe or any other recipe on my website, please leave a 🌟 star rating and let me know how it went in the 📝 comments below. Thanks for visiting!
Creamsicle Cake
Video
Ingredients
Creamsicle Cake:
- 3 (390g) cups all-purpose flour
- 2 1/2 teaspoons baking powder
- 1 teaspoon kosher salt
- 2 1/2 (500g) cups granulated sugar
- 1/4 cup orange zest, (from about 4 oranges)
- 1/2 cup unsalted butter, at room temperature
- 1/3 cup neutral oil
- 1 tablespoon pure vanilla extract
- 2 drops orange food coloring gel, (optional)
- 1/3 cup milk
- 6 large egg whites
- 1/2 cup orange juice, (from about 4 oranges), strained to remove pulp and seeds
Buttercream Frosting:
- 12 (336g) ounces cream cheese, at room temperature
- 3/4 (170g) cup unsalted butter, at room temperature
- 1 pod vanilla bean, scraped OR 2 teaspoons pure vanilla extract
- 5 cups powdered sugar, (plus more for the decoration)
- 2 tablespoons heavy cream
Orange Decoration:
- Orange food coloring gel
- Green food coloring gel
Instructions
To Make the Creamsicle Cake:
- Preheat oven to 350F. Grease two or three 8-inch cake pans.
- In a medium bowl, whisk together the flour, baking powder and salt. Set aside.
- In the bowl of a stand-up mixer with the paddle attachment (alternatively you can do this in a large bowl with an electric mixer), add the sugar and orange zest. Beat the two together. This will release all of the fragrant oils in the orange zest and infuse them in the sugar. We want this, we need this. Add the butter and vanilla extract; beat until light and fluffy, about 2 to 3 minutes. If you want the cake to be orange in color, add 2 drops of food coloring gel. This is of course optional. Pour in the oil and beat once more.
- In a measuring cup, pour in the milk, egg whites, and add the strained orange juice; whisk together.
- Turn the mixer to low speed and, alternating between the dry ingredients and the liquid ingredients, add them to the butter/sugar mixture, until the batter is relatively smooth.
- Divide the batter amongst the two or three prepared baking pans and smooth it out until it reaches the sides. Transfer to the oven to bake for 20 to 22 minutes, until a skewer inserted into the center comes out clean.
- Allow the cake layers to cool in their pans for about 10 minutes and then invert onto a cooling rack and cool to room temperature. It’ll probably take a good hour.
To Make the Buttercream Frosting:
- In the bowl of a stand-up mixer with the paddle attachment (or a medium bowl using an electric hand mixer), add the cream cheese and beat until smooth. Then add the butter and beat for about 10 seconds. This will just smooth everything out.
- Add the powdered sugar, salt, vanilla and heavy cream. Beat for a full 2 minutes to ensure fluffy, delicious frosting.
To Make the Orange for Decoration:
- To two bowls, add about 1/4 cup of frosting to each. You can eyeball this. One will be our orange and another will be our stems (green). Add a drop or two of orange food coloring to one frosting bowl. And add a drop or two of green food coloring gel to the second frosting bowl. Mix until smooth. Transfer the orange frosting to a piping bag fitted with a #3 round piping tip.
- Transfer the green frosting to a piping bag fitted with a #1 round piping tip.
To Decorate the Cake:
- Add the frosting to the top of the cake and smooth it out into an even layer. Make it cute with some swoops.
- If you didn’t do the oranges above, no biggie. Top it with some sprinkles OR leave it as is. It’s cute.
- To add the oranges, pipe on rounds of frosting; they’ll end up looking like oranges once we add the tops. Add as many as you like. Make them any size you like, too. Dip your finger in a bit of water and tap the tops of the oranges to make them appear smoother.
- Pipe on a “leaf” shape at the top of each of the oranges. This will make it appear like they have a stem.
To Store Cake:
- I keep this cake at room temperature on my counter. I don’t own a glass cake cover so I use a colander. This cake is delicious for about 2 to 3 days. If my way leaves you unsettled, you can always place the cake on a large plate or baking dish and cover it with plastic wrap. You can also place slices in containers with lids and just store them at room temperature.
Notes
Nutrition
Nutrition information is automatically calculated, so should only be used as an approximation.








My son gave his baby sister the nickname “Mrs.Cutie” so I’m making this for her cutie themed first birthday! If I want twice as many cupcakes do you think I would get a better result by doubling the recipe or making two separate batches? Thanks!
Is it possible to substitute the egg whites with whole eggs?
nope unfortunately you need to follow the recipe as is 🙂
This cake is delicious!! I used a different frosting recipe than what was called for here, but it still turned out delicious!
Delicious cake! The orange cake was so flavorful. The next time I make it I’ll add another tablespoon of heavy cream to thin out the buttercream to achieve a smoother look and texture.
This cake was easy to make, however it is too sweet. I did not add all of the sugar that’s suggested for the frosting and it was still too sweet. The bread itself was really good, it had an amazing orange flavor overall.
Haha – no worries. That makes a ton more sense. We’ll give it a go!
We want to make this pie but are confused about the reference to “drums” – what is this referring to?
AHHH! It should be crumbs. That’s so weird. I have no idea why/how I didn’t catch that.
This pie is completely beautiful and sounds delicious. I’d love to try it.
this looks so pretty!!! I wish i liked pies more. i’m more of a cake girl hehe. and i totally feel you about running a shop. i LOVE TO BAKE. like seriously it’s my calling and it’s all i ever want to do. but i like taking all the time in the world and giving them as gifts. the idea of running a shop would take all the fun out of it and it’d just be about money and i’d have people baking for me and blah blah blah. WHY IS LIFE SO HARD?! lol
Quick question! What is the white surface that these photos are taken on? I’ve been using foam board when I do this, but it is HORRIBLE because I basically ruin them all the time if there is ever any liquid or food stains. I’ve dying to find a matte white surface like this one!
Oh! This thing is great. All it is one of those white desk tops you can buy separately from Ikea (I didn’t even bother buying the legs). I got it for $5!
Thank youuuu! I just bought it online! Woot.