Disclosure: This post may contain affiliate links, which means I may earn a commission if you click on the link and make a purchase.
Have you ever excitedly eaten something green, forgot you ate something green, and then talked and talked to all sorts of people you don’t know all that well?! I mean, maybe you even smiled and laughed a whole lot more than you usually do. You were feeling the moment.
And then you went to the restroom, as humans do, to only then look in the mirror and see a gigantic piece of GREEN THING stuck in between your two front teeth. UGH.
You know what the blogging equivalent? Accidentally hitting publish and not realizing it and then the next morning find your half written post up on the internets for everyone to see. UGH! That happened with this post.
I had a piece of blogging piece of spinach stuck in my teeth for like a while and it was not ok. But I’m over it and moving on so here we are…preserved lemons. Let’s preserve them.
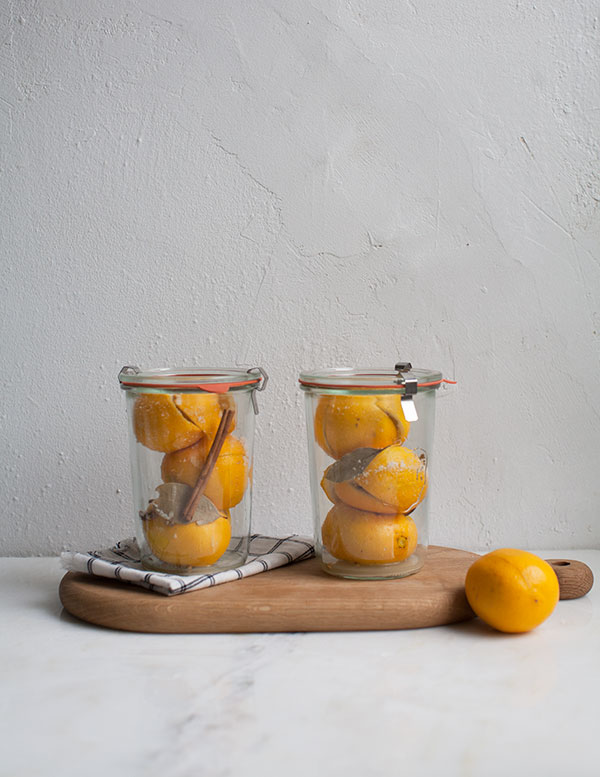
Preserved lemons are basically lemons that have been salt packed and pickled in their own lemon juice. Think of it like the confit-ing of the pickle-world.
I like to add spices to mine like coriander, bay leaves and cinnamon sticks, but really you can include all of them or none at all. All you really need is salt.
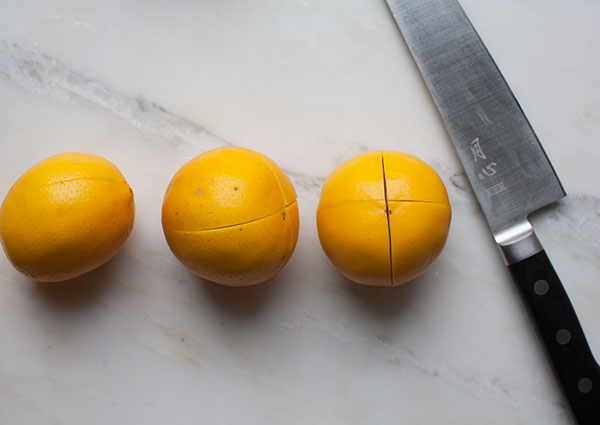
To start, you make an X in each of the lemons and then you rub each one with a good amount of salt. In a jar they go for thirty days. After that you have preserved lemons that you can cut up and add to all sorts of dishes. In thirty days, I’m not kidding, I’ll be sharing a follow-up post to these!
So, if you like, do it with me! In thirty days you’ll have preserved lemons AND a new recipe to incorporate your newly preserved lemons. Yes for projects!

Preserved Meyer Lemons
Ingredients
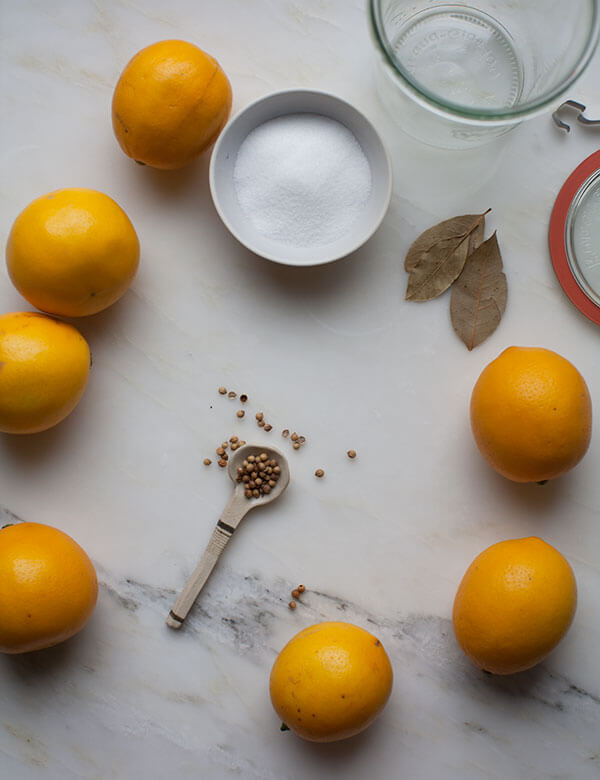
- 3 to 4 Meyer lemons, washed
- 1/4 cup fine-grain sea salt
- 8 to 10 coriander seeds
- 2 bay leaves
- 1 cinnamon stick
Instructions
- Begin by scrubbing the Meyer lemons clean and drying them thoroughly. To your glass jars (you may need a few depending on how big your lemons are), divide the coriander seeds, bay leaves and cinnamon sticks amongst them.
- Using a knife, quarter a lemon at the top, stopping from about 1/2 inch from the bottom of the lemon; be sure to stop before you cut all the way through--the lemons should still be intact! Slice an X in the remaining lemons.
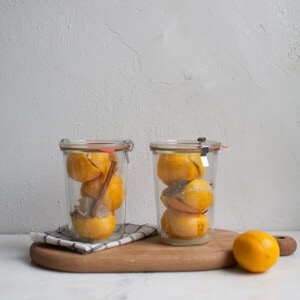
- Over a small bowl, pour about a tablespoon of salt on the exposed flesh and rub a bit on the outside skin, too. Reshape the lemon and transfer it to a clean glass jar. Repeat with the remaining lemons. Any extra salt you may have, divide amongst the jars.
- Also, don't be shy to pack the lemons in there, which will release some of their juices--this is good! Keep the jars in a warm place, giving them a good shake every few days, for about 30 days. You might be wondering what you can do with your preserved lemons; well, I'll be showing you that in 30 days!


Have some that are on day 20! I want to see what kinds of recipes you use these in when they are ready…..just 30 more days 🙂
Oh nice! I’m on day 12 (I did took these photos about a week before it was posted) so a recipe isn’t too far away! 🙂
I love this idea! I’m interested to see what you end up doing with them!
I am going to try this! Meyer lemons are the best, and I would love to preserve them. Thanks for the tips!
I love this idea!
What a wonderful idea and it seems very easy. Thank you. xo
I can’t wait to try this! I must give some regular lemons a shot at preservation too since we have a tree in the yard. I think the rinds will be too thick though. Hmmm….oranges? Hard to balance with the salt unless there was a lot of hot pepper there too. It sounds like something fun to play with and your photos are gorgeous, thanks!
Oh my boyfriend tried this with grapefruits! They’re being preserved right now so I’ll have an answer for you soon! I think oranges will definitely work.
Oh you made me laugh with this story! I absolutely adore preserved lemons. I made some up for gift giving this holiday season and they were a big hit! Gorgeous photographs!
Do the jars need to be steam sealed? Can’t wait to get started on this!
Nope! All you need is for it to be covered with an airtight lid!