How to Make a Corgi Cake (and a Pug Cake, Too!)
20
Updated Jul 18, 2025, Published Jul 10, 2017
Disclosure: This post may contain affiliate links, which means I may earn a commission if you click on the link and make a purchase.
I always feel blessed that I have a career where I get to make things every single day (basically any creative person’s ultimate goal). Sometimes it doesn’t always feel all that romantic, particularly when I’m wiping grease off my kitchens’ walls or washing an absurd amount of dishes, but even in those moments, if I think kinda hard, I’m pretty happy.
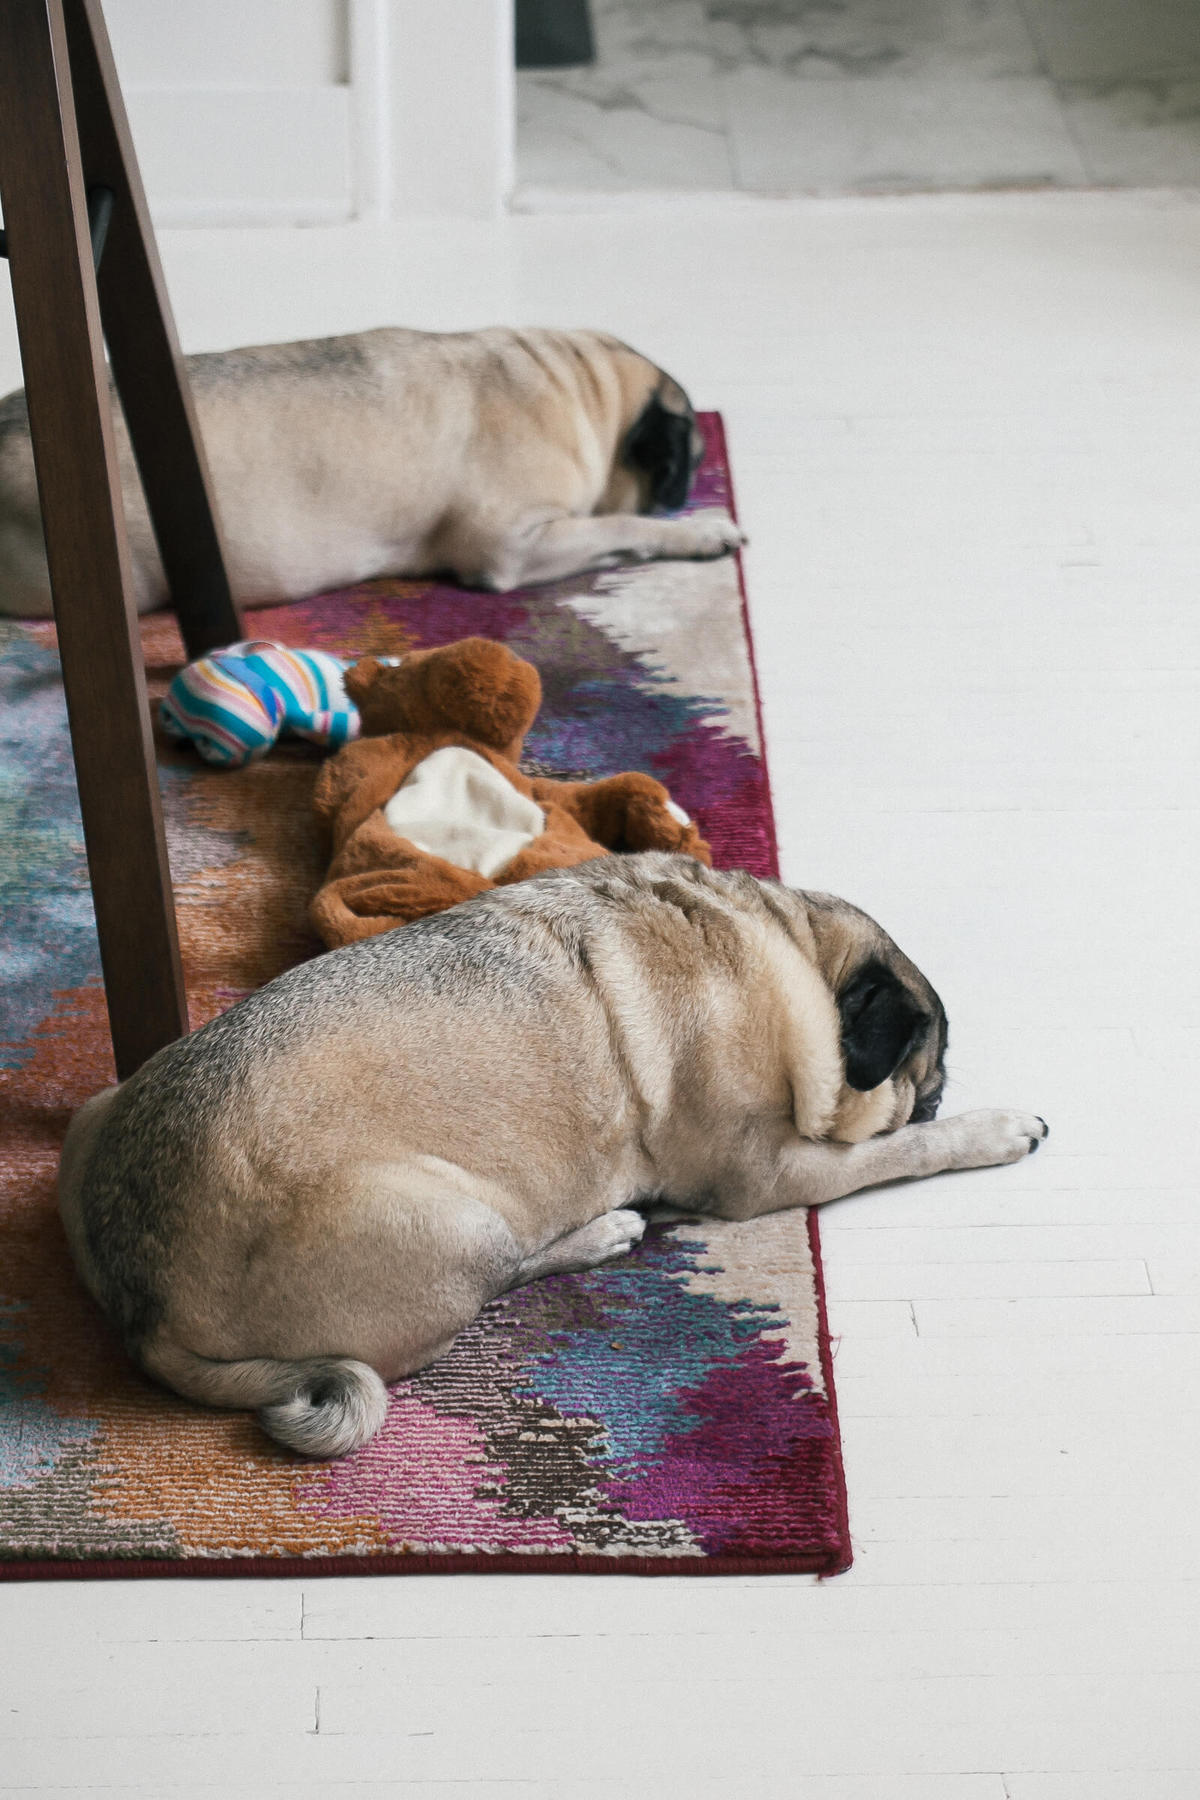
Another plus about this creative world called blogging, I get to meet other creative people, too. Last week, I drove like five minutes away to hang out with Alana and make this cake.
She makes the most unreal cakes. A lot of them are just total pieces of art that I would be shy to eat. A bonus, her cakes taste SO good. I was at a friend’s bbq and she brought some corgi cupcakes and they were so fluffy and so soft. I was in love.
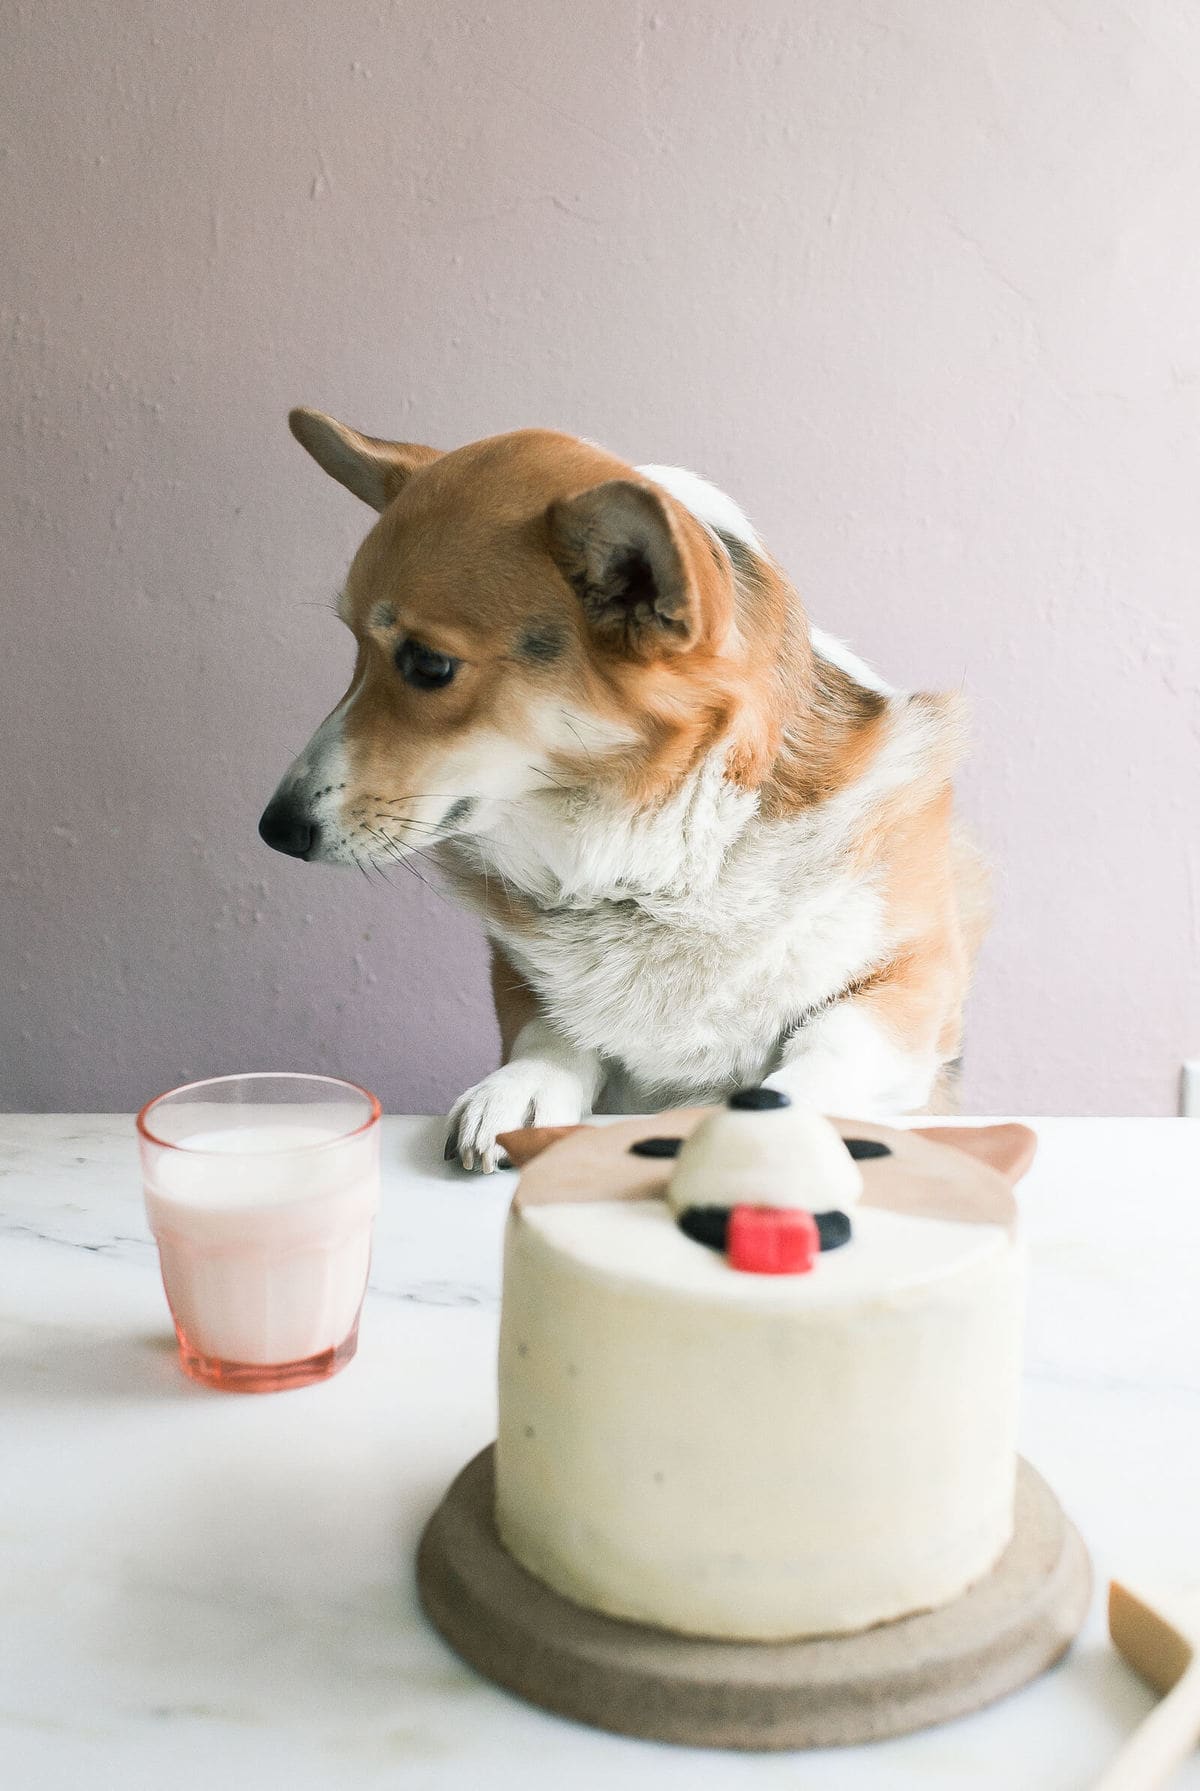
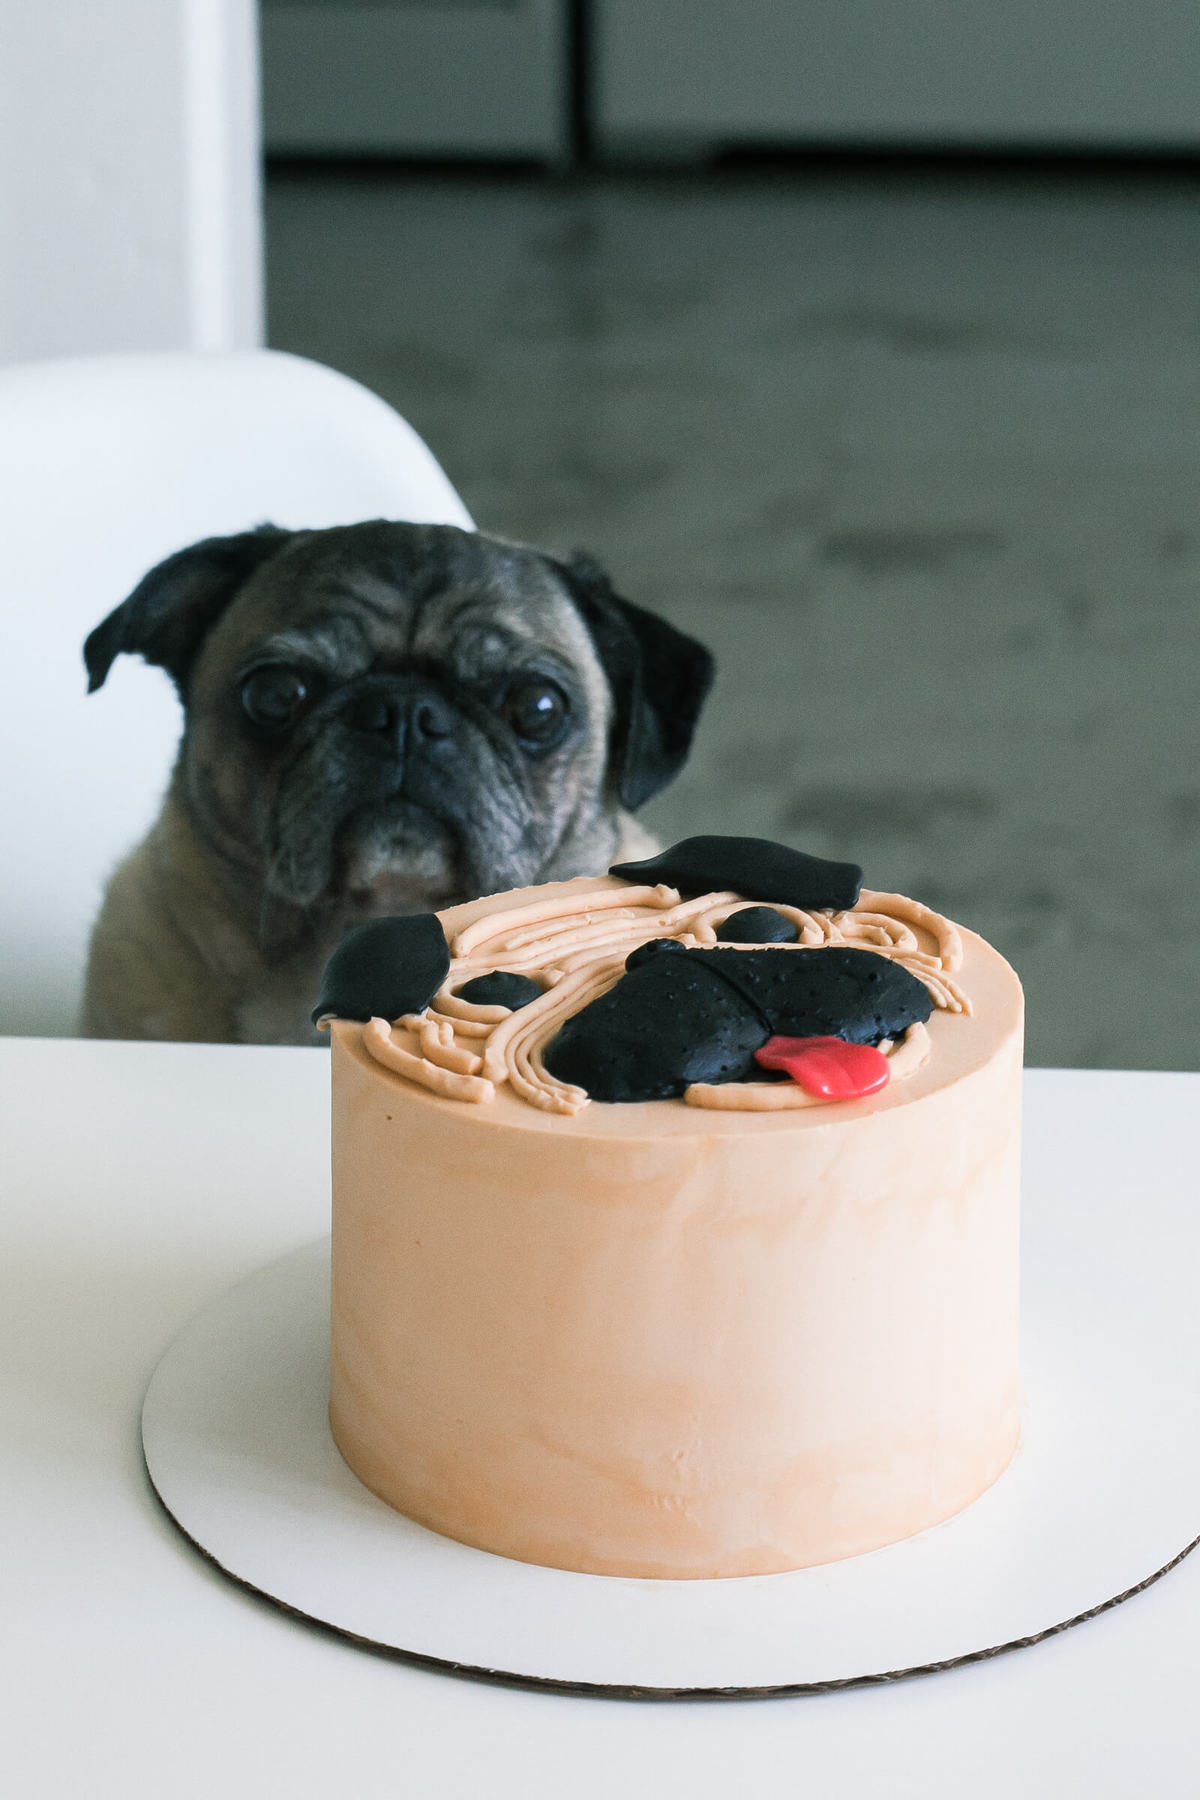
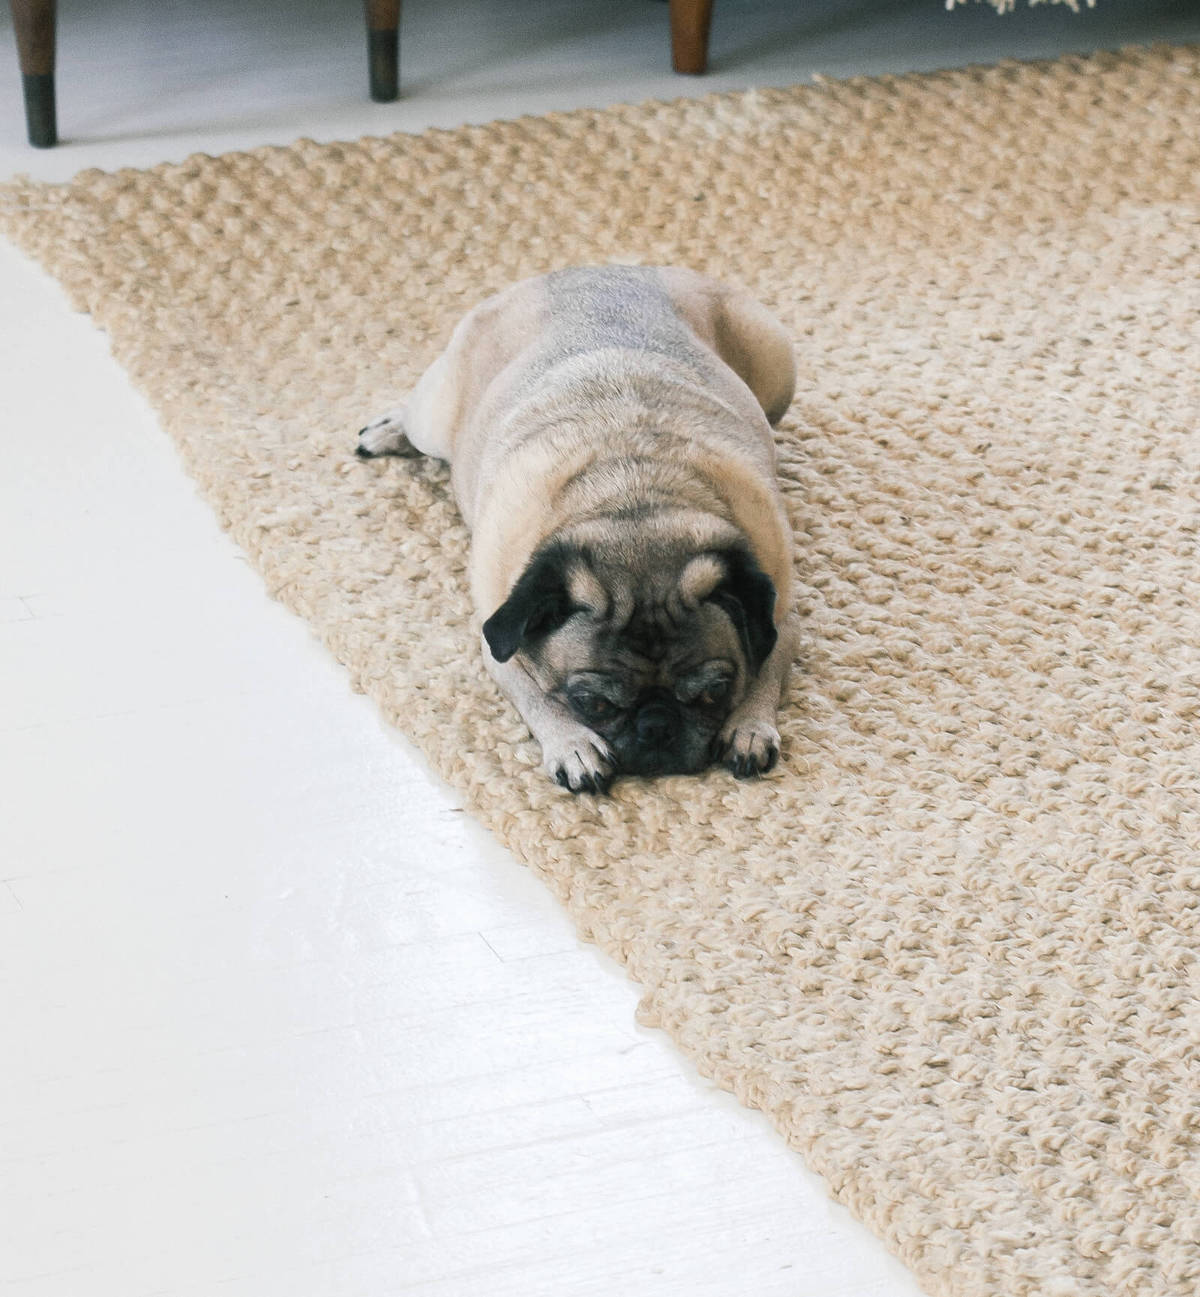
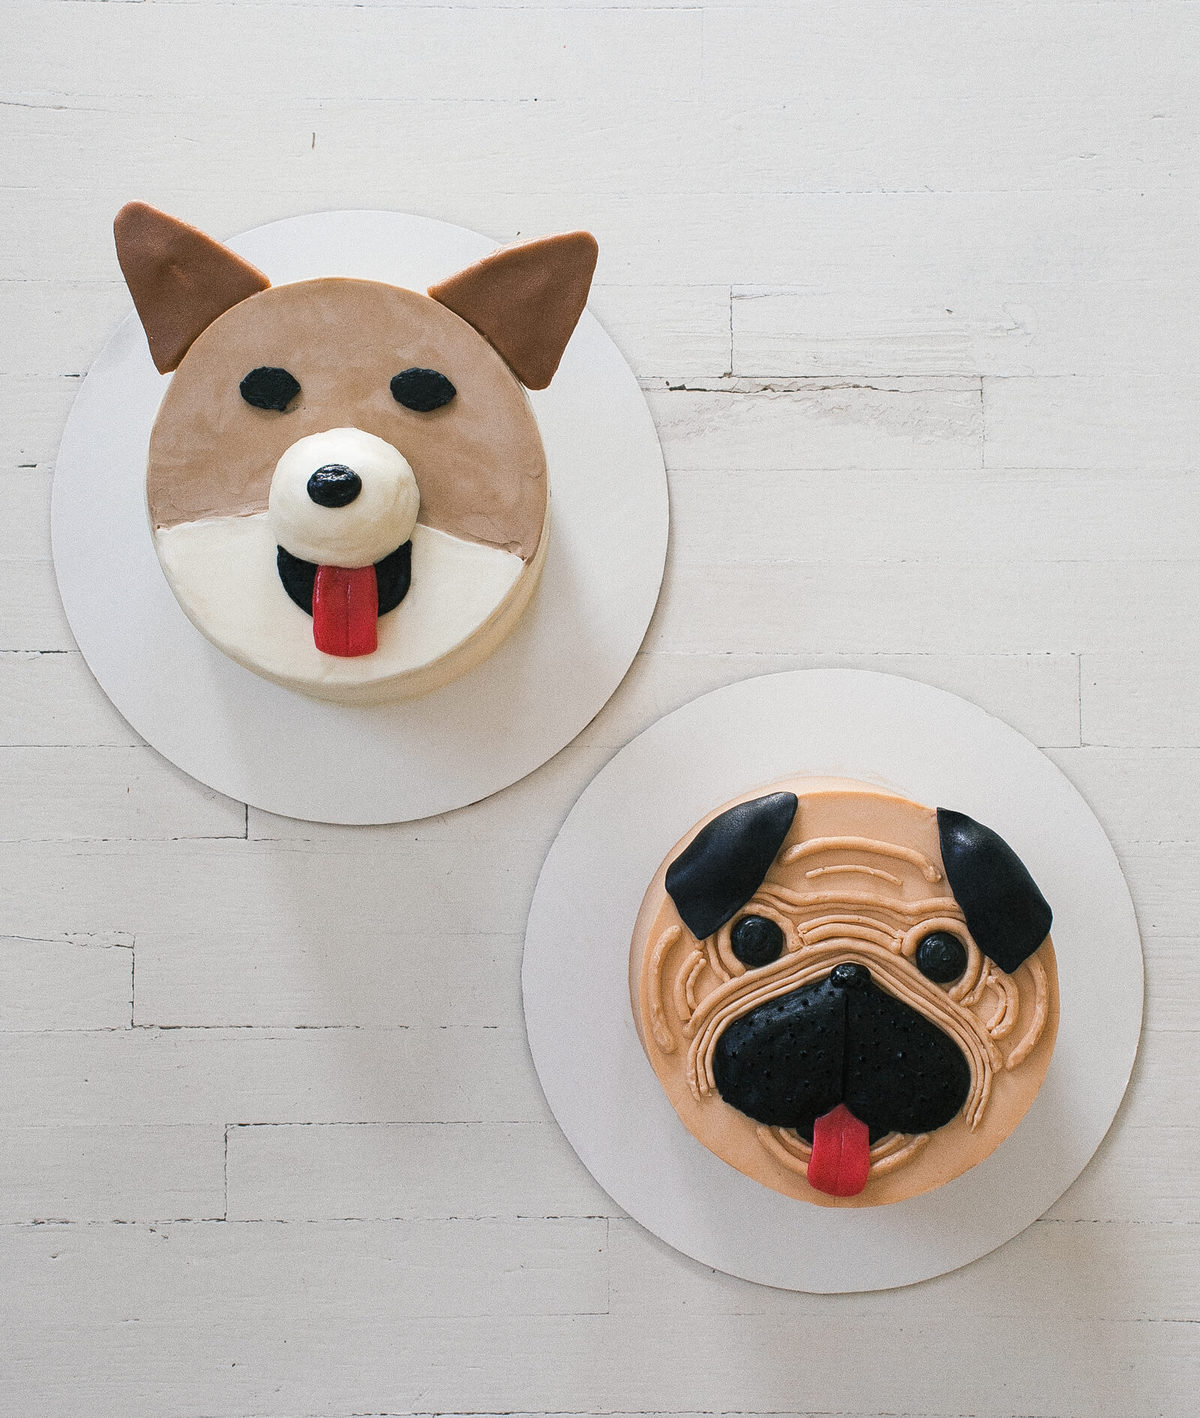
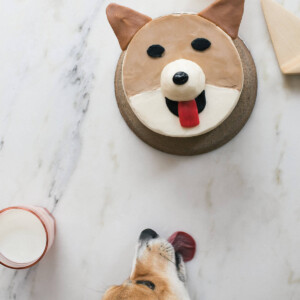
SO, we thought it would be fun to make side-by-side dog cakes. I did the corgi, inspired by that feral beast I own, Amelia. And she made a pug cake, inspired by her two baby pugs.
It was also nice to have some emotional guidance and support from her because I had never made a corgi cake before and it definitely required some planning and sketching.
It was also nice to have some emotional guidance and support from her because I had never made a corgi cake before and it definitely required some planning and sketching.
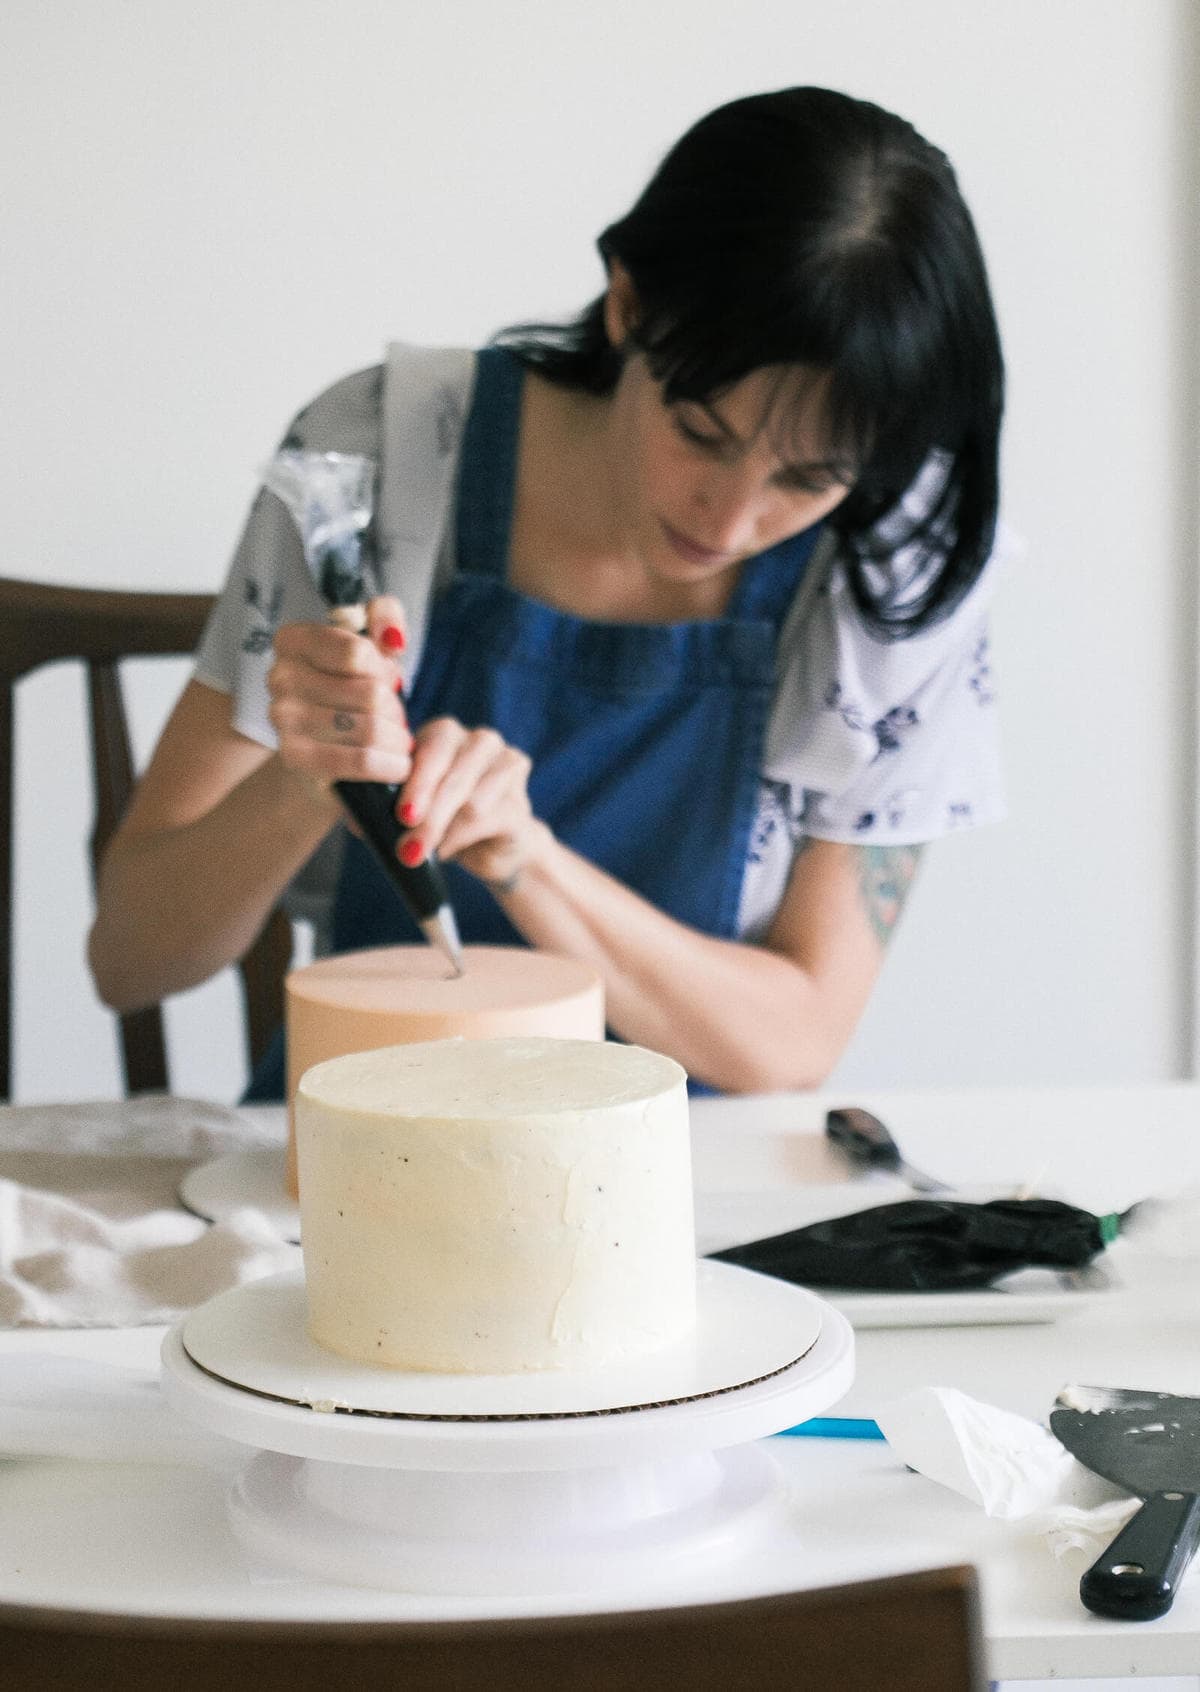
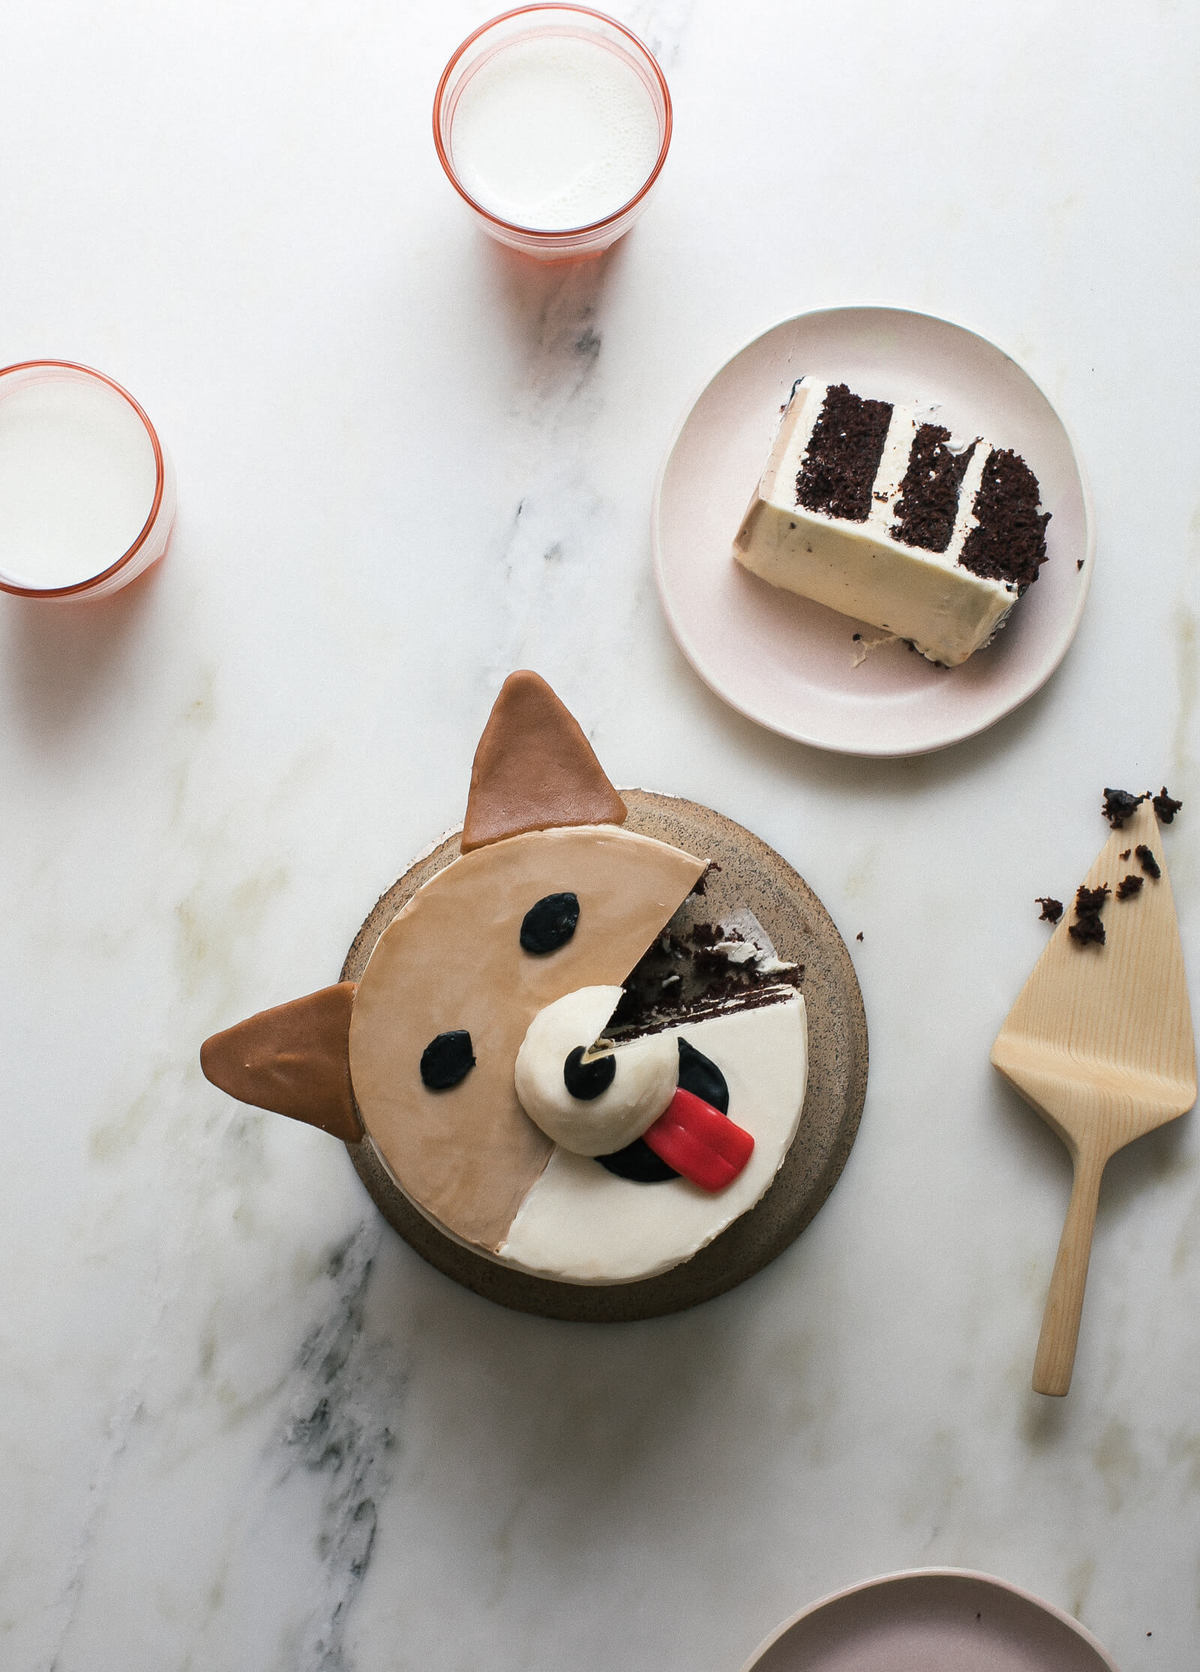
One-Bowl Chocolate Cake: To start things off, I made a three-layer (6-inch) chocolate cake. I used my one-bowl chocolate cake recipe because it is SO easy and delicious.

How To Make Corgi Cake and A Pug Cake
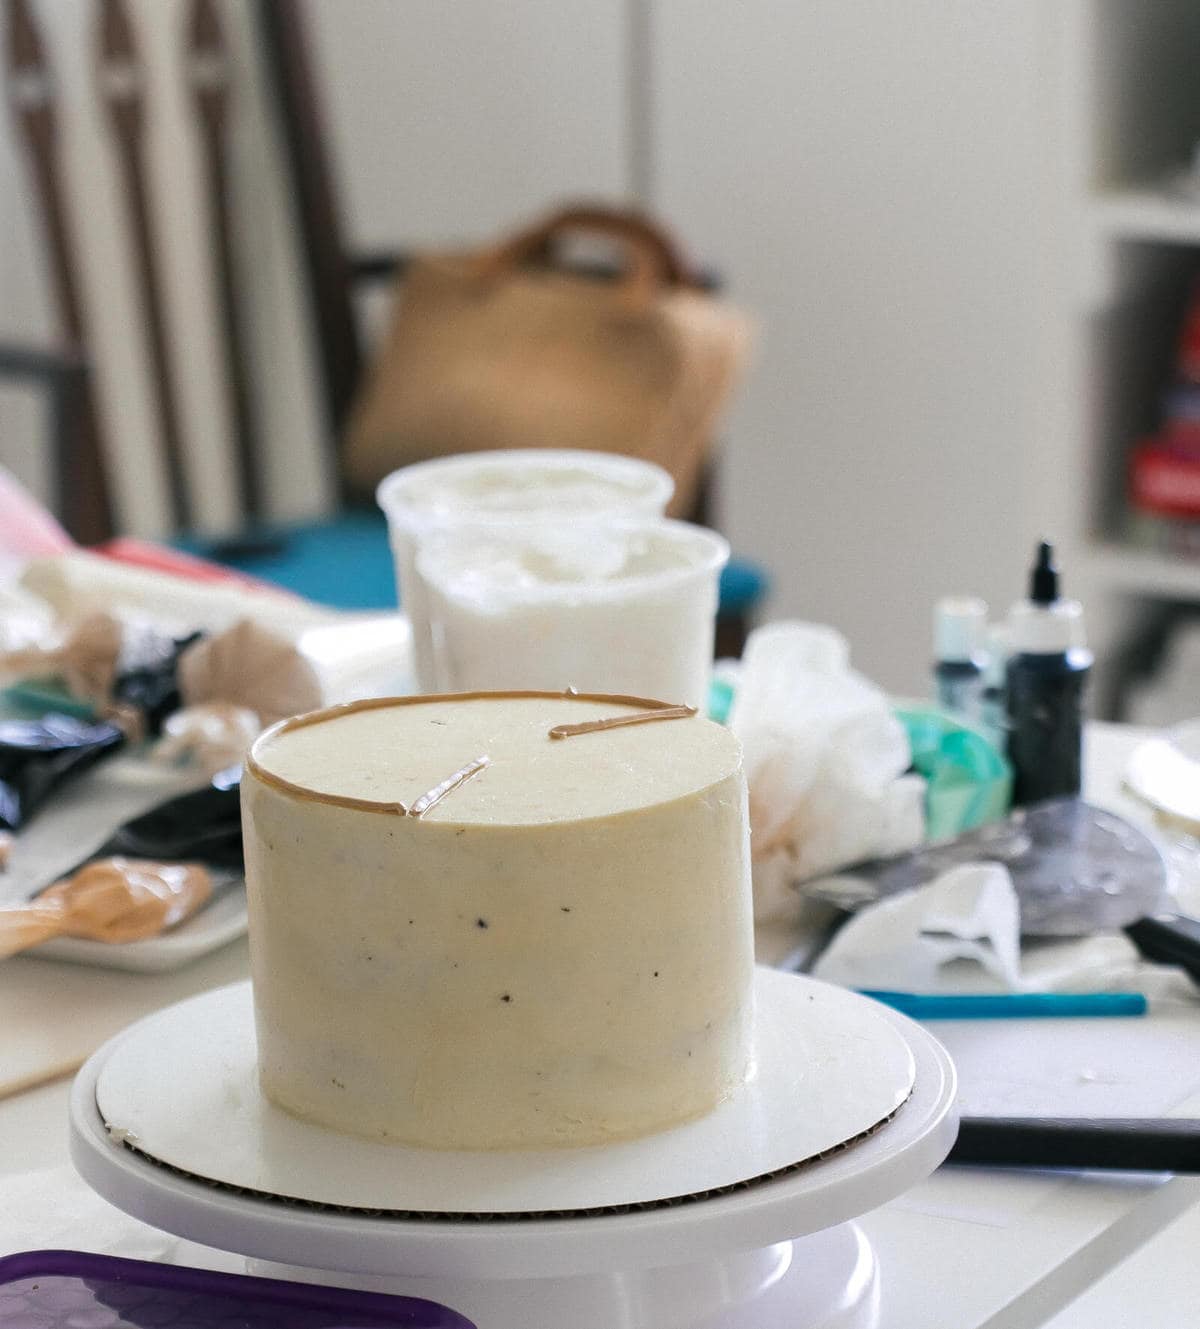
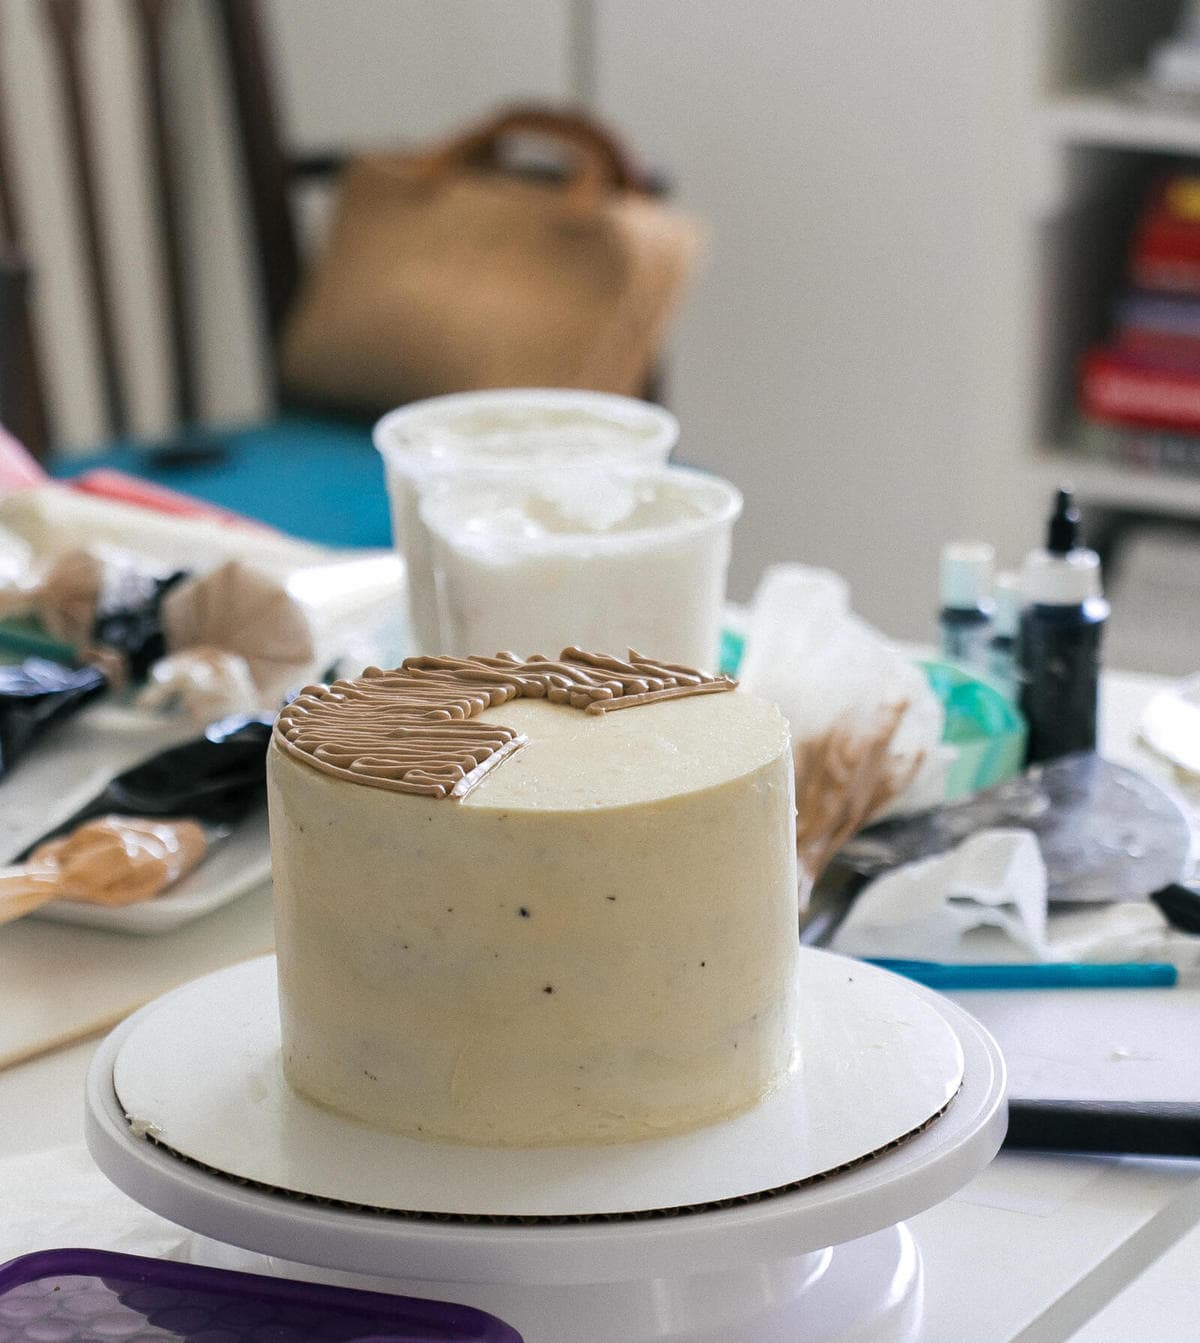
Big Batch of American Buttercream: The outside is a simple American buttercream (butter + powdered sugar) that Alana made. Here’s a link to a solid recipe. Alana separated the big batch into three different bowls and made a light brown color, black and white.
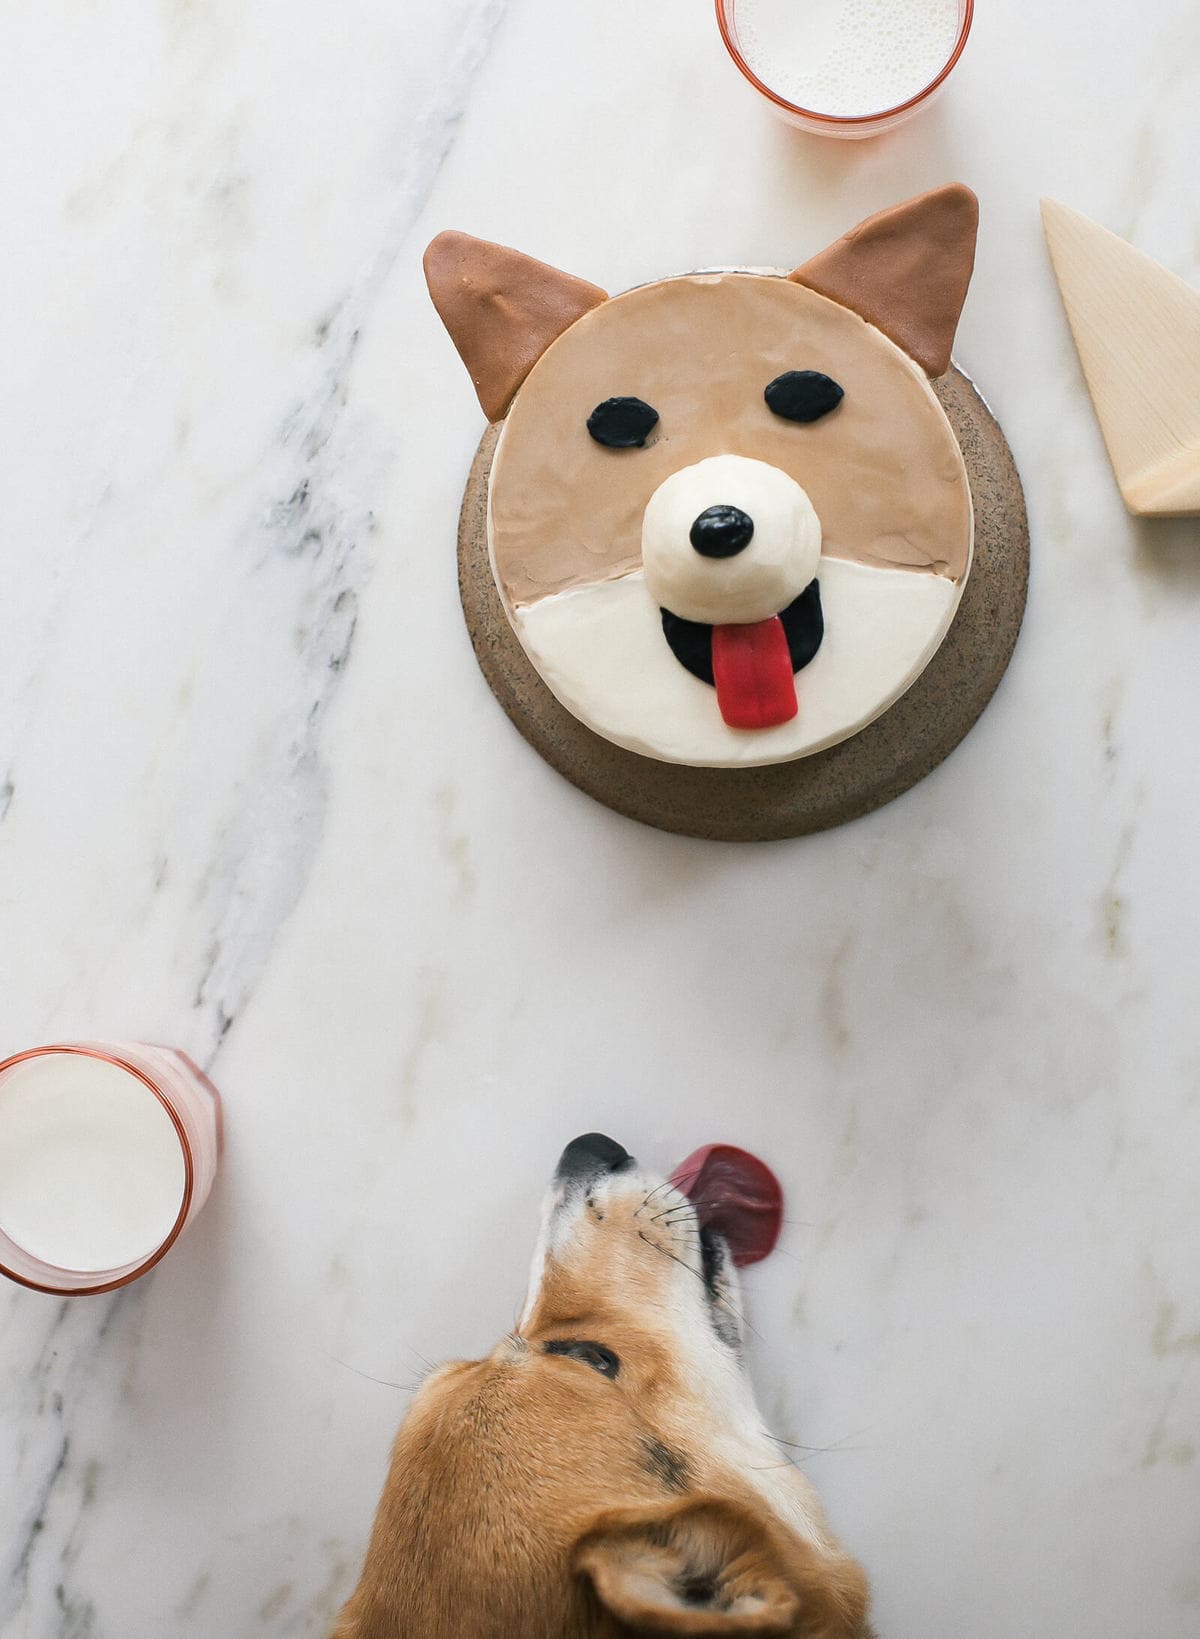
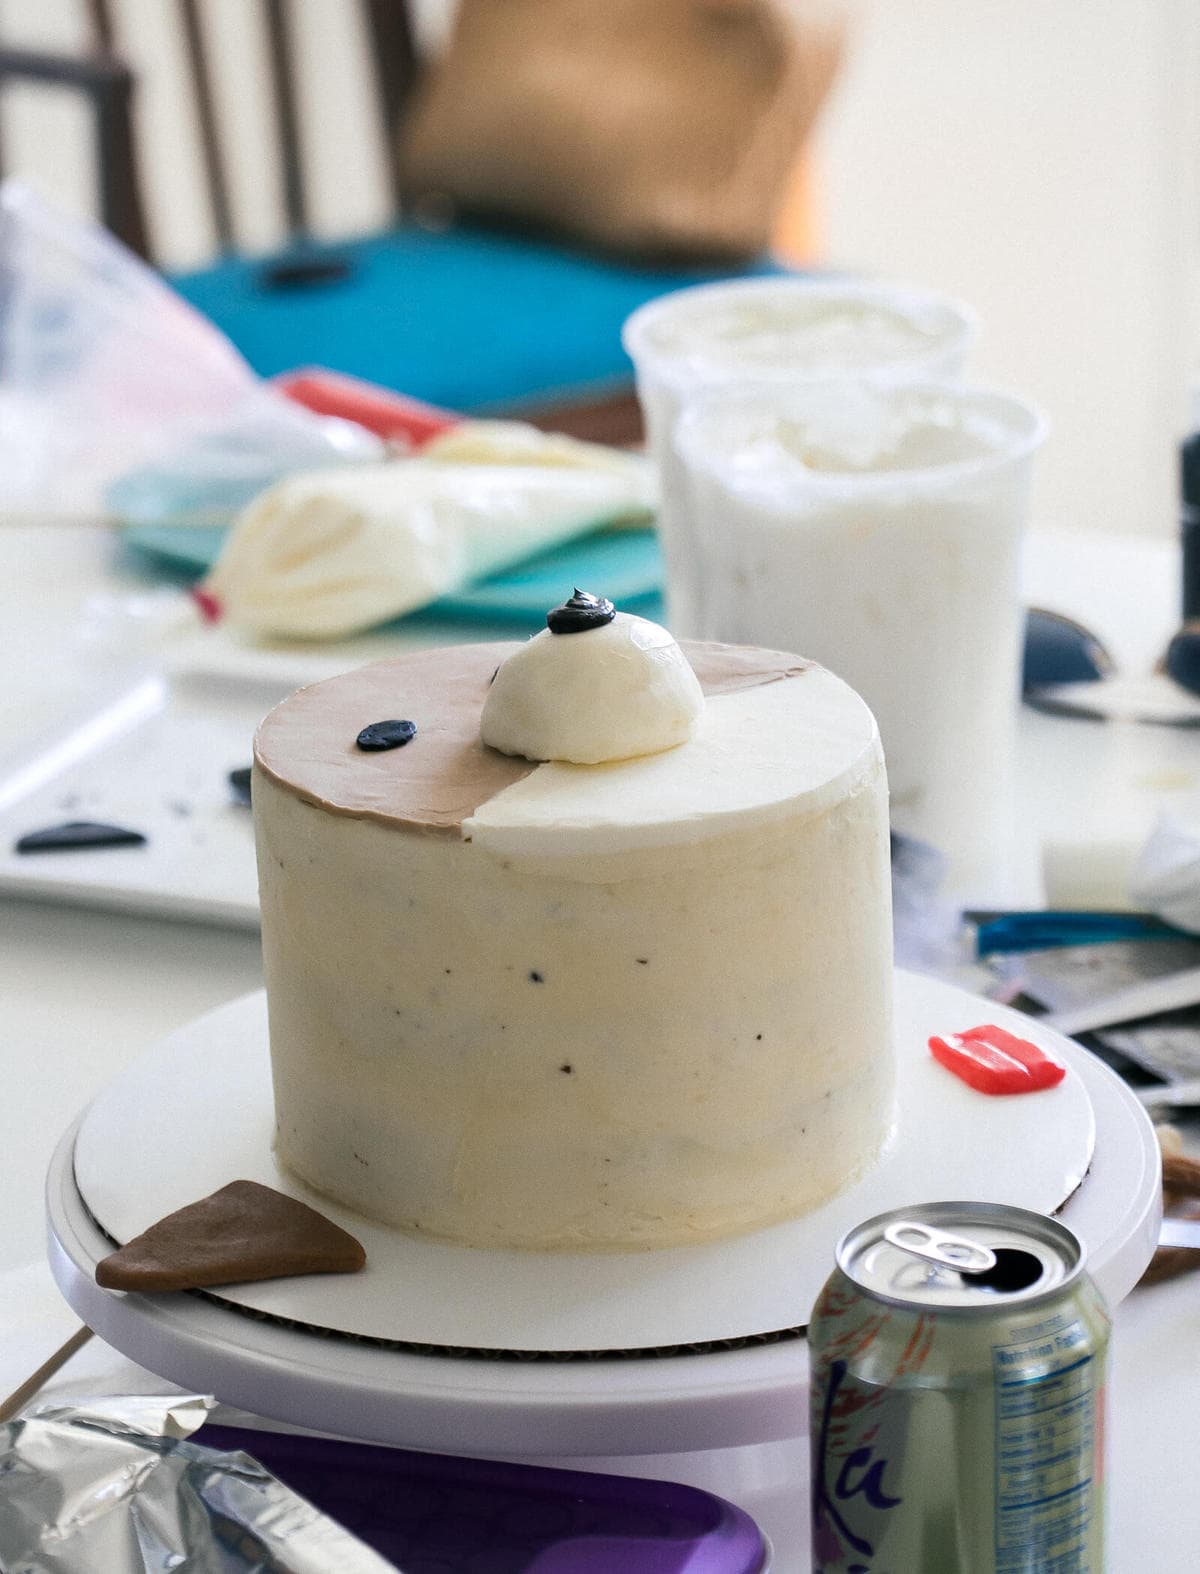
The Foundation of the Face: To start, I wanted to emphasize that corgis are usually light brown or sometimes black on the top part of their face and white on the lower half. (All corgis are different tho!)

So I made a sort of slanted V outline. And then filled it in with the frosting. I smoothed it out using a small offset spatula and then stuck it in the freezer for about 10 minutes.
Note: during this assembly, you’ll notice that the freezer/fridge is your friend.
After a 10 minute trip to the freezer, I added the lower part of the face with plain white frosting and smoothed that out. Using my (clean!) finger, I smoothed out the frosting on the top part of the face. It’s easier to smooth things out after it’s been in the freezer for a bit. I transferred the cake the freezer for another 10 minutes so it could set the bottom half of the face.
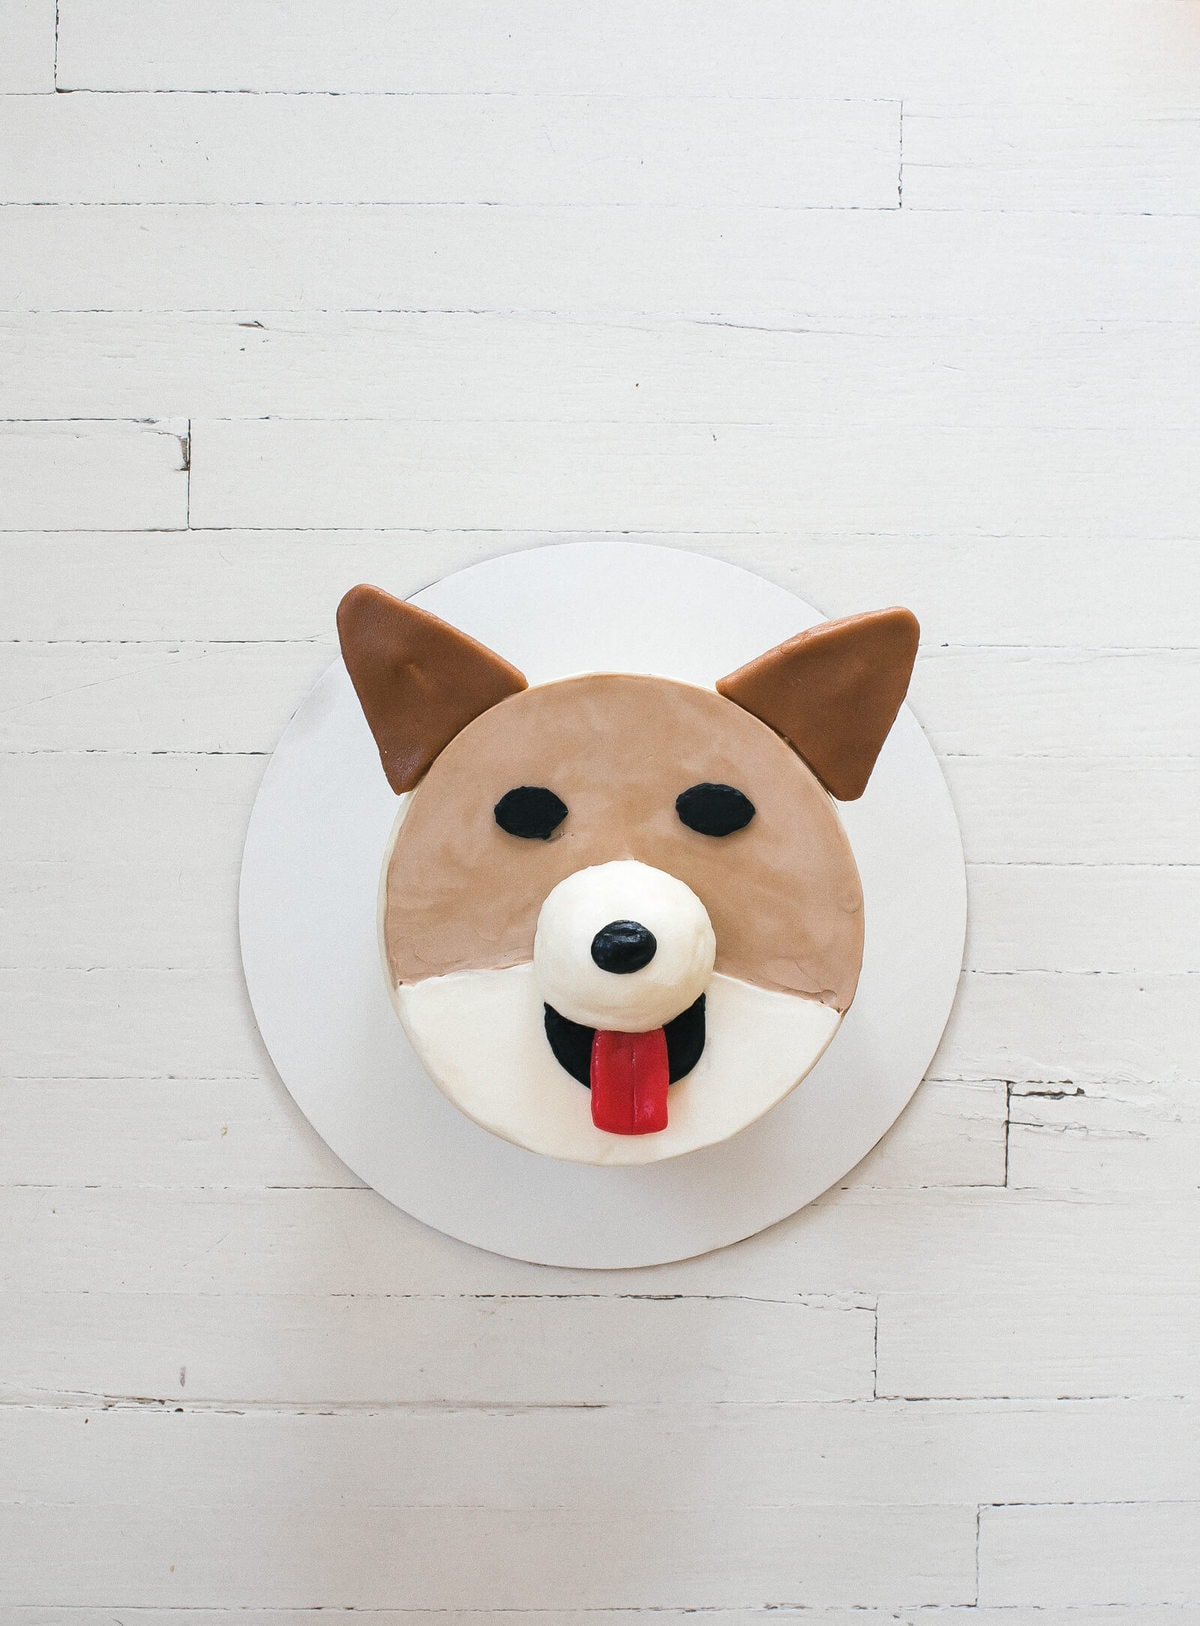
The Ears: While the cake was in the freezer chilling out, I made the ears.
I made these with marzipan! I’m not gonna lie, I sort of can’t stand the flavor of marzipan but it really worked in creating a stable ear. I mixed a drop of black food coloring and a drop of yellow food coloring and mixed it all together until it turned into the perfect shade of brown.
I sliced them with a knife to be the perfect shape. And then used my fingers to smooth the edges out a bit. If you don’t do this, then the ears will look a bit too fox-like.
The Nose: It was Alana’s idea to make the nose a bit more pronounced and 3-dimensional and I think it really works. She plopped on a round ball of frosting as the nose and then we stuck in the freezer to set.
I smoothed it out with my finger and then piped on the tip of the nose with black and piped out two almond shaped-eyes. Amelia’s eyes are my favorite part about her because they’re so big and she has the prettiest eyelashes. I wanted to attempt to include those but I got a bit overwhelmed with the idea of adding those.
Maybe next time!
The Mouth: Using the black frosting, I added the base for the tongue. It was sort of a U-shape and was super easy to pipe on.
The Tongue: Alana bought Airheads. Yes, those gross/delicious things we ate as kids! I thought it was a genius idea because the cherry flavor looks exactly like a tongue.
All it needed was a slice down the center so it looks a bit more like a tongue and some rounded edges.
I secured that on and placed the ears onto the cake and BOOM!
CORGI CAKE!

More Cake Recipes
Desserts
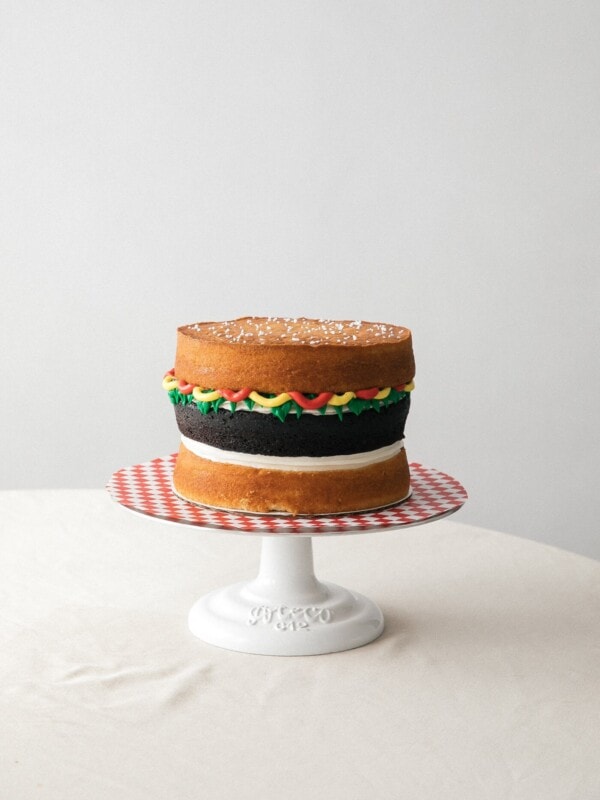
Hamburger Cake
Desserts
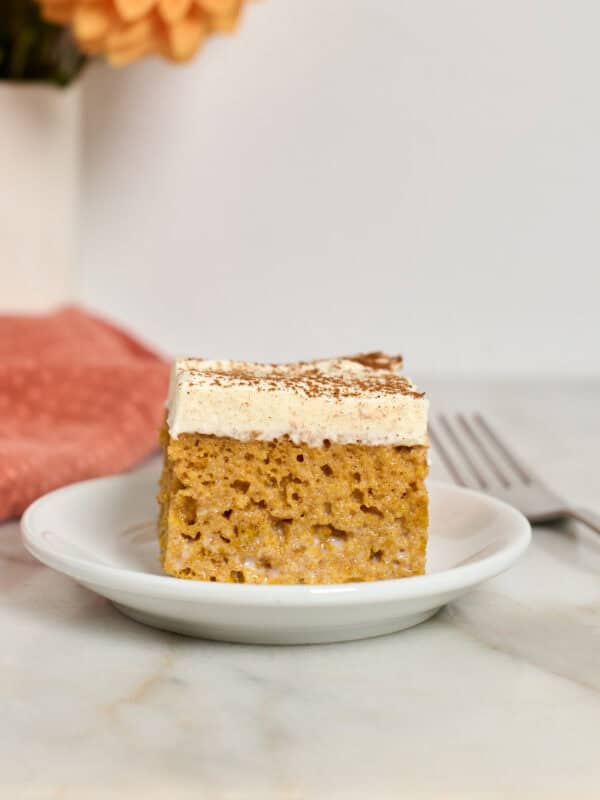
Pumpkin Tres Leches Cake
Valentine's Day
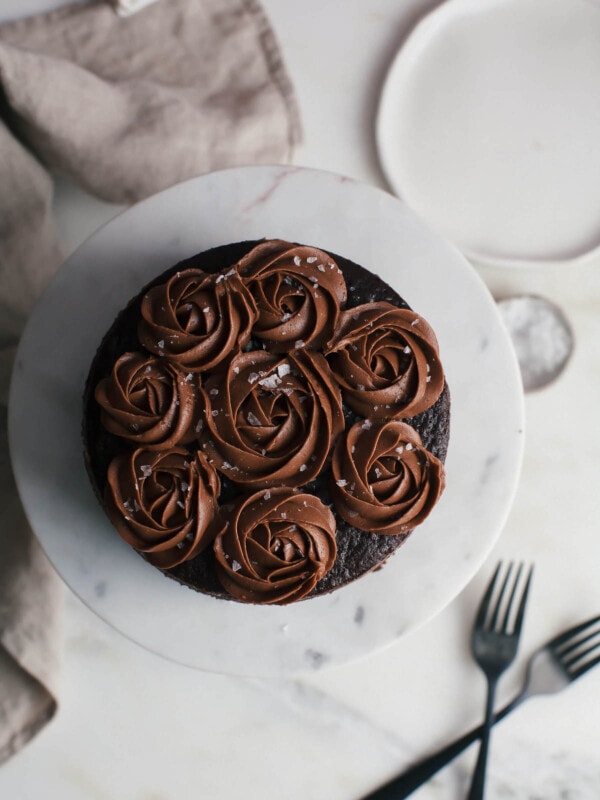
Chocolate Cake for Two
Desserts
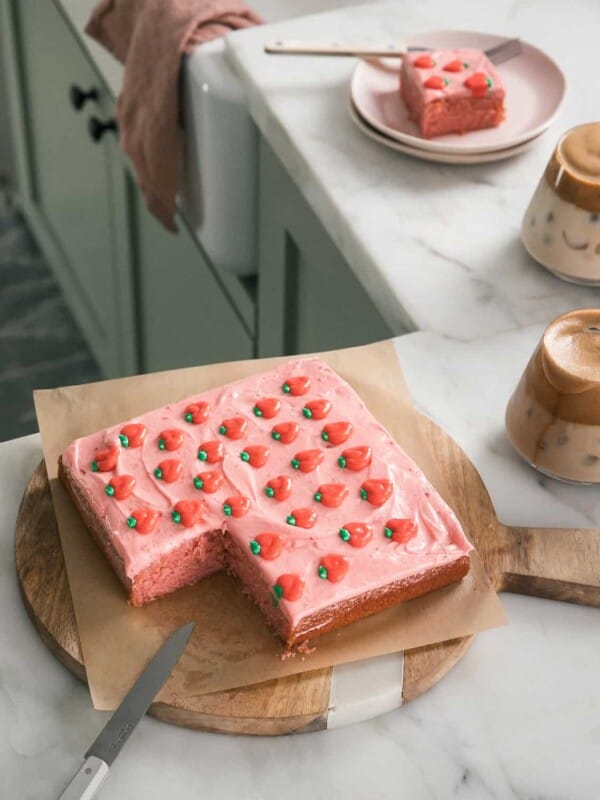
Mini Strawberry Cake
How to Make a Corgi Cake (and a Pug Cake, Too!)
Equipment
- 3 Small mixing bowls
- 1 offset spatula
- 1 chef knife
Ingredients
- 1 3-layer 6-inch chocolate cake
- 1 big batch of American buttercream
- Yellow, Black, Brown Food Gel
- 4 ounces of marzipan
- 4 toothpicks
- 1/2 of a cherry-flavored airhead
Instructions
- Frost cake, making the sides and top as smooth as you can. Transfer to the freezer to set for 10 minutes.
- Divide the remaining buttercream into three bowls.
- To make the light brown fur color: add a drop of yellow gel and black food gel. Add little by little. Mix until smooth.
- To make the black fur color: add 3 to 5 drops of gel food coloring. Mix until pitch black.
- Leave the last bowl of plain, uncolored buttercream alone. We’re gonna use that for the bottom half of the face.
- Draw the top part of the face, creating a V shape. Use the guide/photo above for help. Fill it in and smooth the buttercream around.
- Repeat with the bottom part of the face using the white buttercream. Transfer to the freezer for 10 minutes, until set. Remove it from the freezer and smooth out the surface using your hand or a spatula.
- Add the nose by plopping on some frosting so it’s nice and high and pronounced. Pipe on the eyes using the black frosting. And transfer back to the freezer for about 10 minutes.
- Meanwhile, create the ears by taking the marzipan and adding a drop of yellow and black to the center. Mix the marzipan together until the color turns brown. Roll it out into a 1/2-inch thickness and cut out, using a knife, two triangles. Smooth out the edges using your fingers. Add a toothpick to each of the ears.
- Slice the airhead into a 3-inch strip. Round the end of the 3-inch strip to resemble a tongue. Using a knife, score a line down the center of the “tongue.”
- Remove the cake from the freezer and smooth out the nose and eyes (CAREFULLY!). Pipe on the mouth, creating a U shape under the nose. Set the “tongue” right under the nose. Add the ears to the side of the cake.
- Transfer to the freezer for an additional 5 to 10 minutes to set.
Nutrition
Nutrition information is automatically calculated, so should only be used as an approximation.


Looks fantastic! I’m making today for my 10 year old cousins who have a Corgi.
My goodness. The uncanny resemblance between the cakes and the dogs!
Amazing work and lovely photos!
OH MY GOODNESS this is so cute!! Absolutely adorable!
-Gabby
www.orcuttfamilydentistry.com
This is so cute!
I’ve made my share of pup cakes in my cake baking lifetime but these ones are SO CUTE because they are made with love – and emulate your true furry loves … I like the “raised buttercream” idea – and AIRHEADS! Awesome bright red colour! XO
Obsessed with these!! How CUTE!
They look so adorable! Will need lots of patience to make them, but they look worth it, thanks for sharing!
Oh my goodness, those are the cutest cakes EVER! Can think of so many dog-loving friends I’d love to make these for 😀 xxx
aha thanks, Miranda!