Disclosure: This post may contain affiliate links, which means I may earn a commission if you click on the link and make a purchase.
Conchas are a Mexican bread, a sweet bread (Pan Dulce) that are served at panaderías. This concha bread is a soft, enriched dough that has a lovely buttery and sweet flavor.
Let’s talk about Mexican conchas which are also known as pan dulce!
Sweet Bread literally translates to pan dulce in Spanish. While concha in English translates to seashell. Makes sense given that conchas look like seashells!
When I moved back to California after I graduated college, I realized I literally knew nothing about Mexican food. I, of course, had eaten a good amount of Mexican food when I lived in the OC as a little kid. But I don’t think I understood what I was eating. I also don’t think we ate a huge variety of Mexican food. And to be honest, my mom cooked most of the meals we ate. We weren’t a super “go-out-to-eat” type of family. That woman was on a budget!
When I finally moved back to Los Angeles, after college, I started to really understand and learn the different varieties of Mexican food and it was cool. I learned the differences between food from Baja, Mexico City, Colima, the Yucatan and Oaxaca. And my actual trips to Mexico have been even more educational.
One of my favorite places I went to in Mexico City was a panadería where they served the warmest, freshest conchas with the crispiest tops.
The Anatomy of Conchas/Pan Dulce
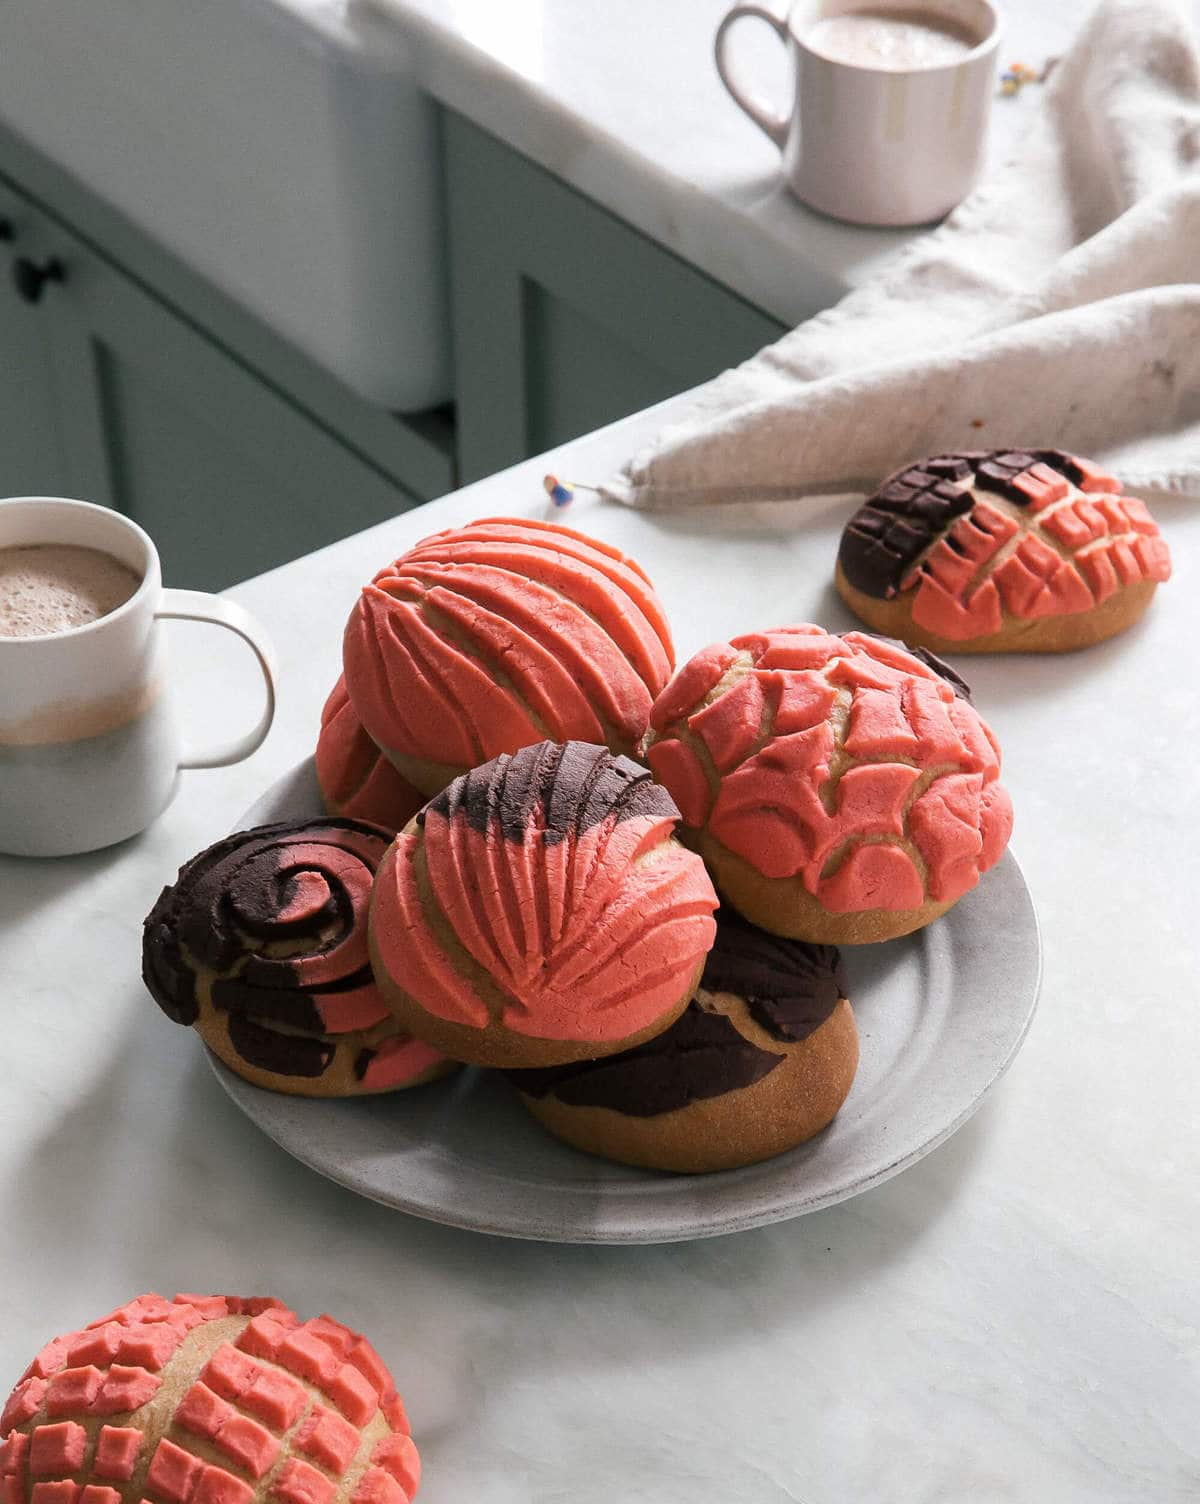
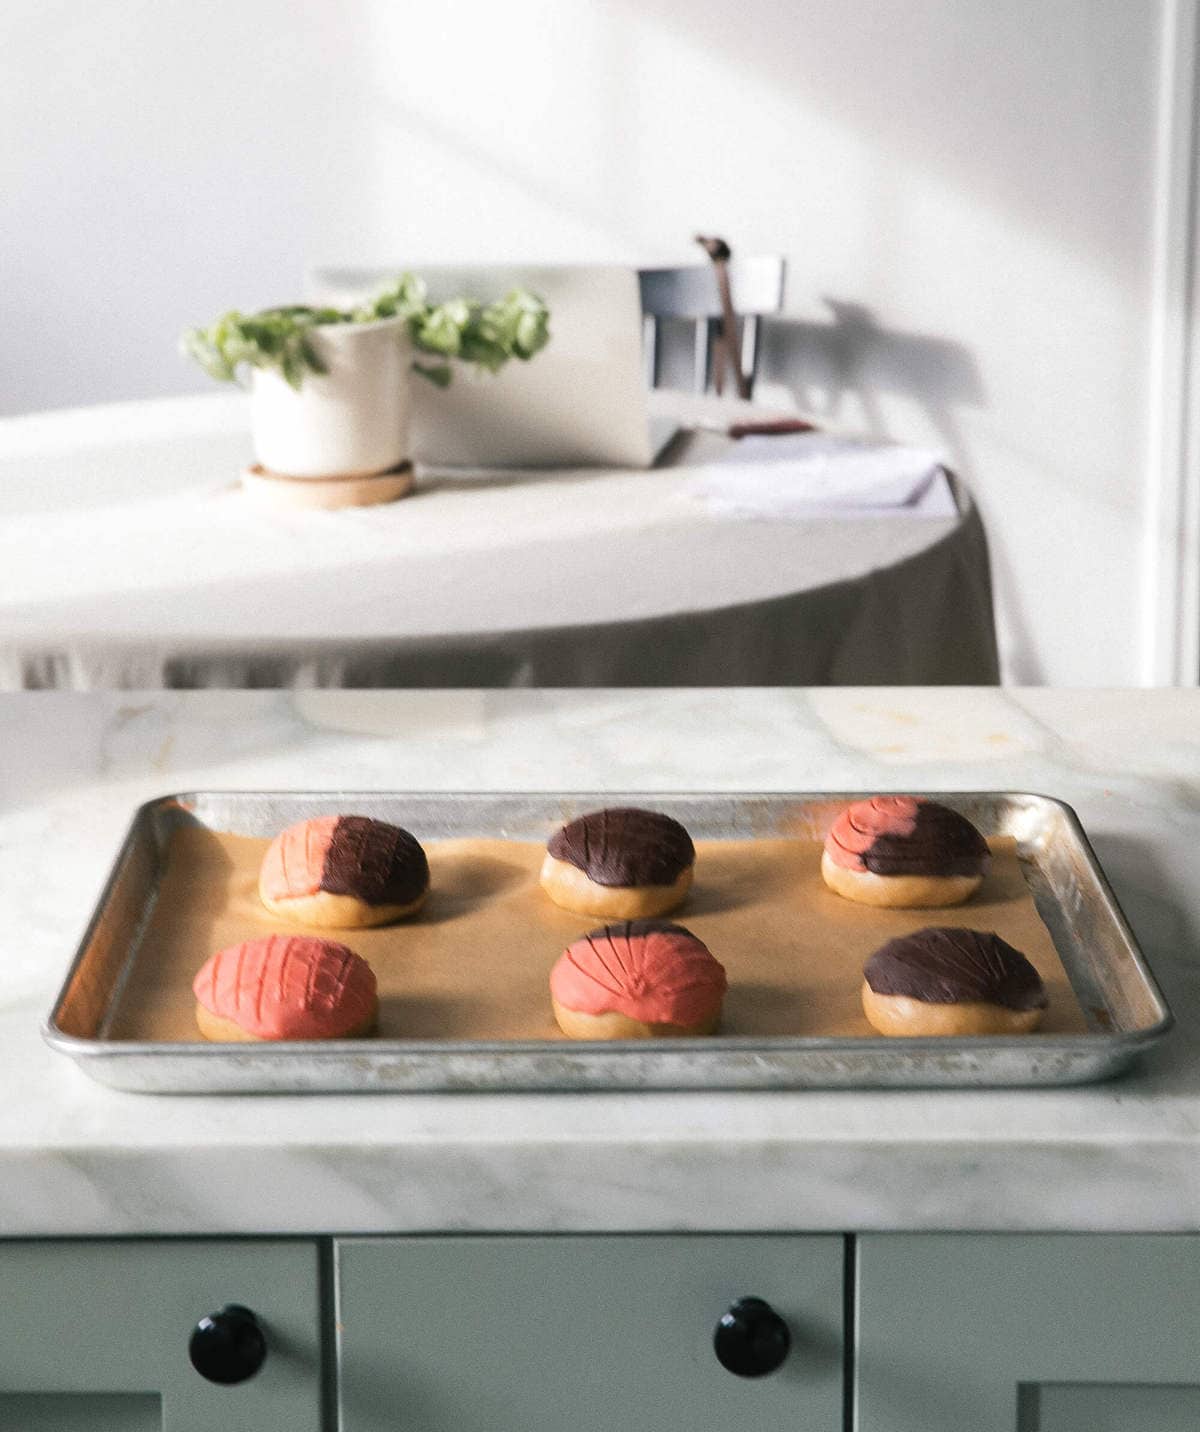
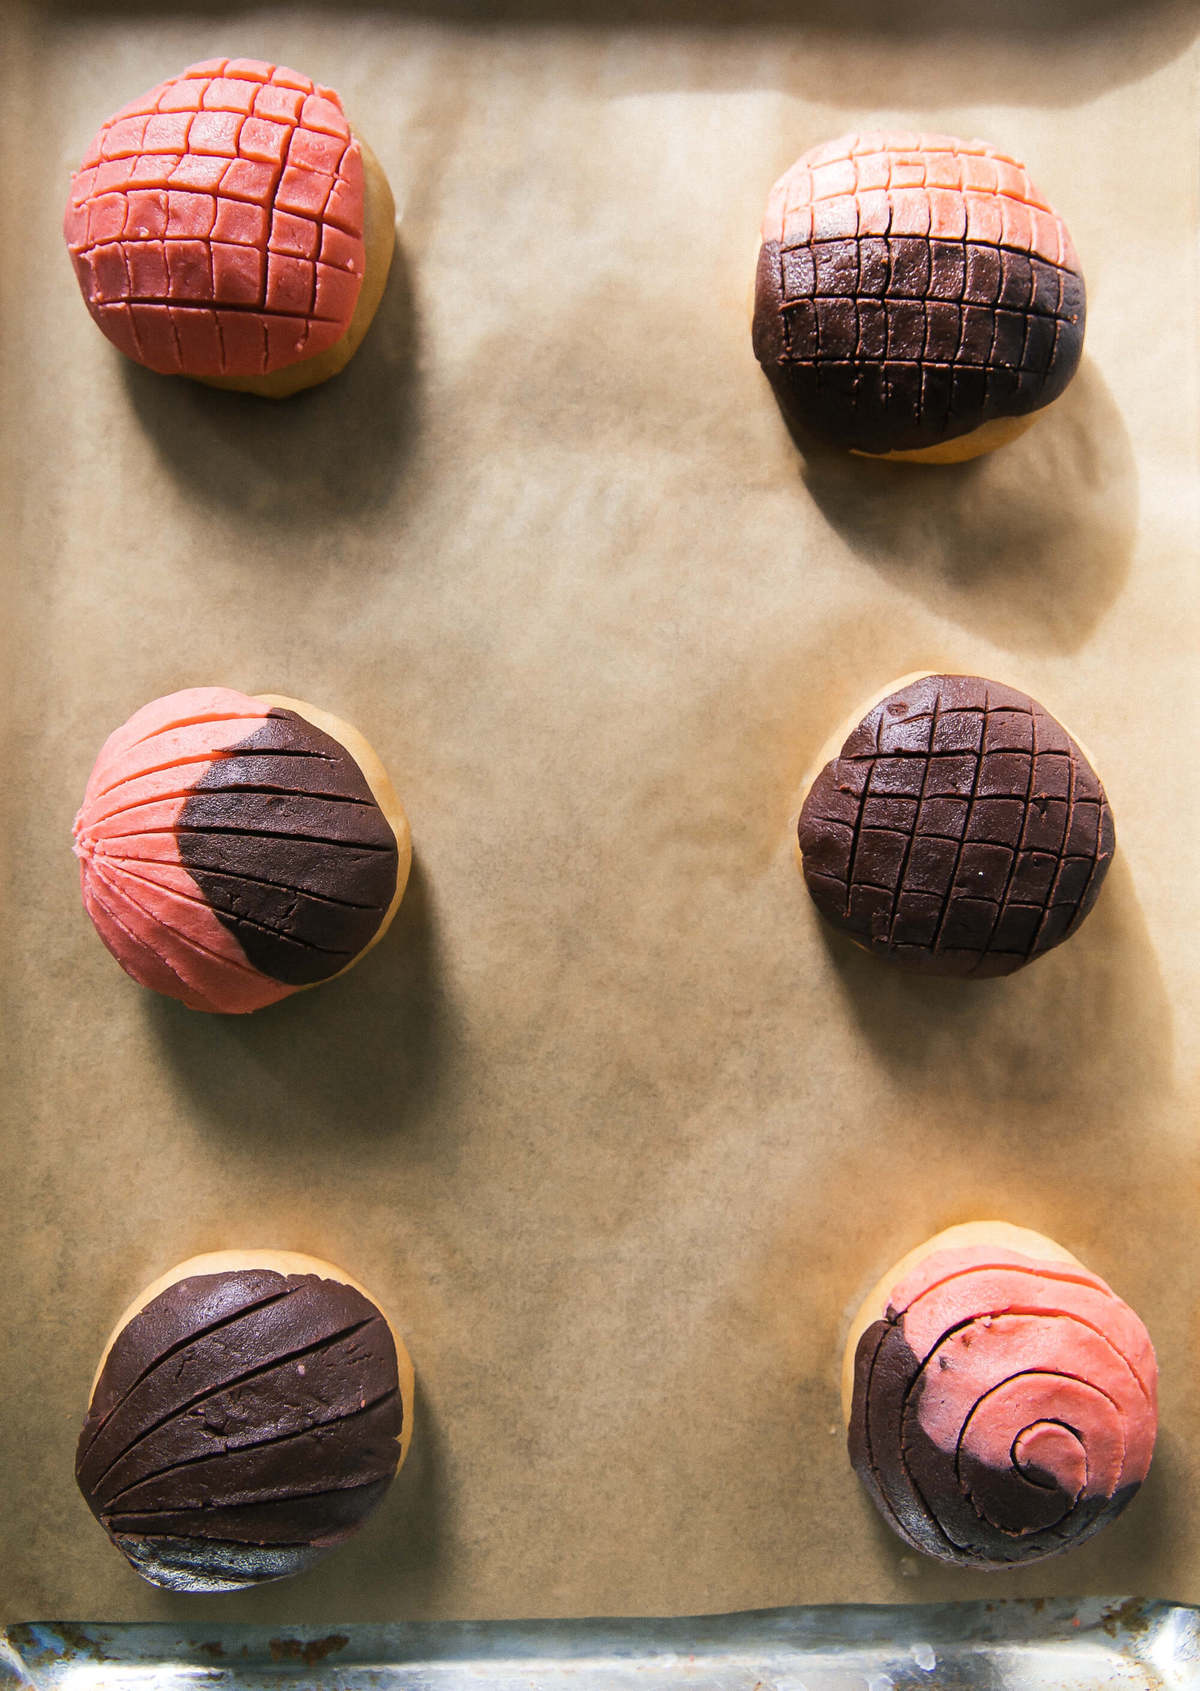
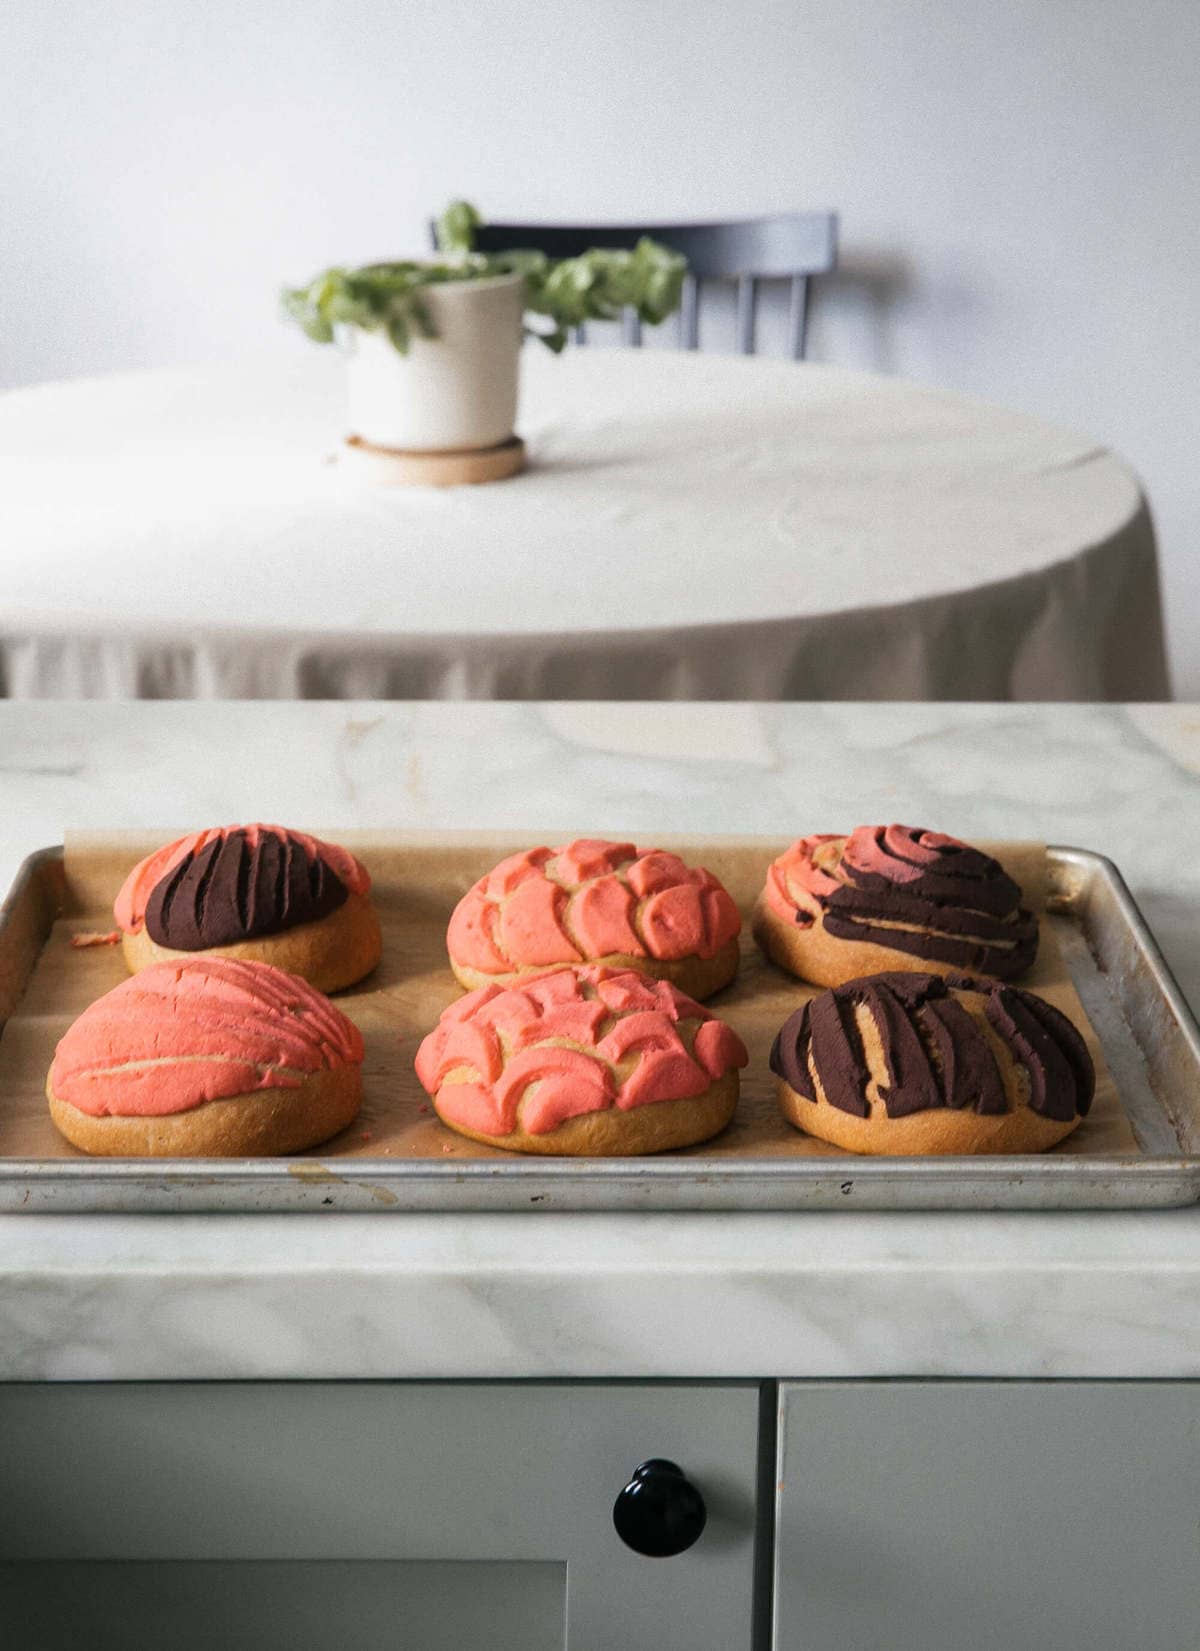
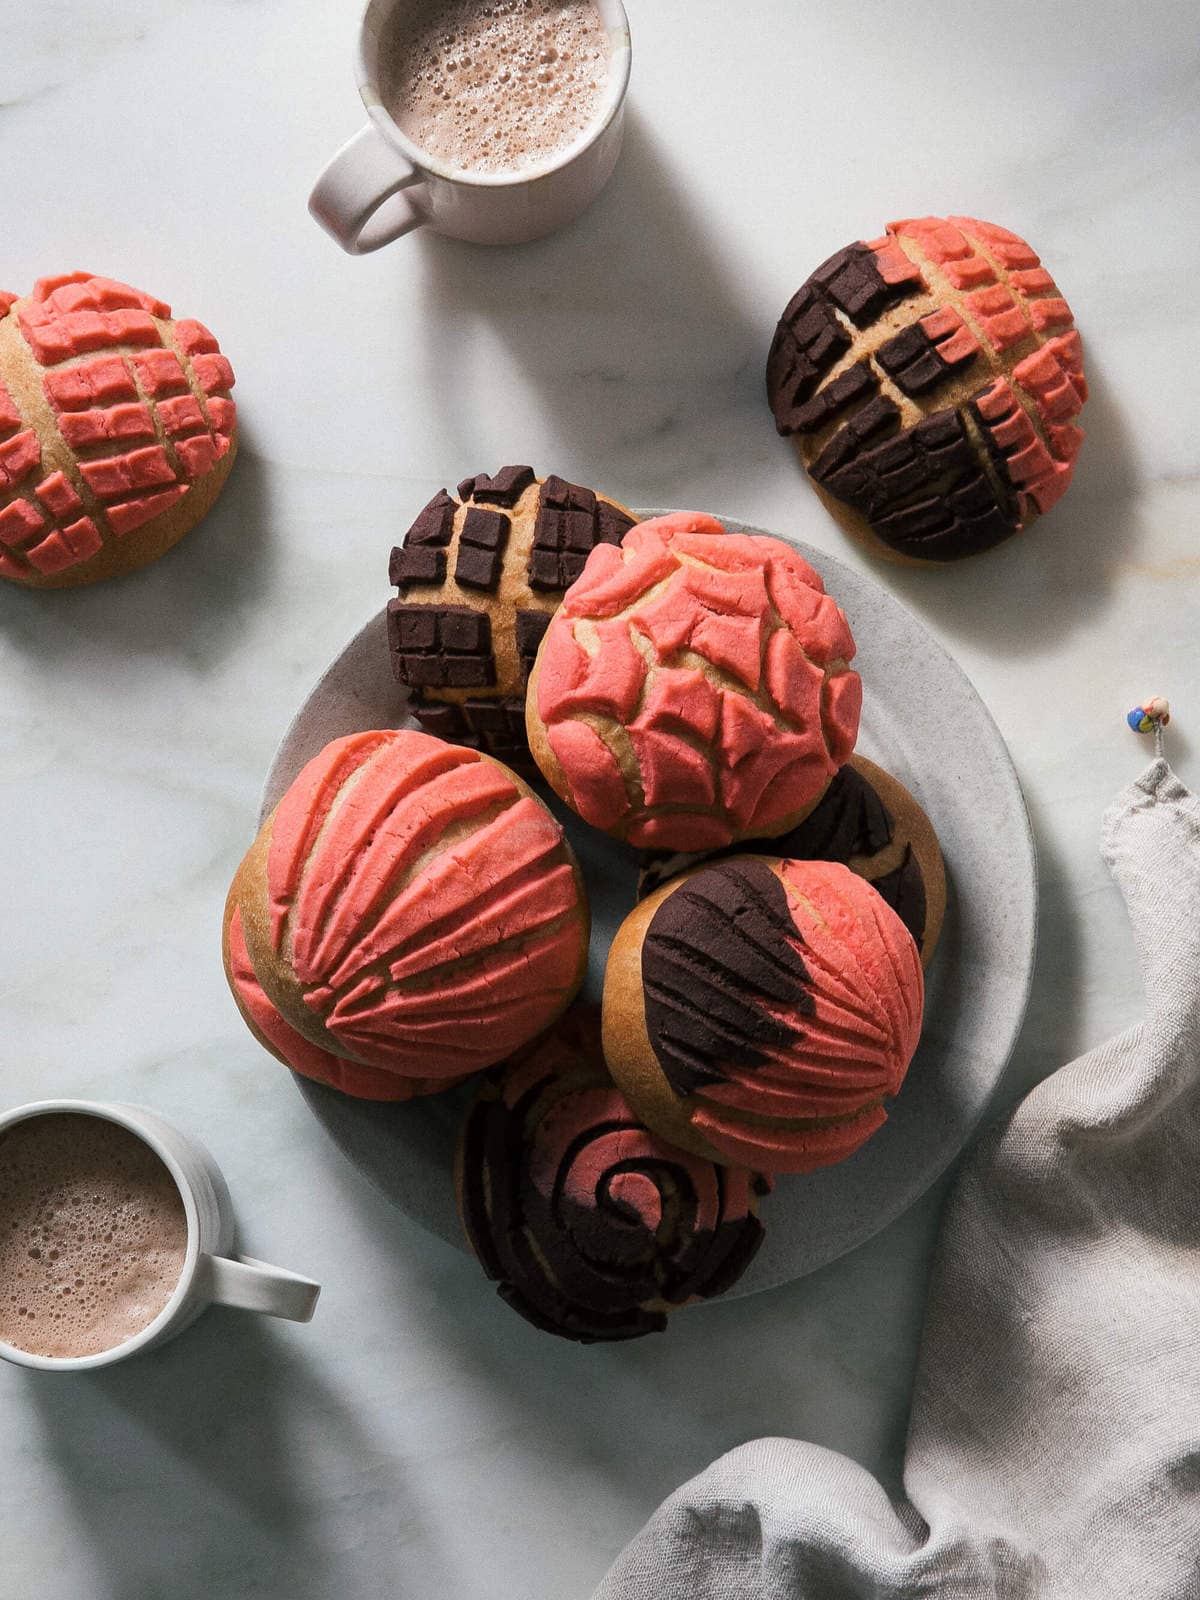
If you’ve never had a concha/pan dulce, they consist of this: on the bottom there is a brioche-like dough that’s rolled into rounds. The top is a streusel-like shell that is mixed until it’s super smooth, and then patted into a thin round and draped over the dough. Next, a concha-shaped cutter is pressed into the top. Since I don’t own one, I used a knife to score it. The slats won’t be perfect but once the concha/pan dulce is baked up, you won’t be able to notice. Then, the dough is baked after a quick rise.
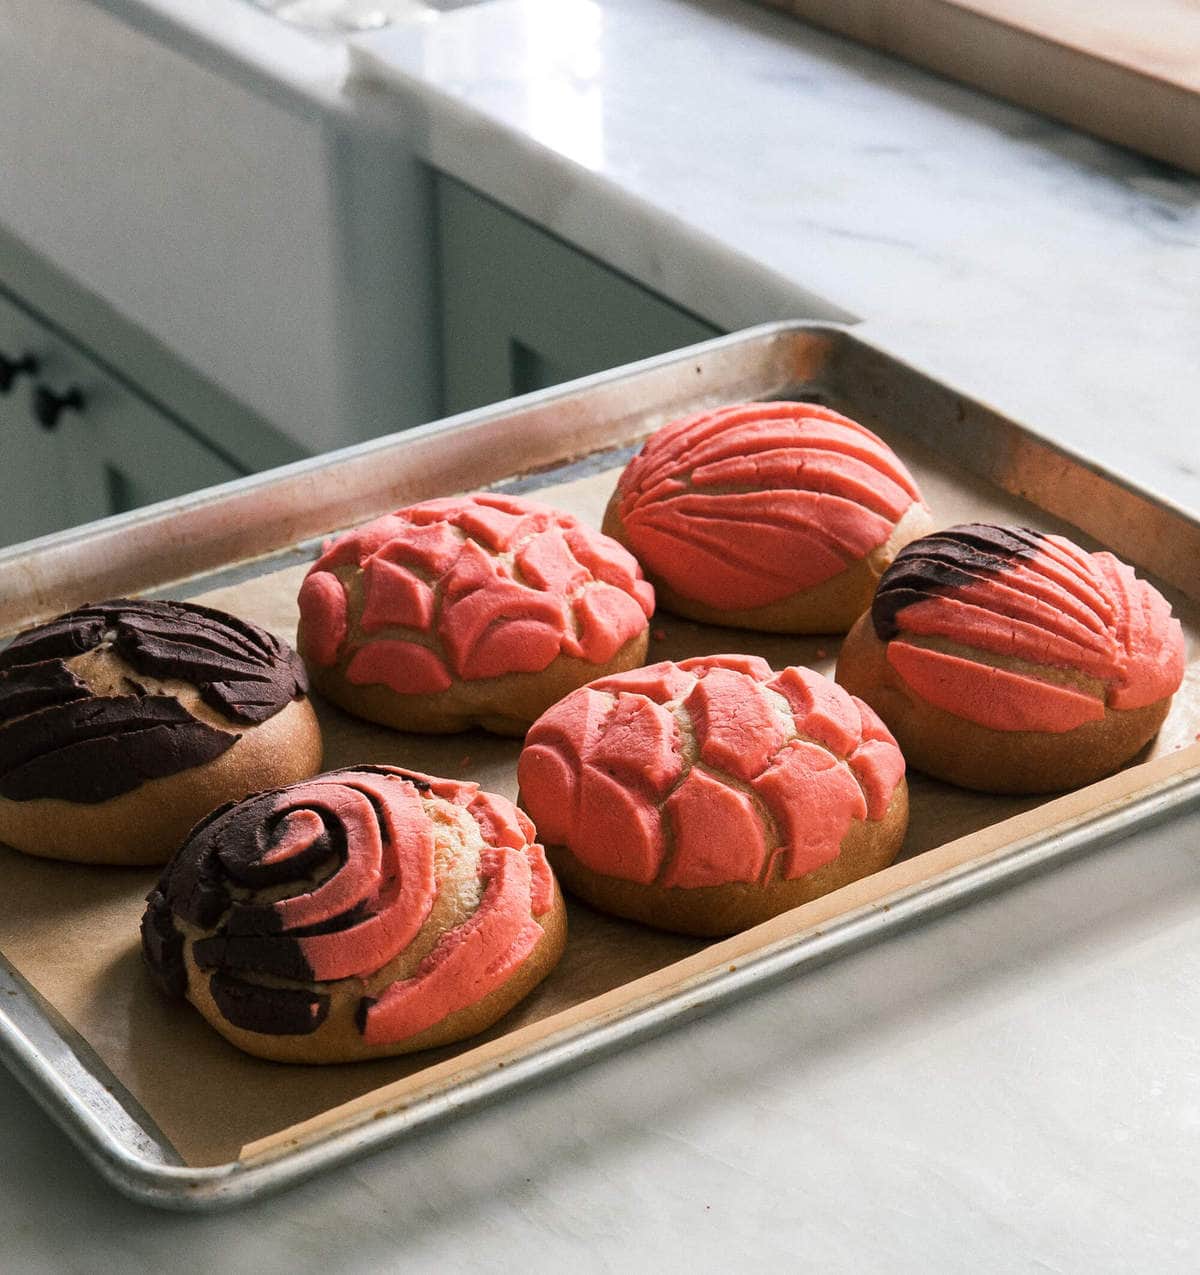
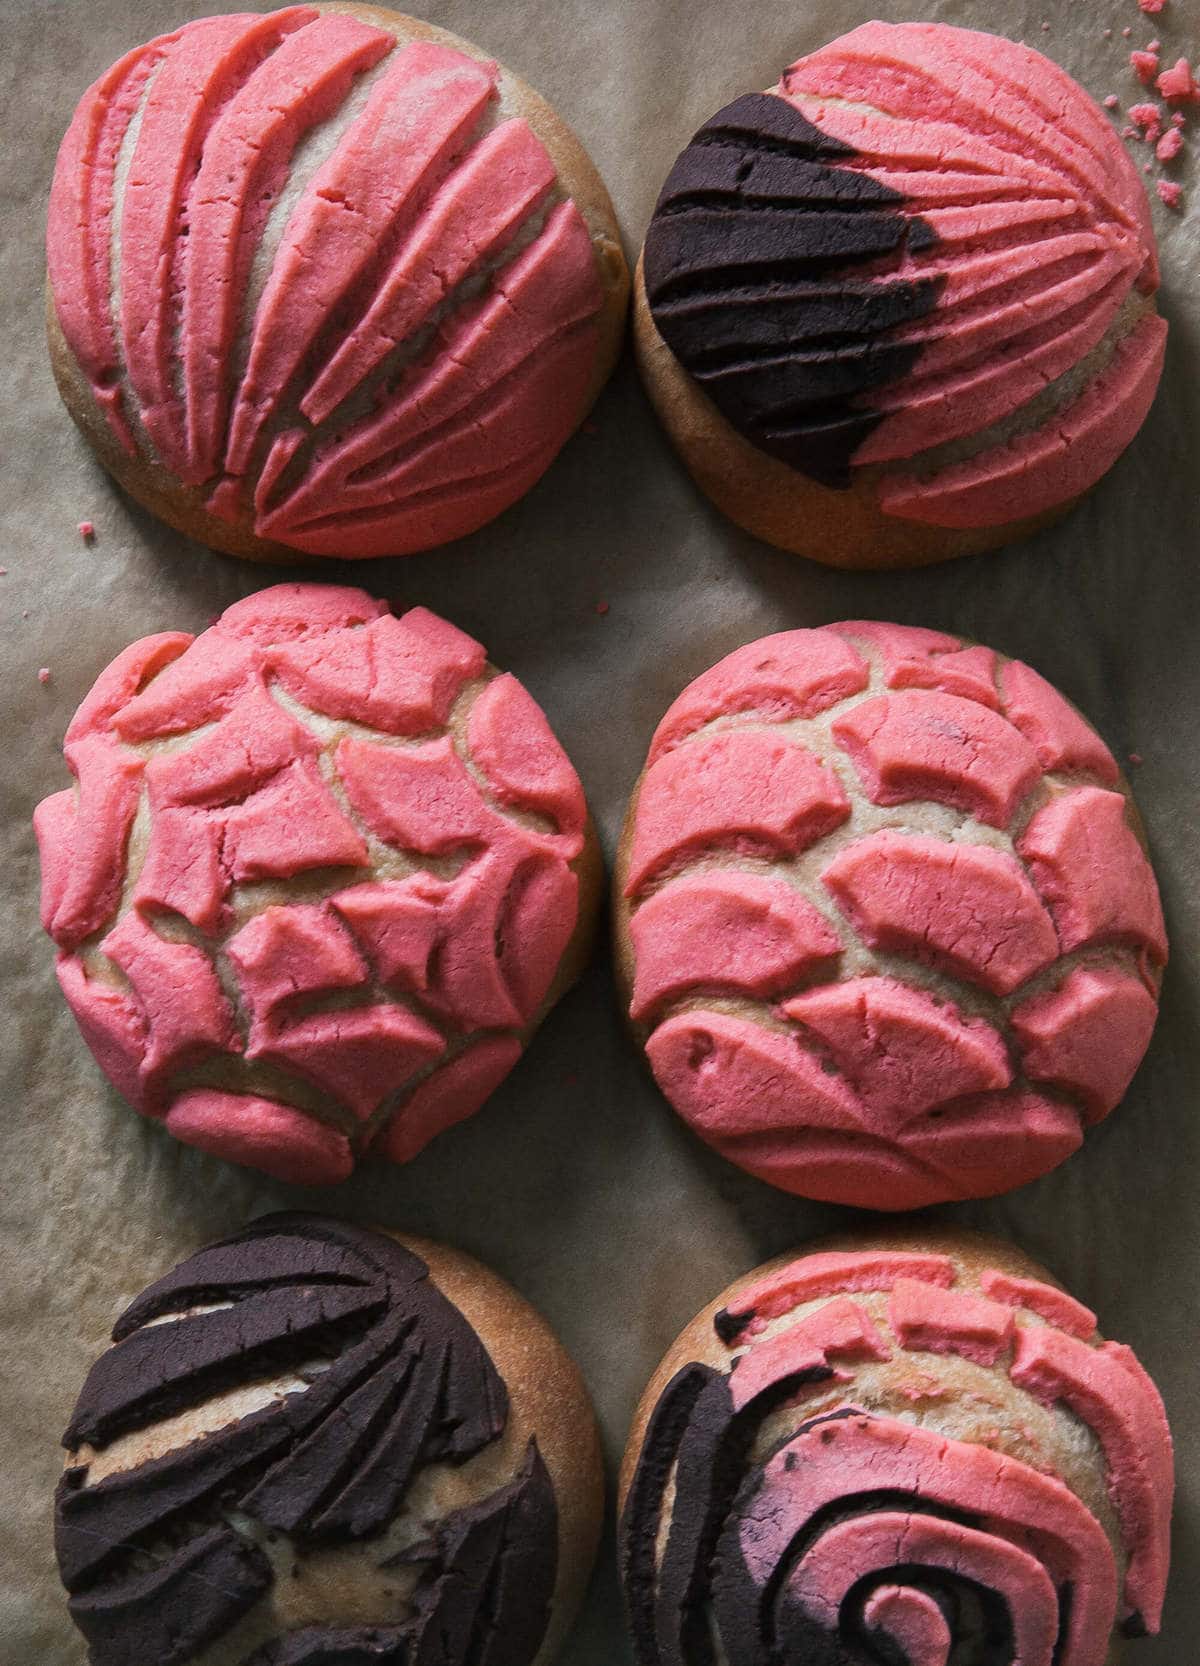
The top is crunchy and crisp, the bottom half, fluffy and soft. They’re typically eaten at breakfast time with a mug of hot chocolate or coffee.
The Origins of Conchas and Pan Dulce
While conchas/pan dulce are for sure Mexican, their origins go back to Europe. Many panaderias were influenced by the French, who migrated there for who knows why, bringing their doughs and techniques to Mexico. Mexican chefs adapted these doughs and created many of the goods you see in panaderias today.

I love learning about history in food. It’s truly fascinating, especially in Latin America. A few weeks ago, I bought a few books (they’re on their way to me), that will teach me a thing or two about our food history.
I’ll share more info when I learn it! In the mean time, let’s make some Mexican pan dulce/conchas!
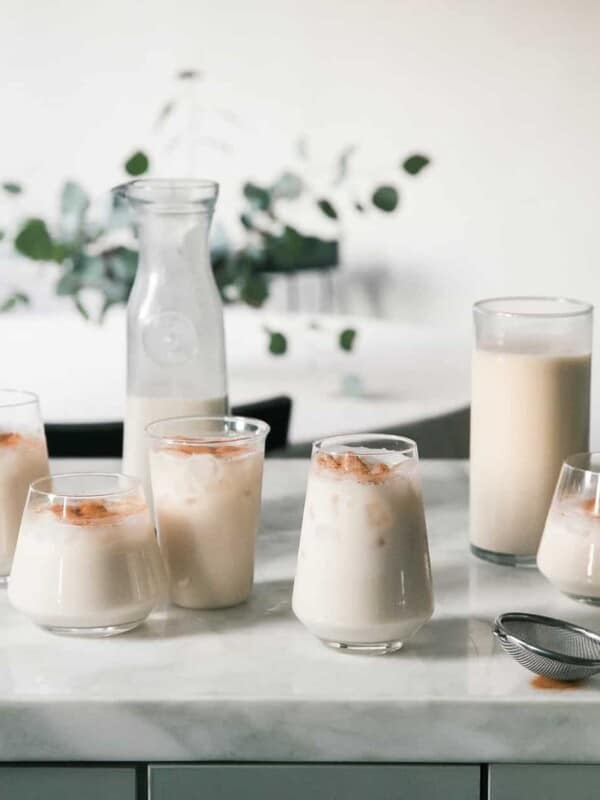
And of course, pair it with a few cups of fancy hot chocolate!
More Cozy Mexican Recipes
Conchas Recipe (Pan Dulce – Sweet Bread)
Ingredients
Concha Dough:
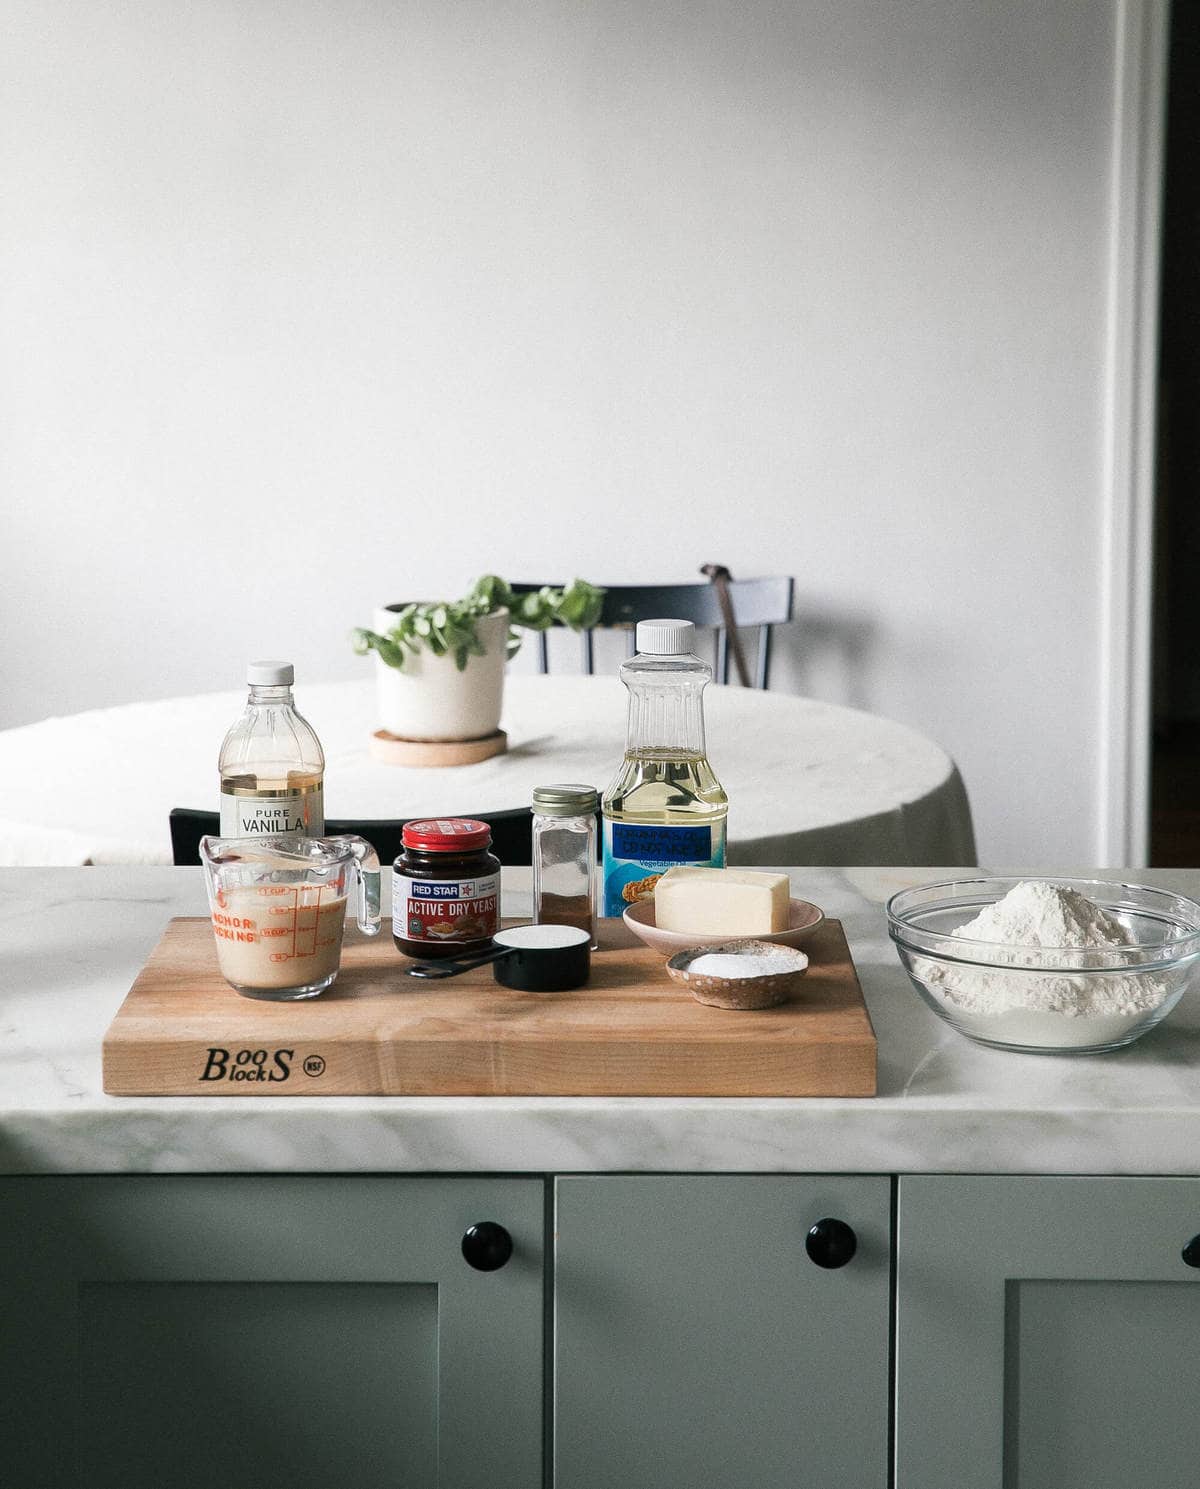
- 3 tablespoons warm water
- 2 1/2 teaspoons active dry yeast
- 1/2 cup melted butter
- 1 tablespoons vegetable oil
- 1/3 cup white granulated sugar
- 3/4 cup evaporated milk (you can also use regular whole milk)
- 2 teaspoons kosher salt
- 2 teaspoons pure vanilla extract
- 2 teaspoons ground cinnamon
- 2 large eggs, at room temperature
- 4 cups all-purpose flour
Streusel Topping:
- 1/2 cup unsalted butter, at room temperature
- 2/3 cup white granulated sugar
- 1 cup all-purpose flour
- 1 teaspoons pure vanilla extract
- 2 tablespoons cocoa powder
- Food Coloring Gel
Instructions
To Make the Concha Dough:
- To the bowl of a stand-up mixer with the hook attachment (you can also do this in a large bowl and knead it by hand!), add the warm water. Pour the active dry yeast on top and mix in into the water. Allow to stand until foamy, about 5 to 7 minutes. If it doesn’t get foamy then you’ll need to do it again.
- When the active dry yeast is foamy, pour in the vegetable oil, melted butter, granulated sugar, evaporated milk, salt, vanilla, ground cinnamon and eggs. Break up the eggs with the back of a spatula and allow the dough hook to mix it up a bit, about 30 seconds.
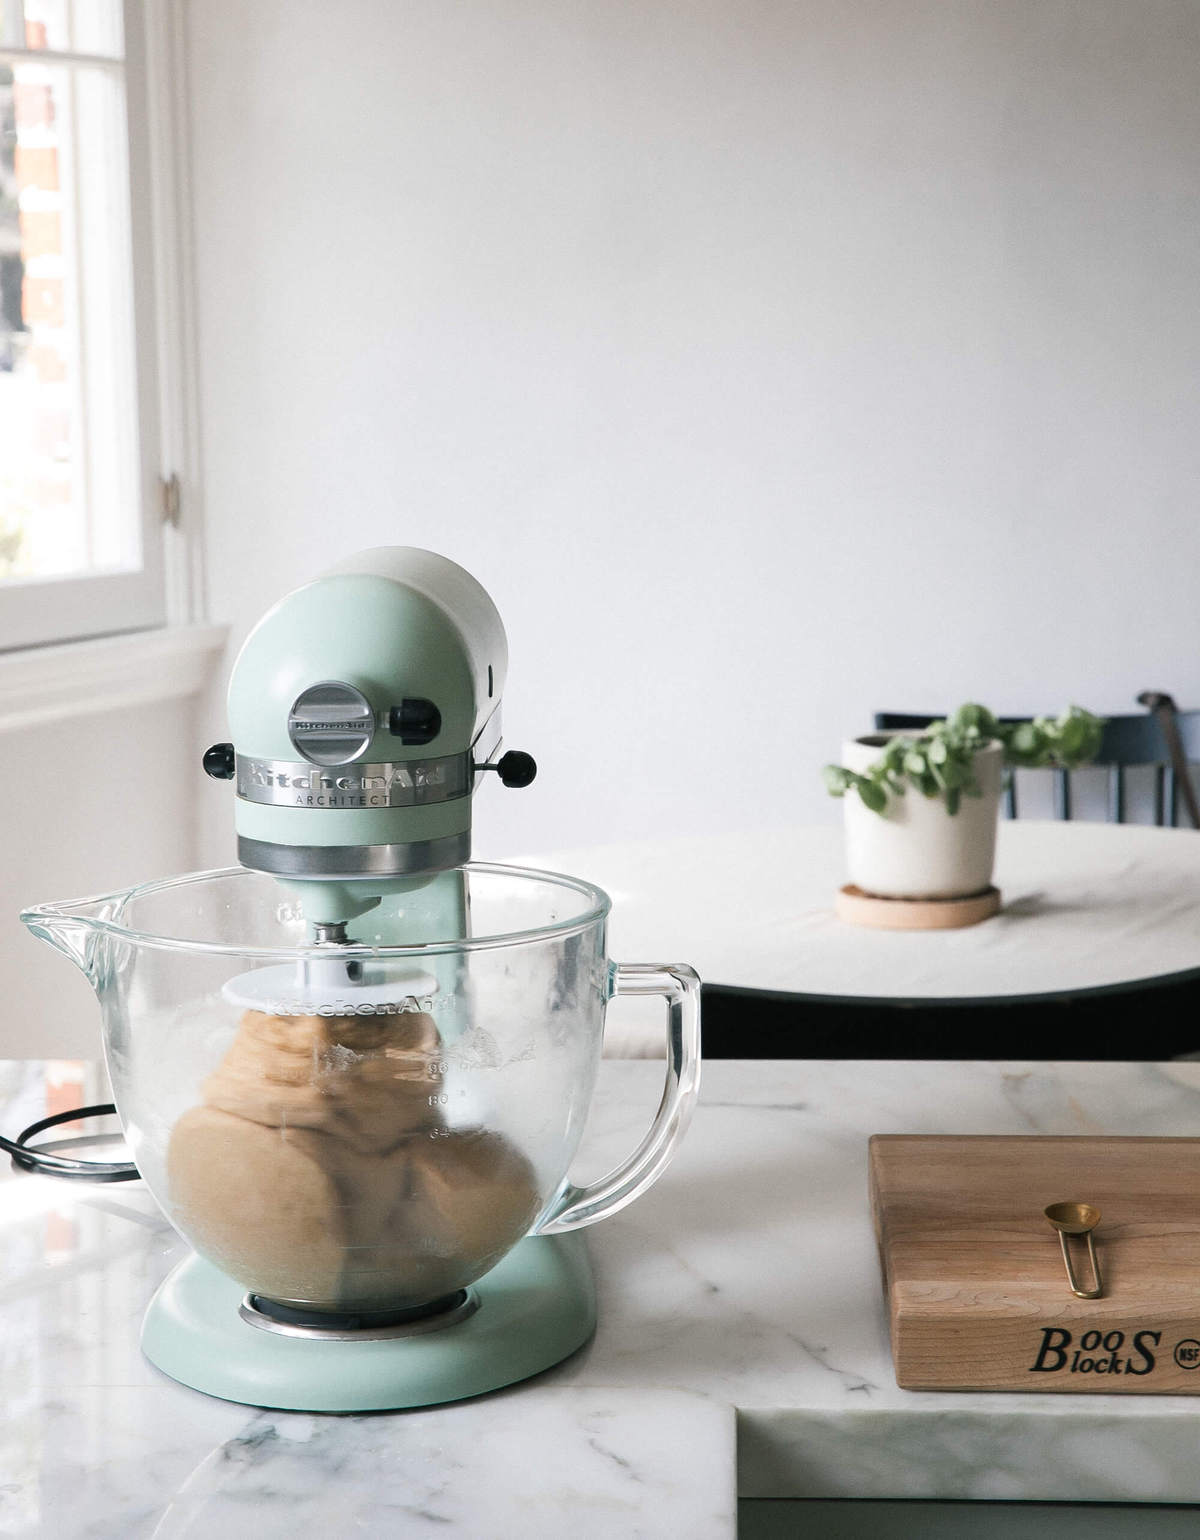
- Next, pour the flour in all at once and run the machine for about 5 minutes on medium speed, until the dough is soft and smooth. If you’re doing this by hand, once the dough comes together, you’ll want to dump it out onto your floured counter and knead it for about 10 minutes, until it’s nice and smooth.
- Rub a large bowl with oil or spray it with cooking spray and place the dough in the center of the bowl. Cover it with a clean kitchen towel and allow it to rise for about 1 hour, until doubled in size.
To Make the Streusel-Topping:
- In the bowl of stand-up mixer with the paddle attachment (you could also mix this by hand if you don’t have a mixer), add the butter, sugar, flour and vanilla extract. Mix until smooth, about 1 minute.
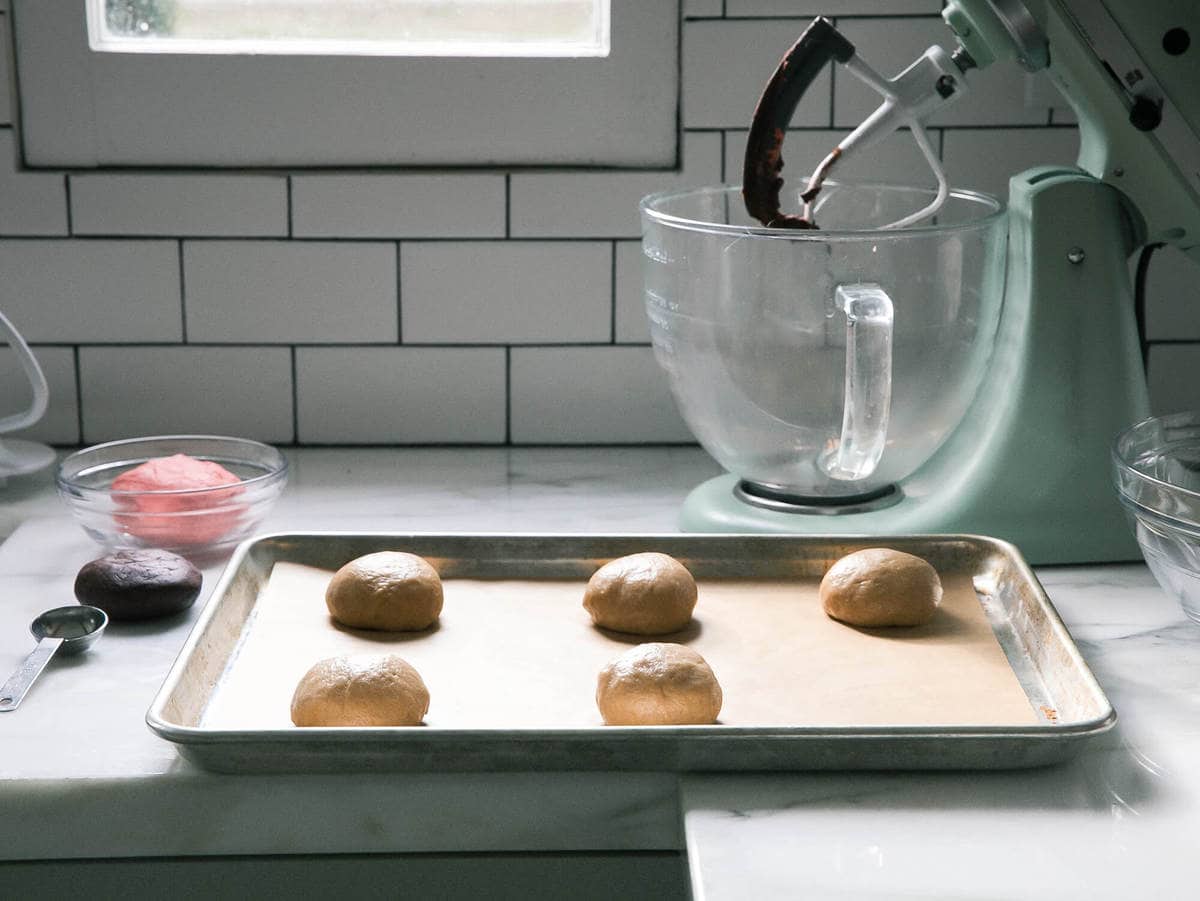
- Divide the dough in two. To one part of the topping, add a drop of food coloring gel. To the other topping, add the cocoa powder and knead until it’s cohesive.
To Assemble the Conchas:
- Once the dough has risen, divide the dough into 12 equal parts. Or better yet, weigh them into balls of 100g. Form the balls of dough into rounds. Repeat until you’ve worked through all of the dough.
- Take about 2 tablespoons of the topping and rollout using our palms, flatting it into a thin round. Drape it over the round of dough, patting down lightly. Using a knife, cut grooves in the topping like a clam shell. You can also do other types of cuts like criss cross, circles, etc. Cover and let rise until nearly doubled, about 30 minutes.
- Preheat oven to 350 degrees. Bake for about 18 to 20 minutes, or until lightly golden brown. Allow to cool. Serve with hot chocolate or coffee.
Notes
Nutrition
Nutrition information is automatically calculated, so should only be used as an approximation.
If you make these conchas, let me know on Instagram!
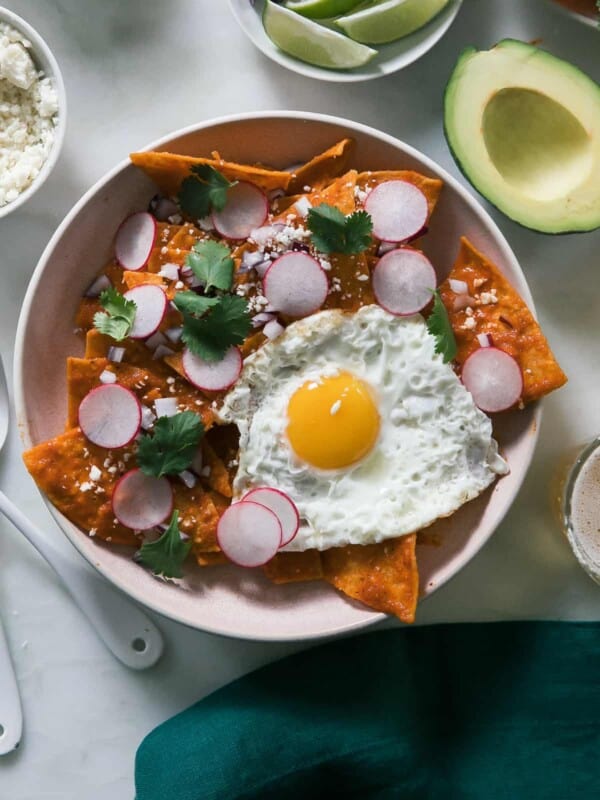
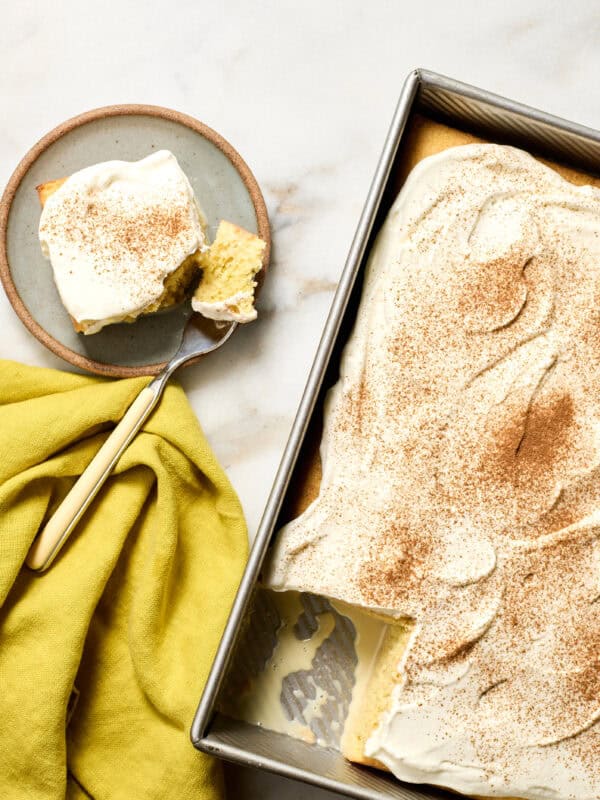
Looking for more Latin-inspired recipes? Here are some other favorites:


This recipe has potential. It needs a few changes- the Mexican conchas shouldn’t be this salty – in my second batch I reduced salt to 1/2 teaspoon – and way too much cinnamon – yes it gives it a nice flavor but the traditional conchas don’t have it. So – no cinnamon or only 1teaspoon. The second batch came out better.
Made these today and they came out delicious! I think I need new yeast because I didn’t get enough rise but that’s my fault. This was a wonderful recipe and I will make again!
The conchas came our soft and delicious. But after spending the night in an air tight container they did not remain soft.
so you’re giving it a 1 star review because of that?
Love to read your recipes. They are definitely friendly and easy to follow. Cant wait to get started.
These were easy to make and were delicious. They came out slightly denser but I will work on getting better yeast activity and proofing next round. The icing came out find and clung to the bread well. The evaporated milk and cinnamon set Mexican conchae above other pastries.
This recipe was amazing! It’s perfect the dough is amazing and the topping delicious! A must try!! Very pleased
The conchas tasted amazing! Took me a while to make but it was definitely worth it. I was wondering though how you should store them so that they don’t go stale.
I covered mine with a couple of dish towels. They will be good for 1-2 days. You can freeze them in airtight containers or freezer bags and pop them in toaster oven or microwave when you feel like having one few days later.
They smell amazing but my dough did come out right 🙁 definitely user error but I don’t understand why my dough was never smooth enough
Im making this recipe right now , and the dough looks amazing ! The only problem I have is the topping is too sticky and I cant seem to fix it. What do you suggest I do ?
I use 1/3 cup granulated sugar and 1/3 powder sugar!!
After mixing the topping, I manipulated it by hand. It worked much better. At first, I thought there wasn’t enough liquid but it worked out great!
So I have one question on To make the Streusel-Topping: Step 2: So when you divide the dough in 2, are you supposed to add food coloring to one part of the dough and cocoa to the other part? Or split the topping in 2 and add food coloring to one part and cocoa to the other part? I am planning on making these tomorrow morning. Hopefully, they taste as good as when I had them when I was younger.