Disclosure: This post may contain affiliate links, which means I may earn a commission if you click on the link and make a purchase.

Before we start, here’s a link to Part 1 in case you missed it!
If you’ve been following the kitchen renovation on the Insta Stories this is all old news to you BUT I figured it’d put a legit update on this here space to show you where we are in renovation land.
It has been a pretty fun learning experience. A lot of people told me that the four week estimate that we were aiming for probably wasn’t going to actually stick and they were right. We’re currently four weeks in and we’re kinda far from being done.
The first thing that was done was the demo. PHEW! This might’ve been my favorite part. It was so dramatic and really made me laugh because it was so crazy how different the space took.
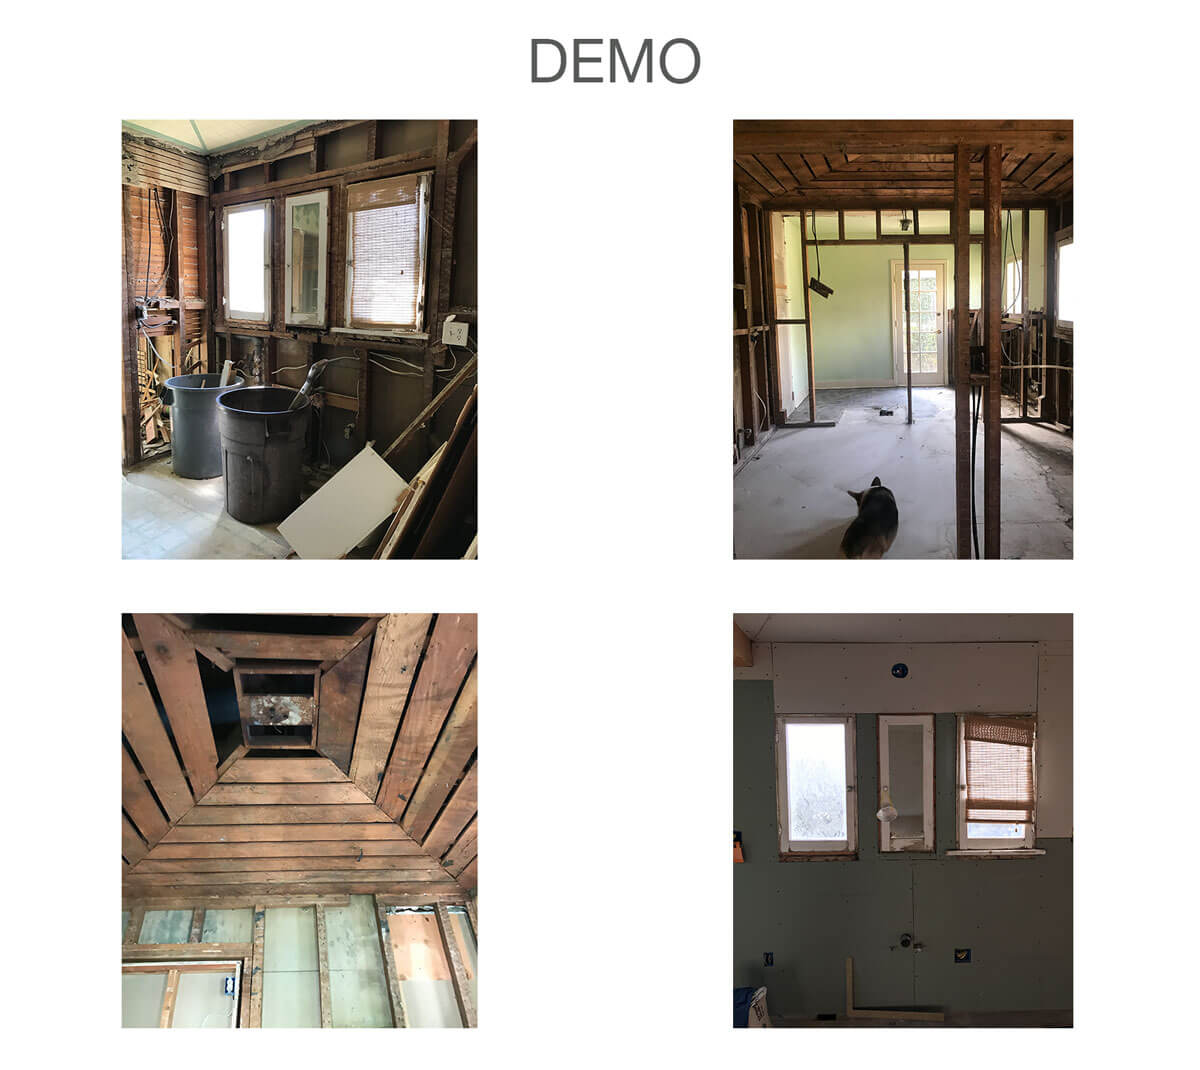
When they emptied the space, they found corroded, rusty pipes and nearly all of them had to be replaced. They put nice, new pipes and beautiful copper pipes.
They also replaced ALL of the electrical in the kitchen, which hadn’t been updated since who knows when. Eventually the entire house’s electrical will have to be replaced—woohoo :/
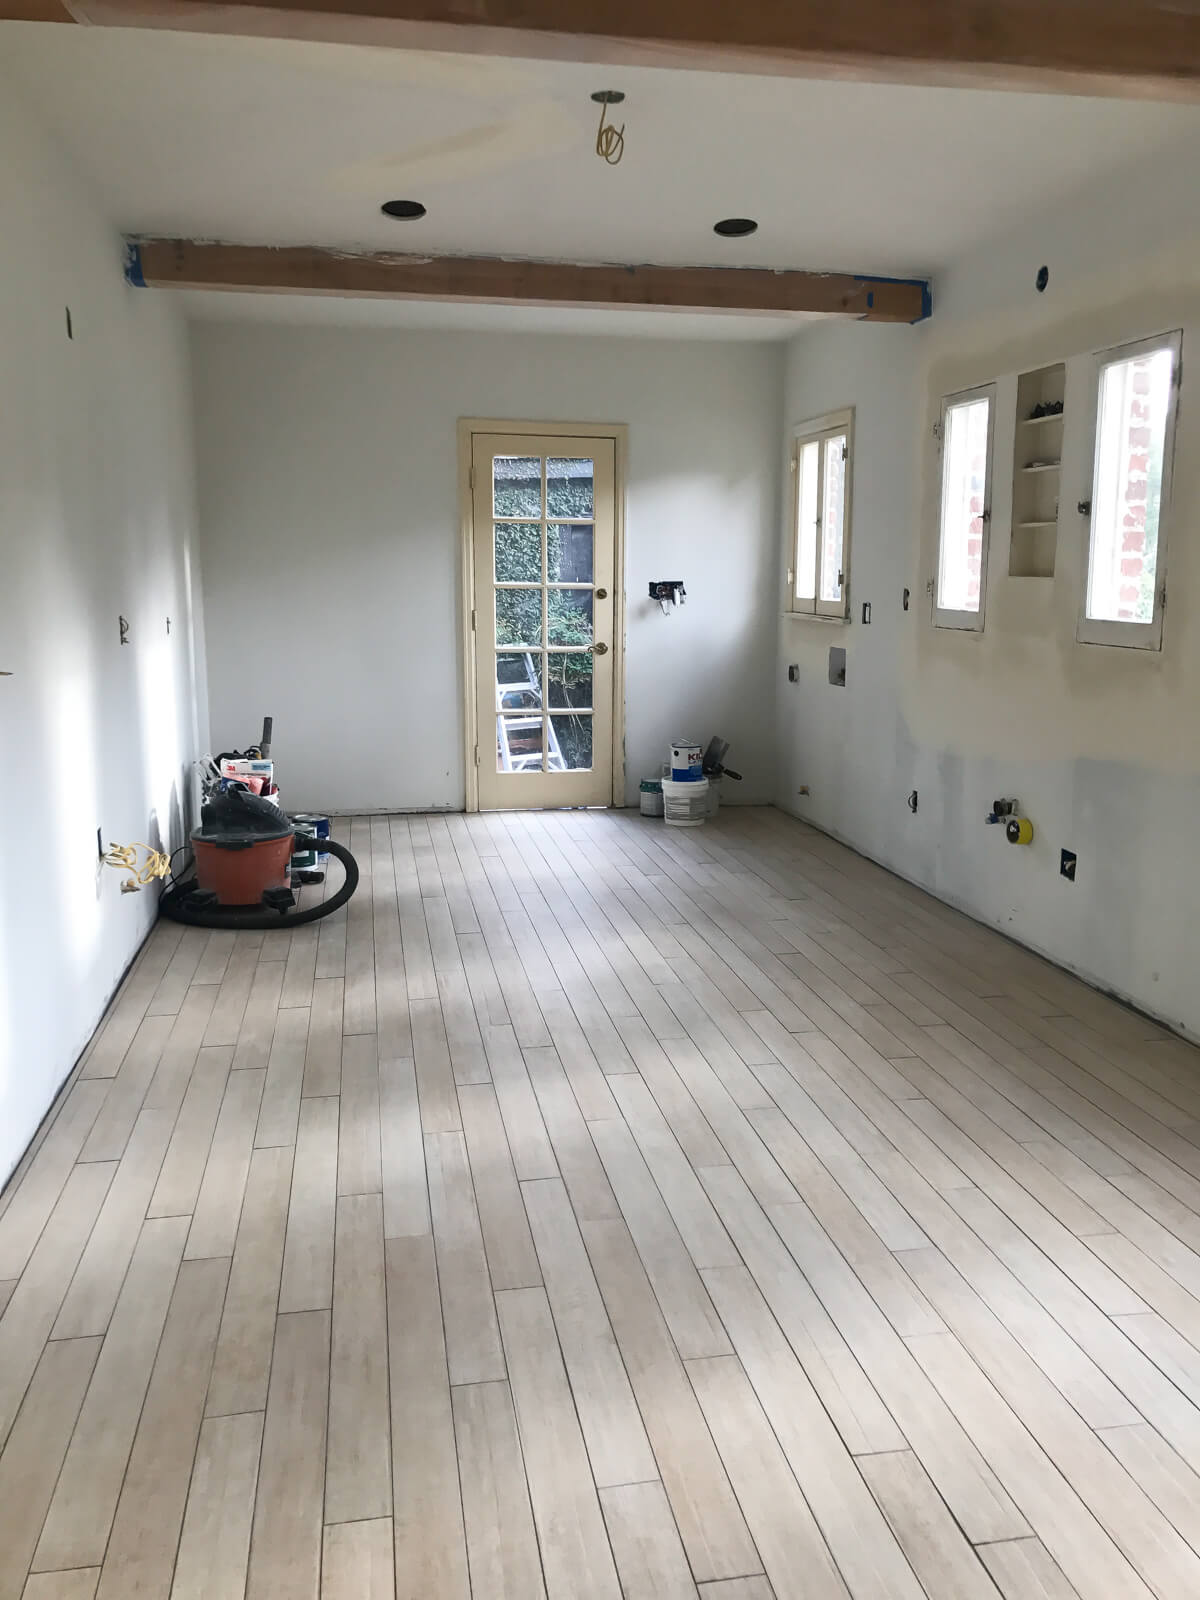
After they updated the electrical and the plumping, they put insulation in the walls (there was literally zero before!), put up the walls, dry wall and started the floors.
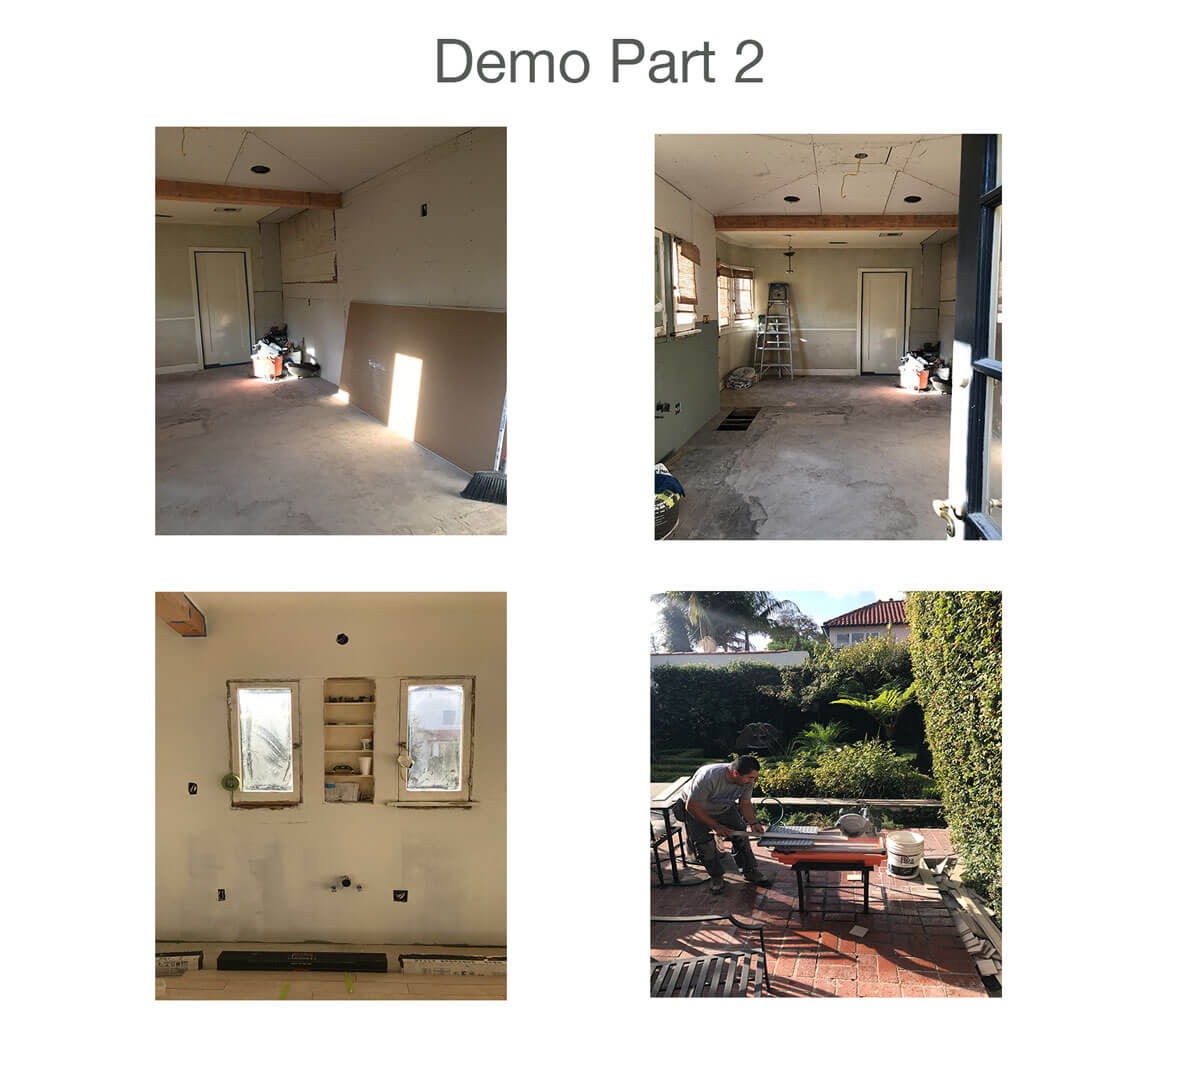
The floors are pretty awesome! So when they took up the vinyl floors, they found the original base boards which actually were douglas fir. They put in beautiful base boards back in the day. But a lot of it was corroded and had water damage. There were squares they had to cut out and replace. Also, one layer of the vinyl floors (there were 3 layers of them!), had this sticky concrete stuff and it would’ve ruined the floors if we ripped them up.
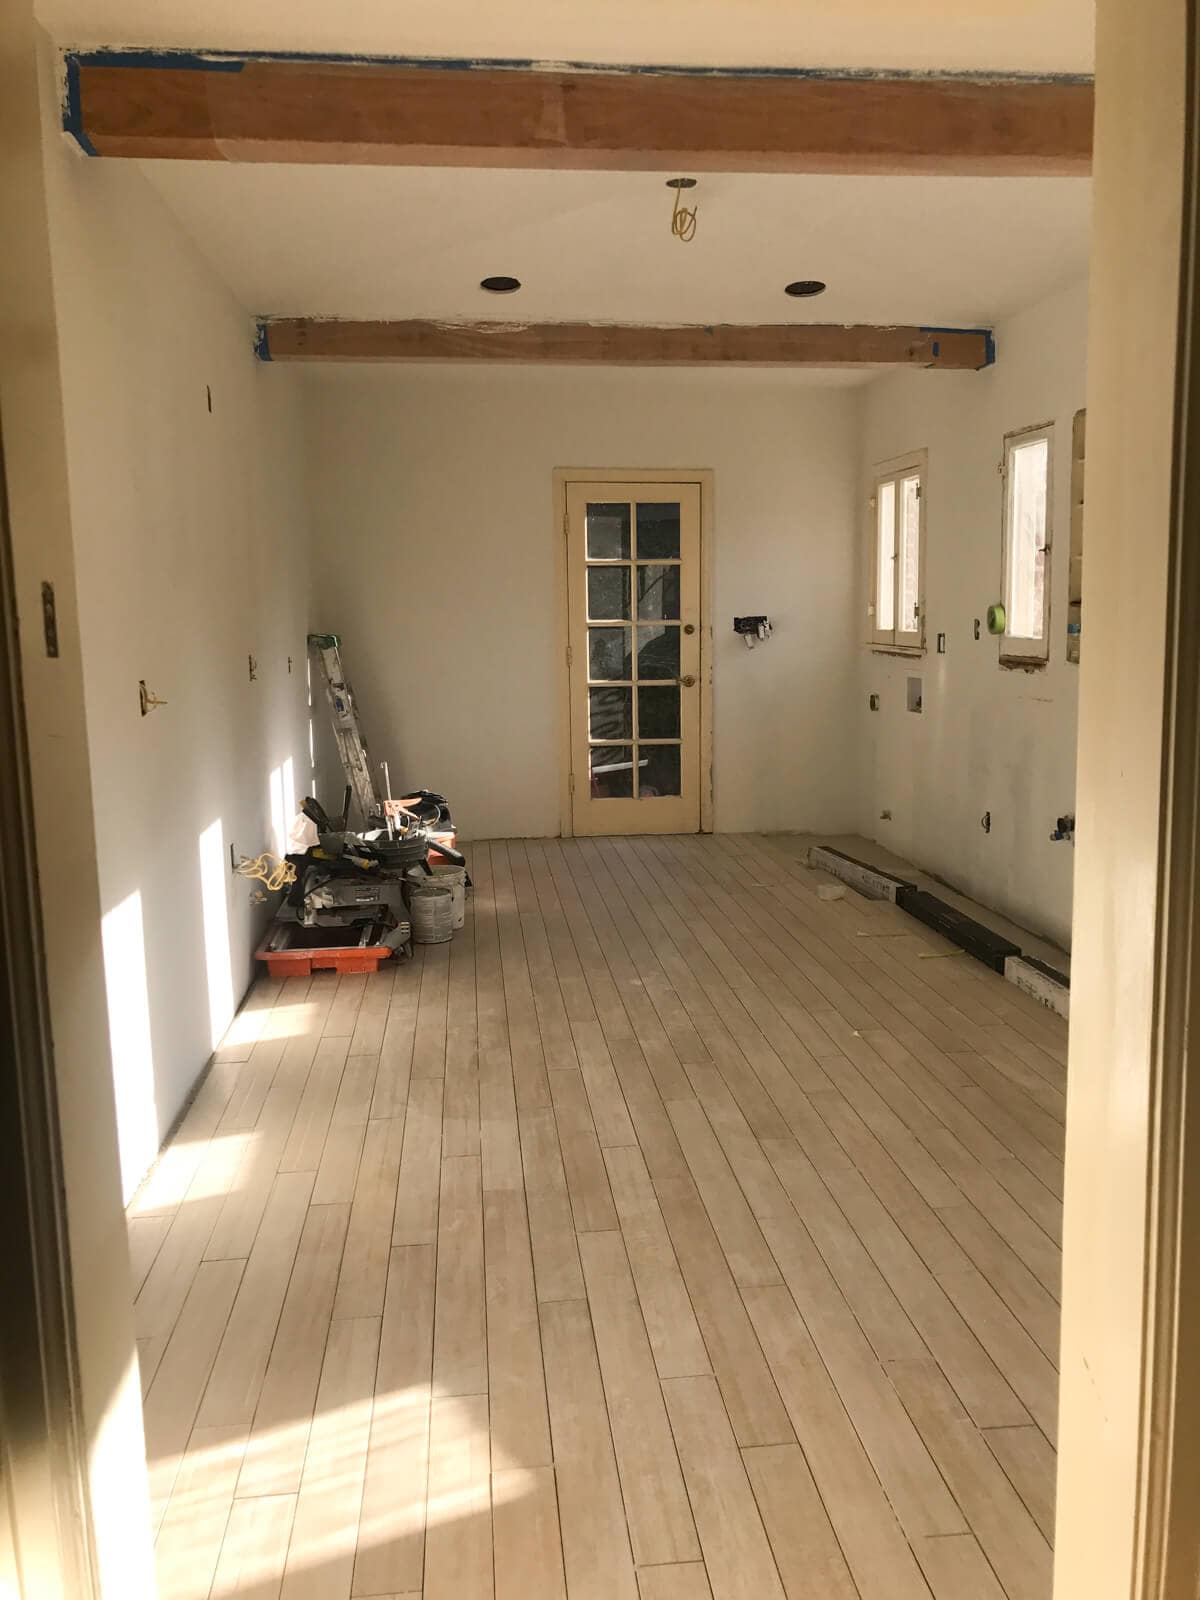
We had already ordered the tile so it wasn’t that hard of a decision for us to cover them up.
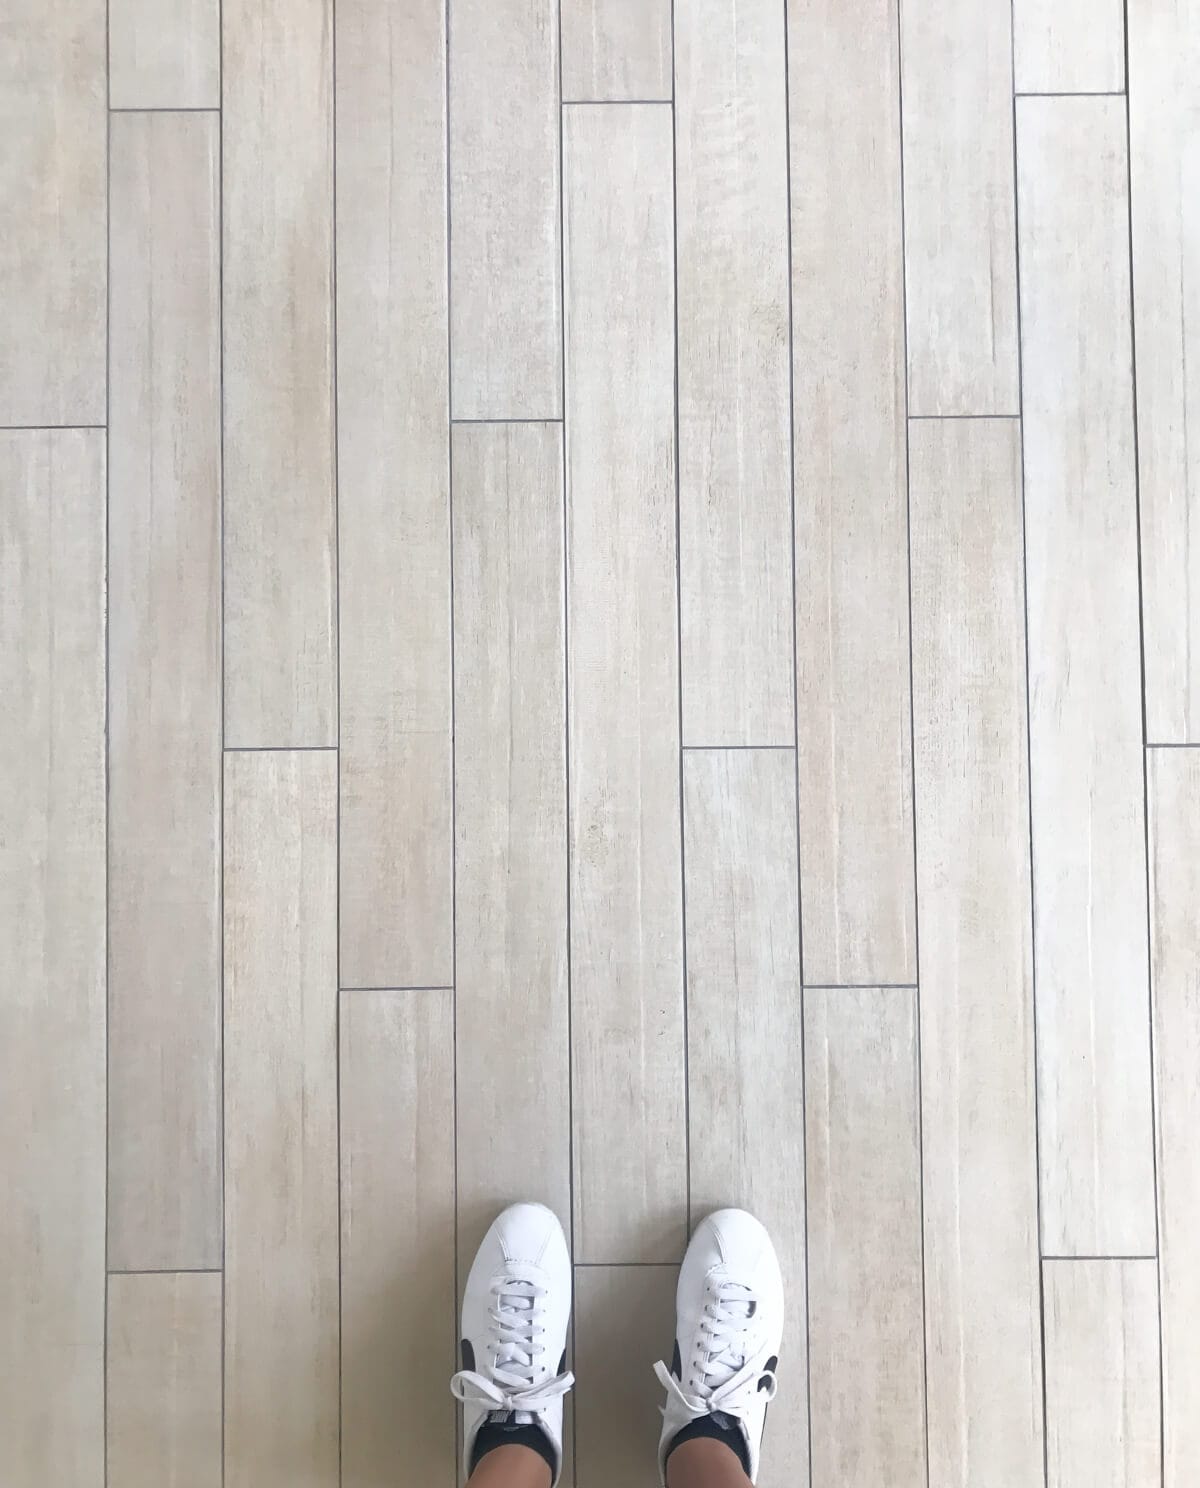
The tiles we used look a lot like hard wood but in fact they’re tile, which is great for a kitchen.
While all the noise goes on, Amelia just wishes she could go in the kitchen and be friends with the guys working.

I’m really hard on kitchens because I cook sooooo much. There are always spills, etc., so tile is really what would make the most sense.
The floors are all done and they’re looking good!!
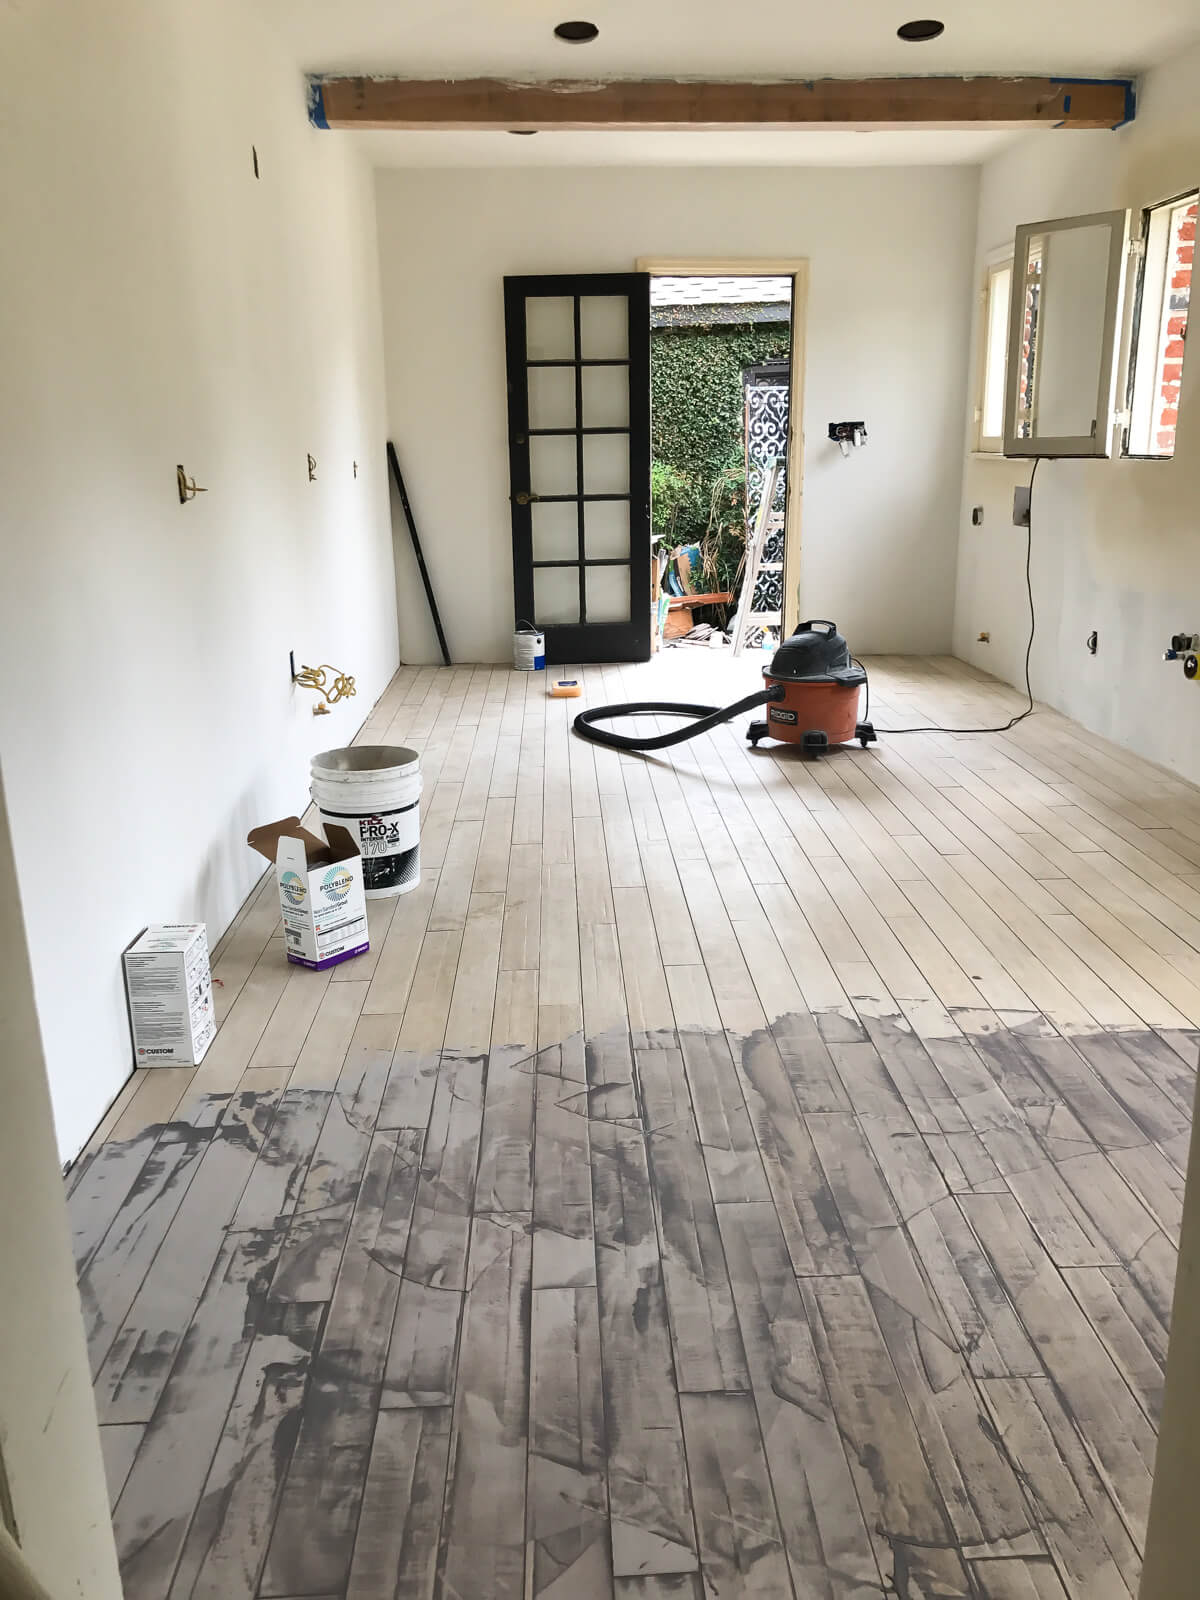
We went with a dark grey grout because I couldn’t imagine myself on my hands and knees cleaning white or light colored grout on the kitchen floor.
I also think it adds some nice contrast and dimension to the floors.
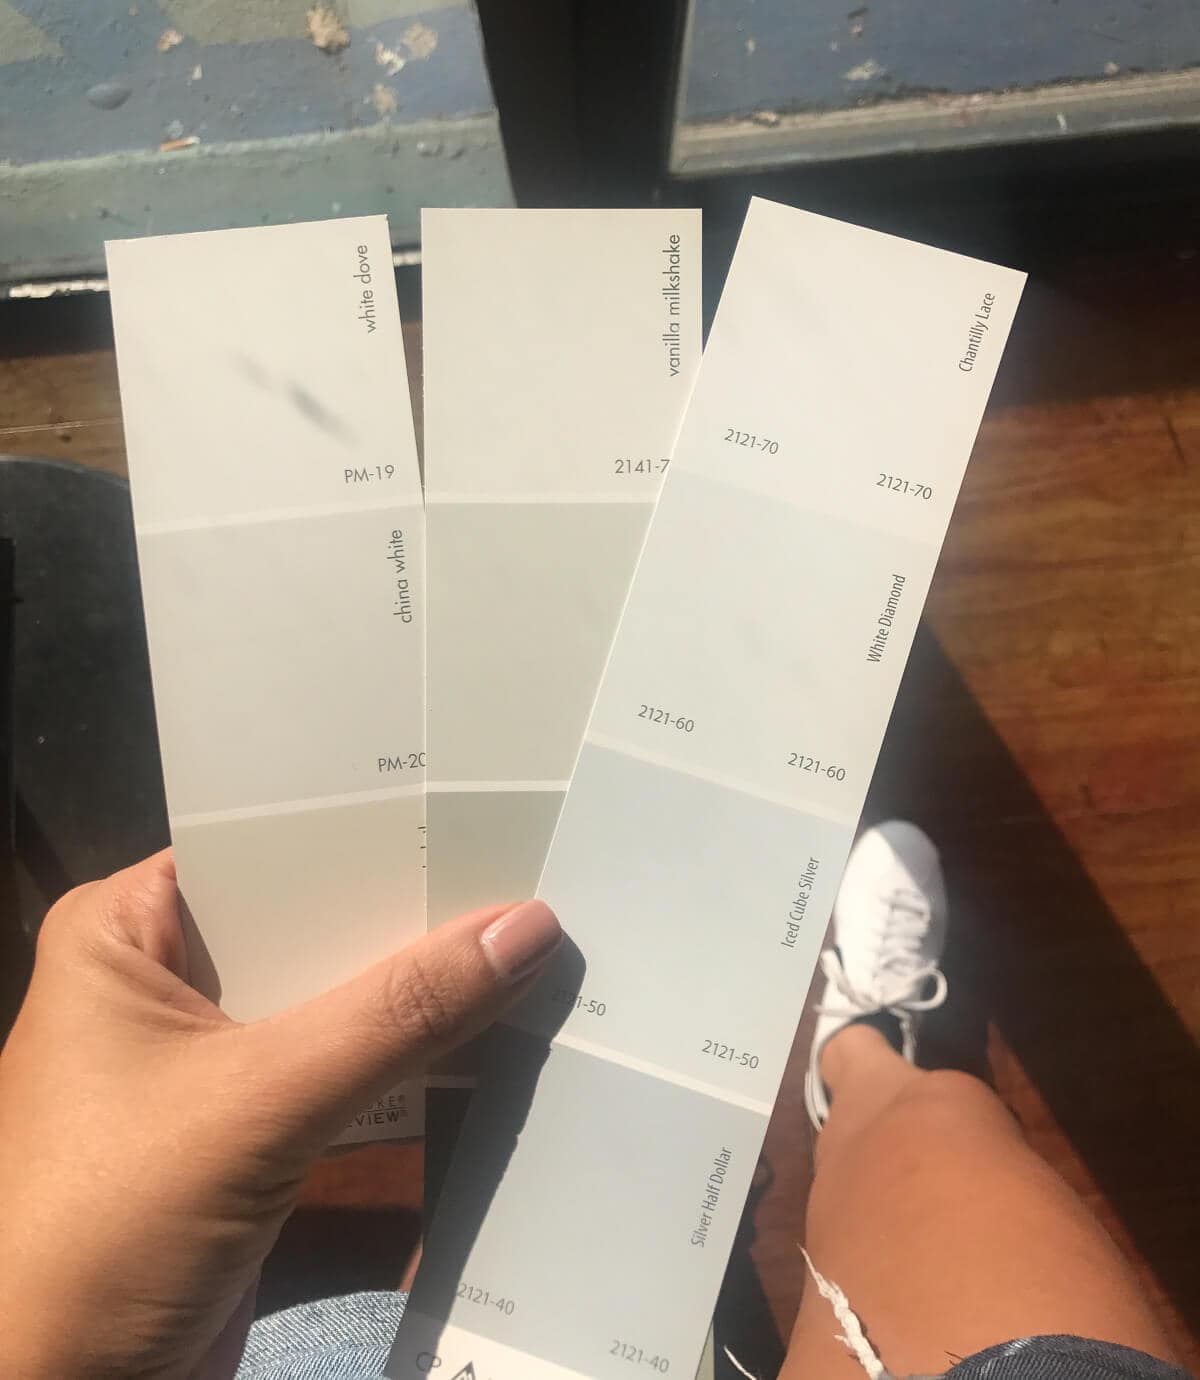
Next up, as in this week, is painting. We’re painting the ceilings, the window sashes and trim and the walls.
After that is the cabinet install, the marble install (WOHOOO!!) and basically everything else.
We’re also doing this amazing plastered type walls so that’s happening this week, too!
Check Insta Stories for more updates!
Also, here’s the good ol’ collage from the very start that we’re actually still sticking to. If you’re doing a renovation, I find these collages to be SUPER helpful just to see everything together.


Love this!!! The color is very feminine, which I love! https://www.outboundlighting.com/
Absolutely! Low cost, simple modifications to help people be safer and more comfortable in their homes, such as installing grab bars and higher toilets, continue to be the most popular aging in place remodeling projects.
You must check https://drdelemichael.com/service-inner-chemical-peels/