Disclosure: This post may contain affiliate links, which means I may earn a commission if you click on the link and make a purchase.
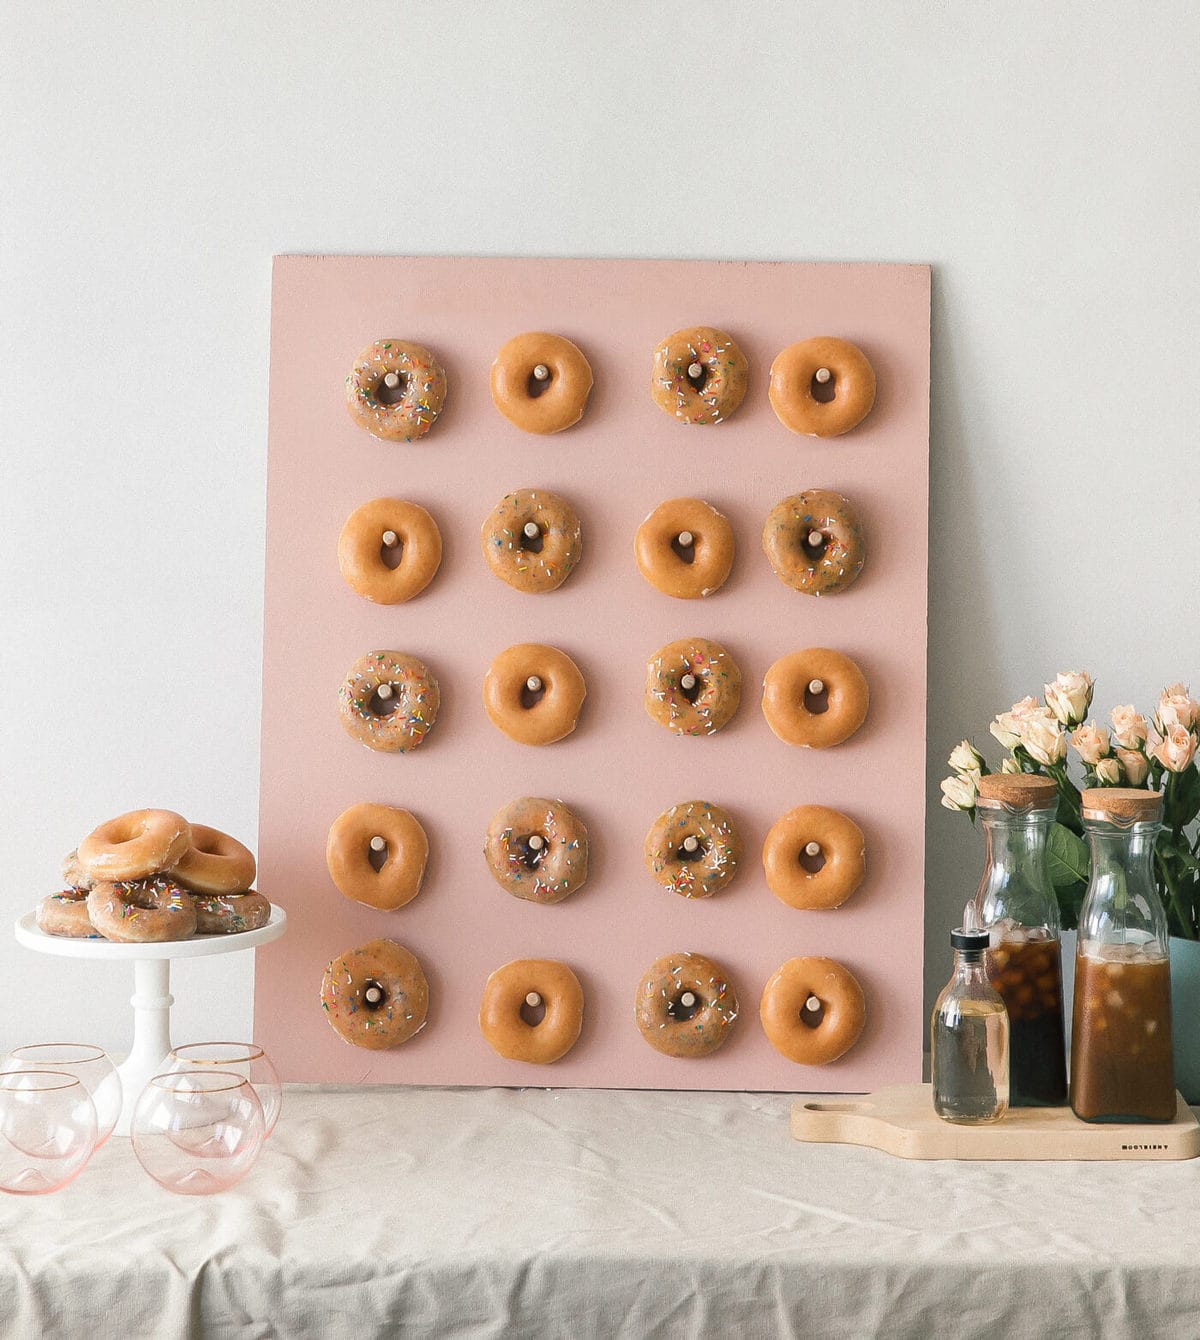
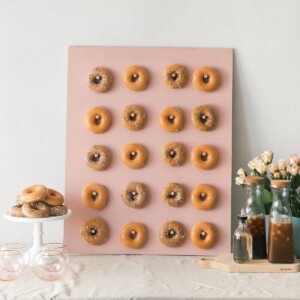
How to Make a Doughnut Wall! This step-by-step tutorial will show you how I made a doughnut wall with only a few items from your local craft store.
I went to school in Winston-Salem, North Carolina. It’s a teeny little college town (especially compared to a big city like Los Angeles). I went to a conservatory, which technically means you’re classically trained in whatever you’re studying, but what it really means is that you’re stressed out all the time and you study and work like crazy.
We’d have super early shoots at 6am and I’d always, ALWAYS drive past Krispy Kreme Doughnuts (their original location!) and let me tell you, that “HOT NOW” sign that would light up was like a spark of joy and hope to us all.
How to Make a Doughnut Wall
It was much simpler than I had imagined in my brain.
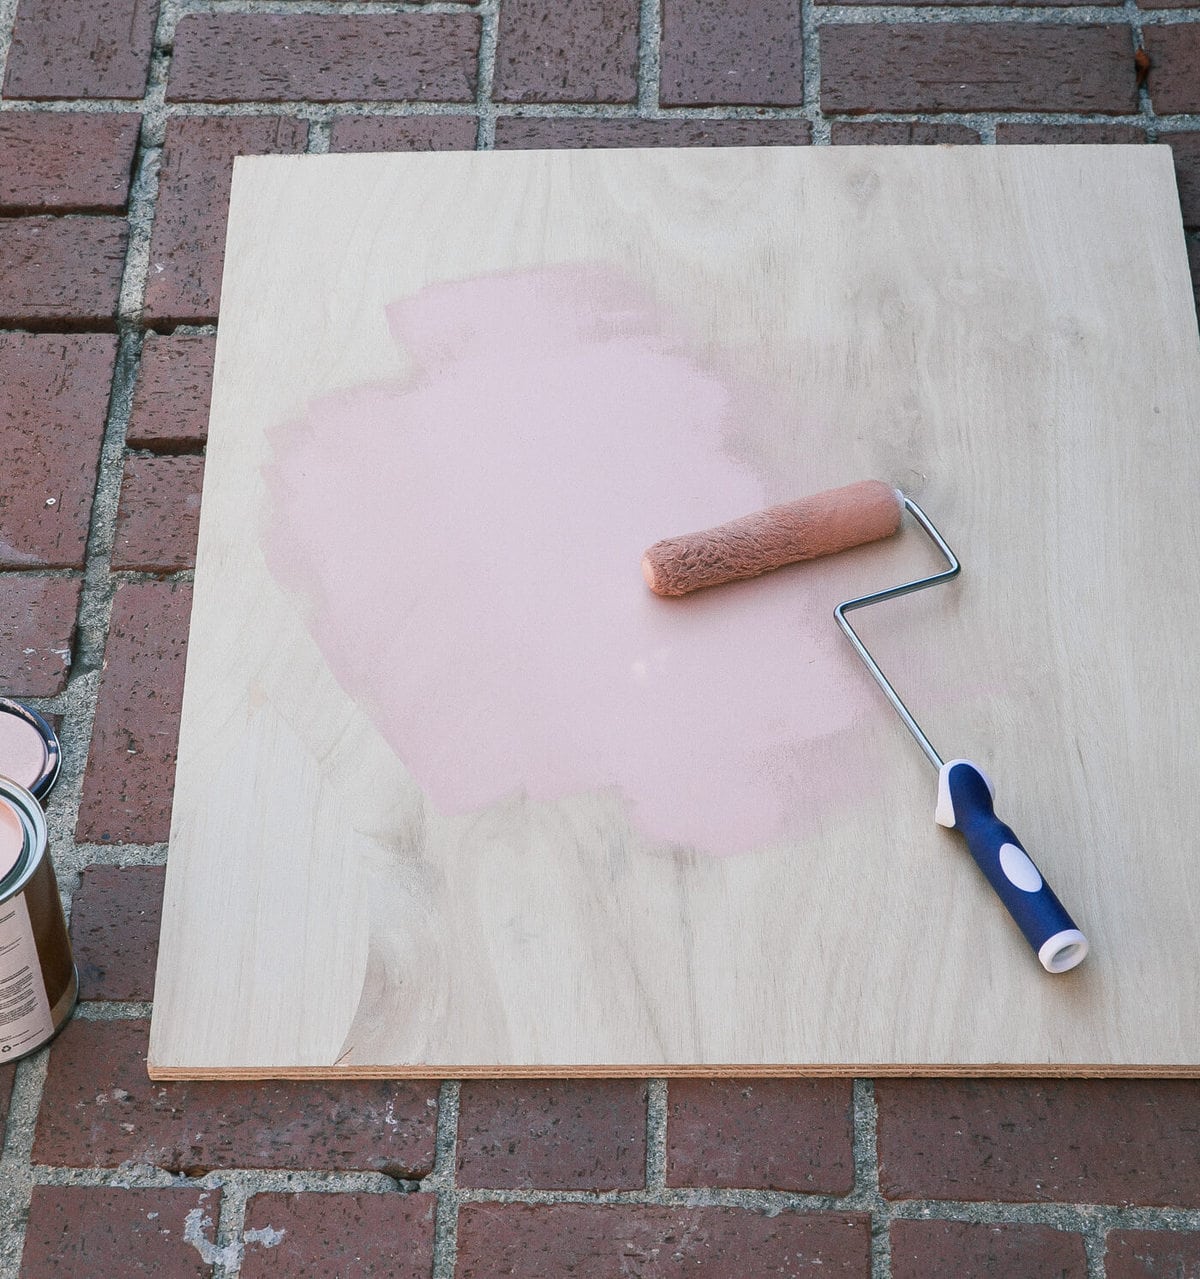
I headed to my local hardware store and bought a piece of plywood. They actually had a place where they cut it down for me to my desired size (I went with 24 x 30-inches).
STEP 1:
I brought it home and gave it two coats of paint. Of course, I chose my favorite color: mauve-y pink. I let it dry for a good hour or two just to make sure it was good to go.
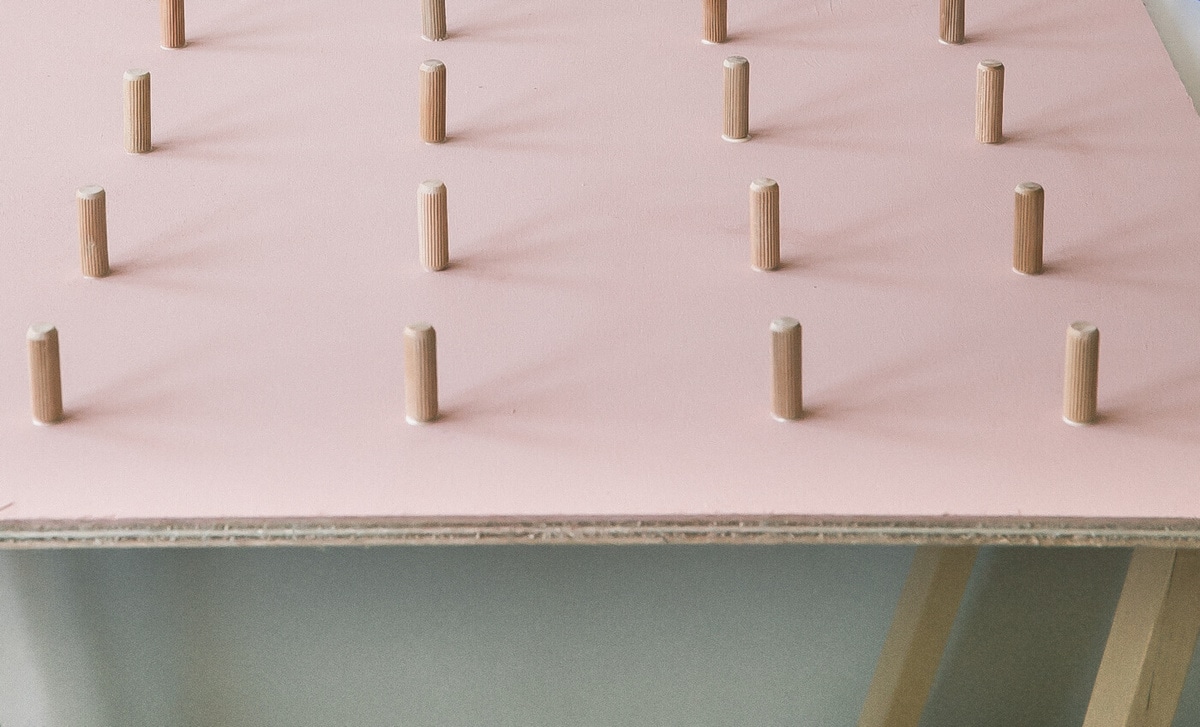
STEP 2:
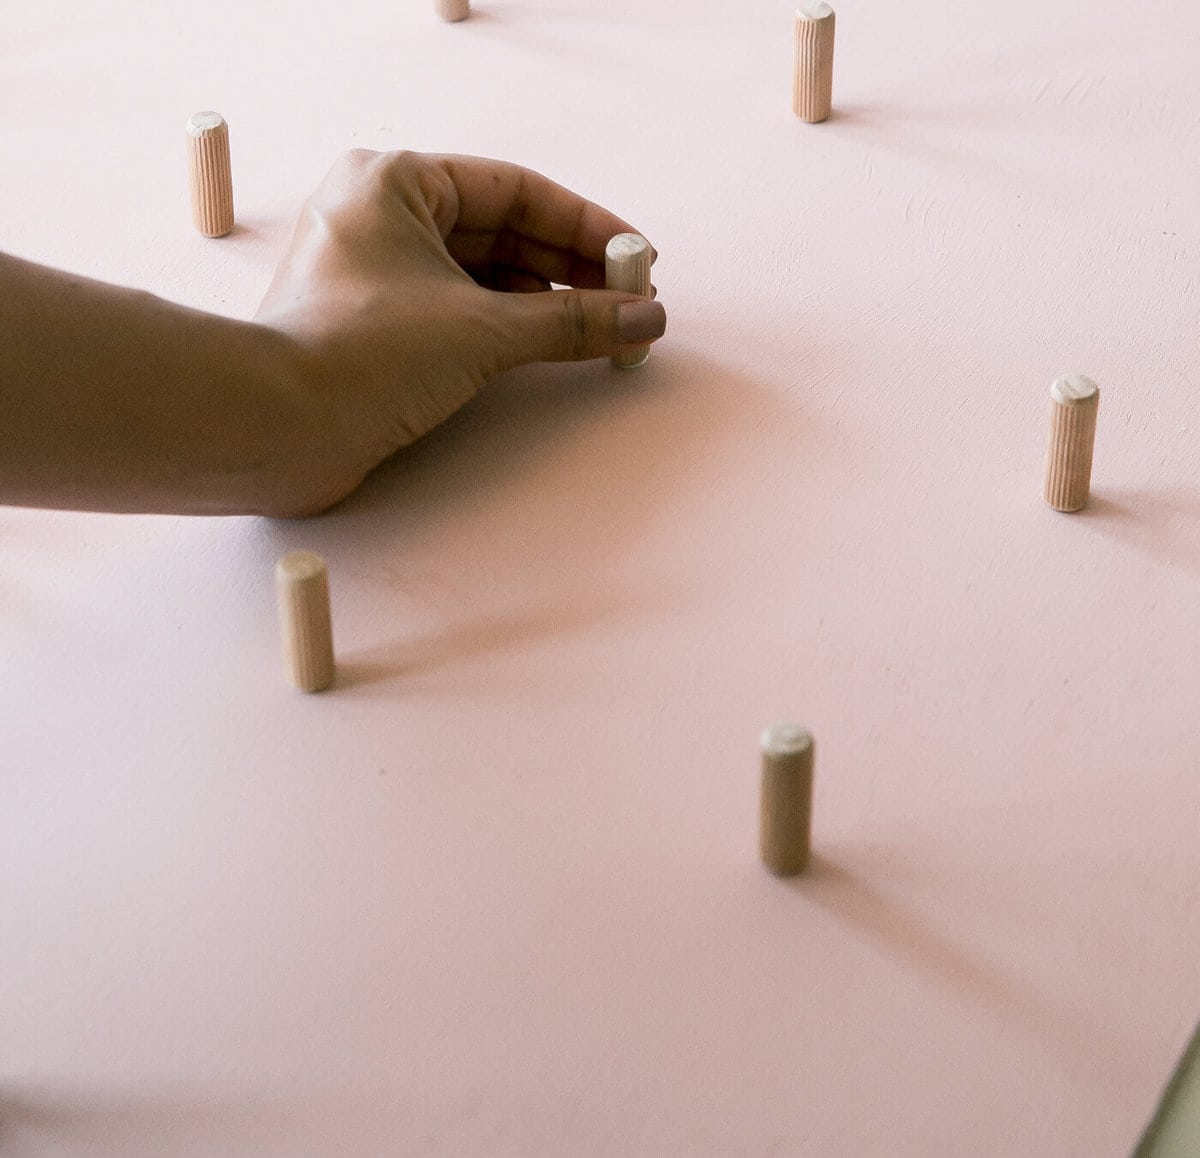
Using wood glue, I glued dowels onto the board. I measured them so they were about 4 1/2 inches apart so that it would create a grid.
The dowels weren’t placed on perfectly and it ended up being A-OK, so just do your best. I let the glue dry for about 15 minutes.
STEP 3:
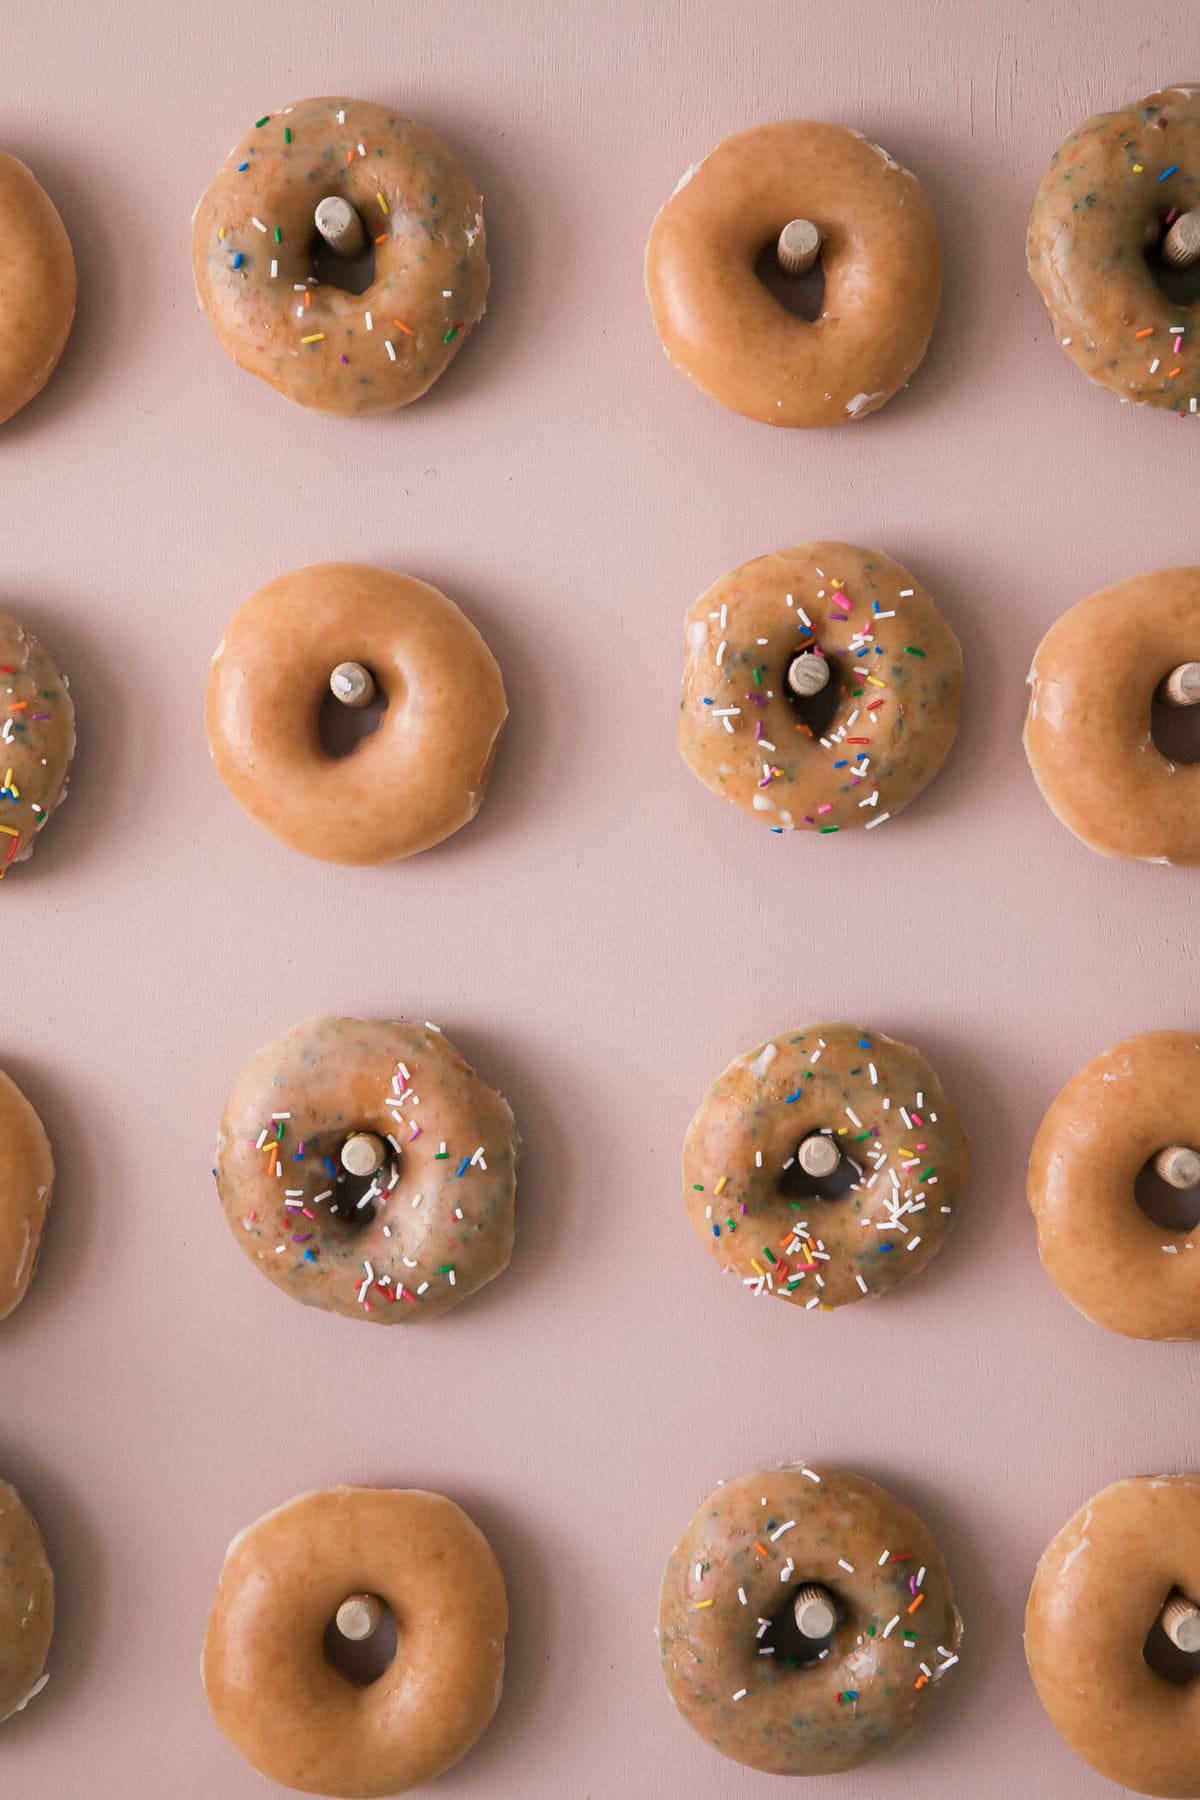
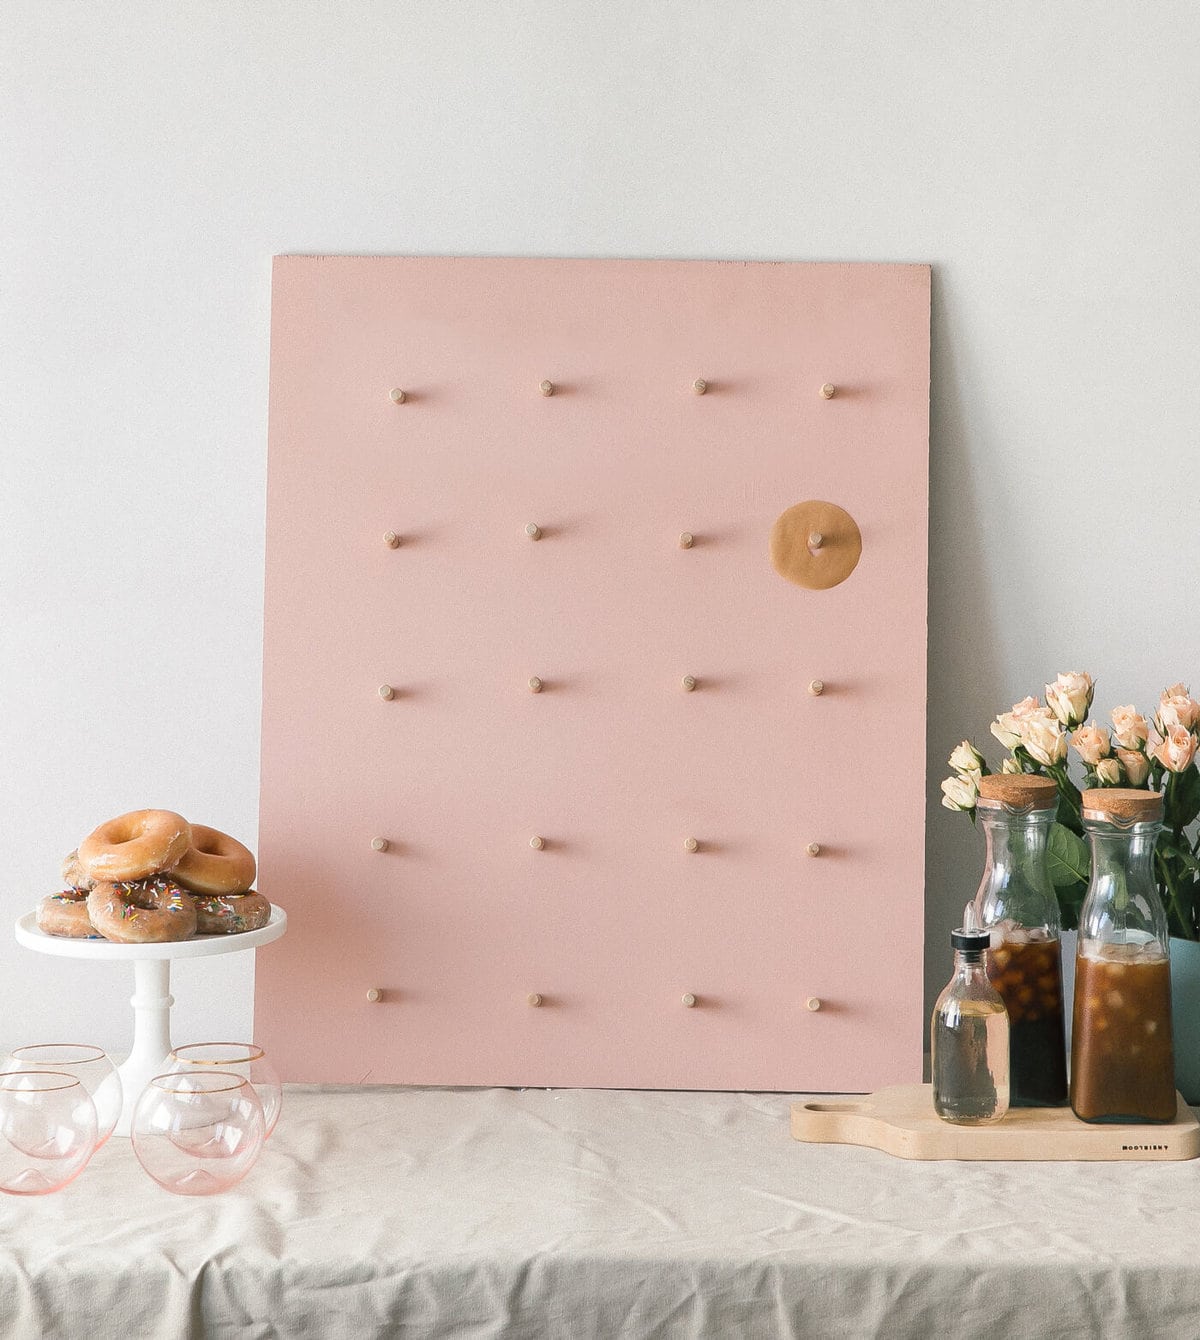
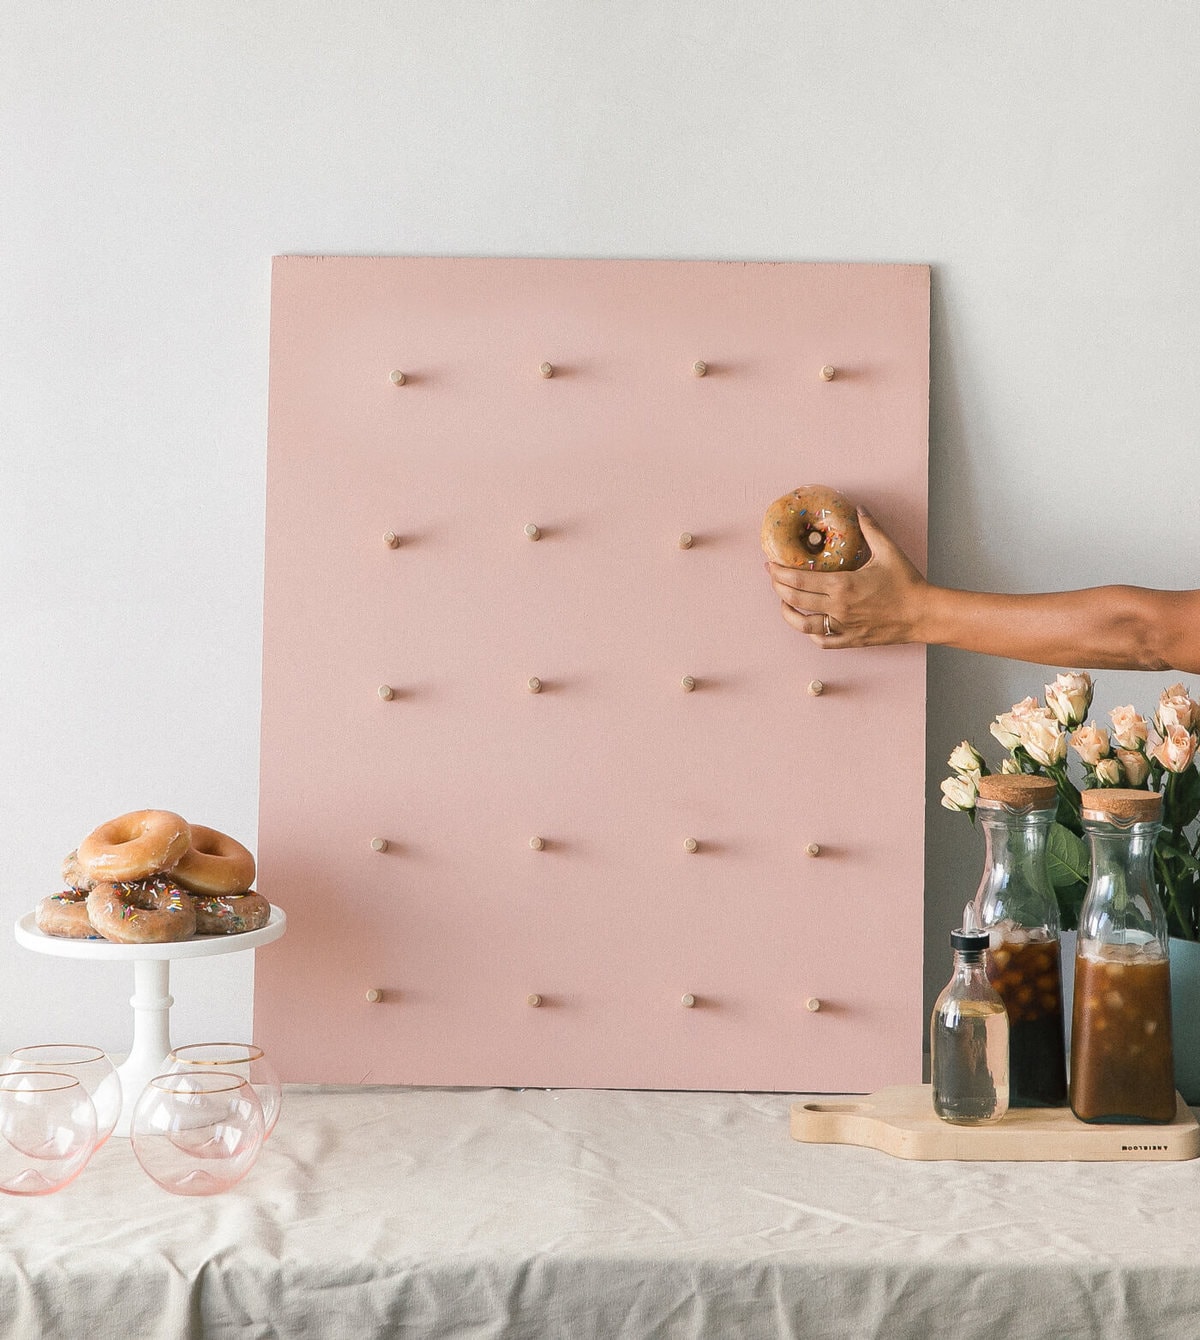
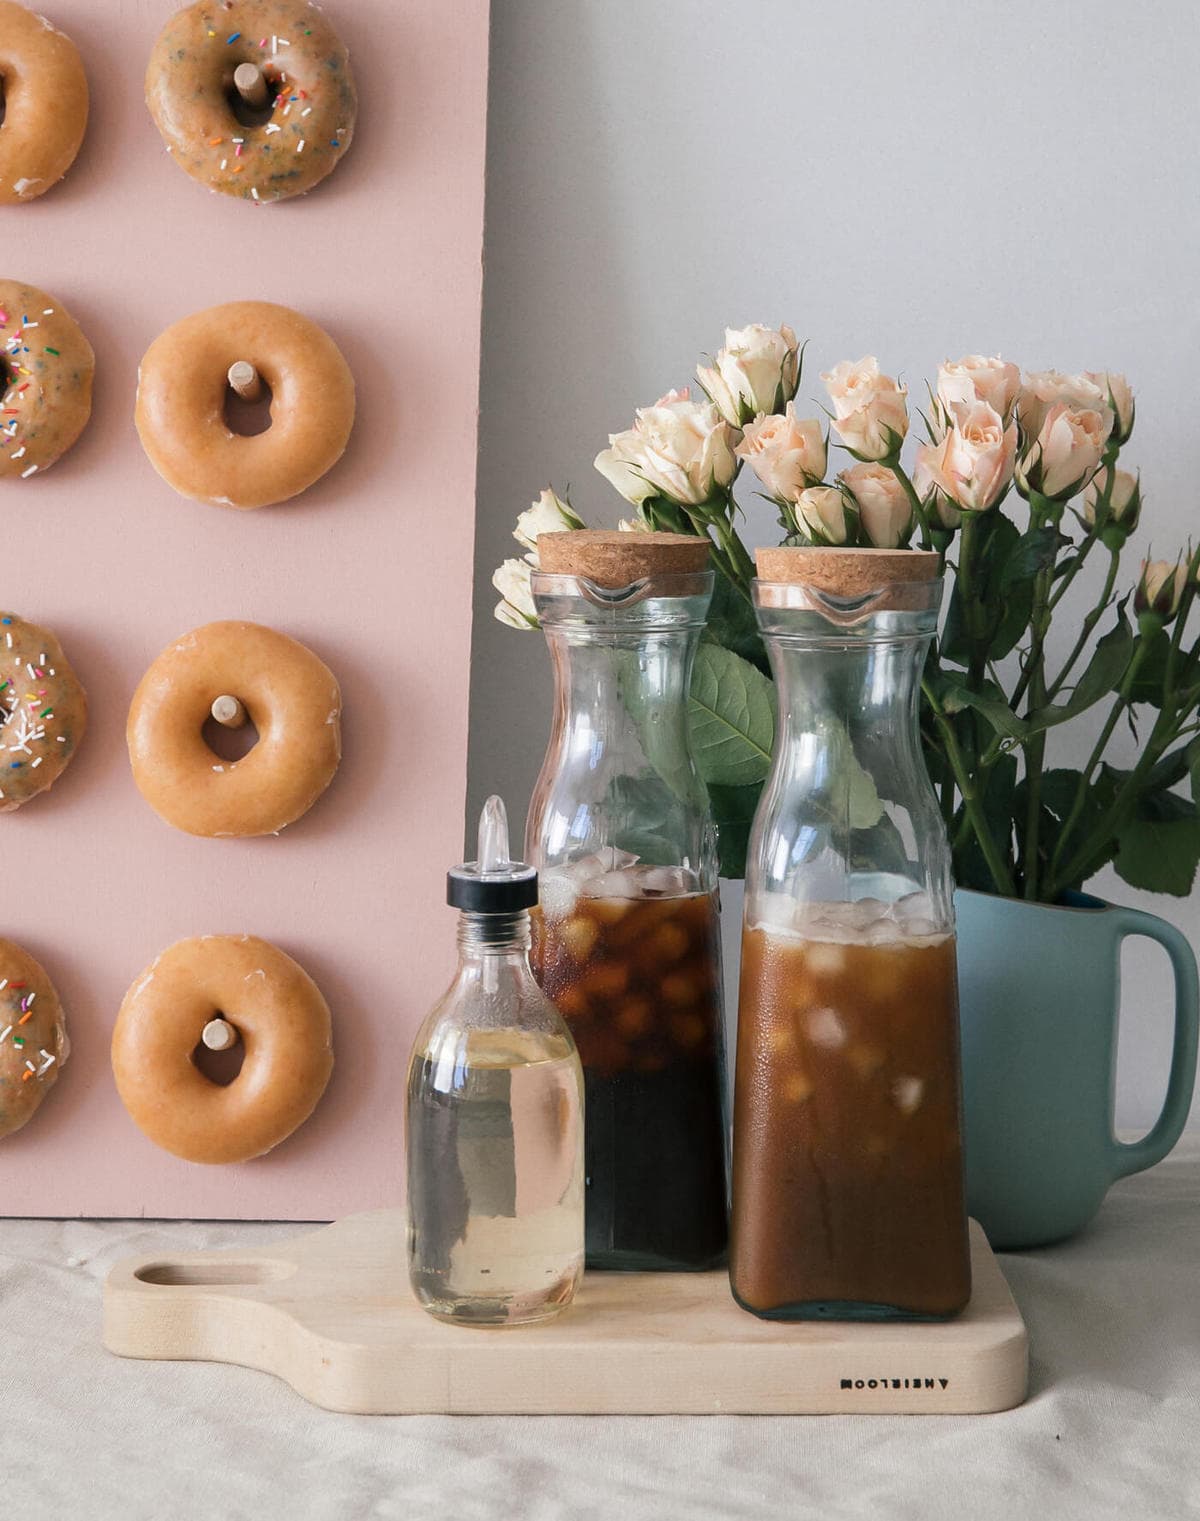
Since paint is generally not food safe, I lined the doughnuts with doughnut-shaped parchment, i.e., cut out circles with a cut out center. I put them on the board first.
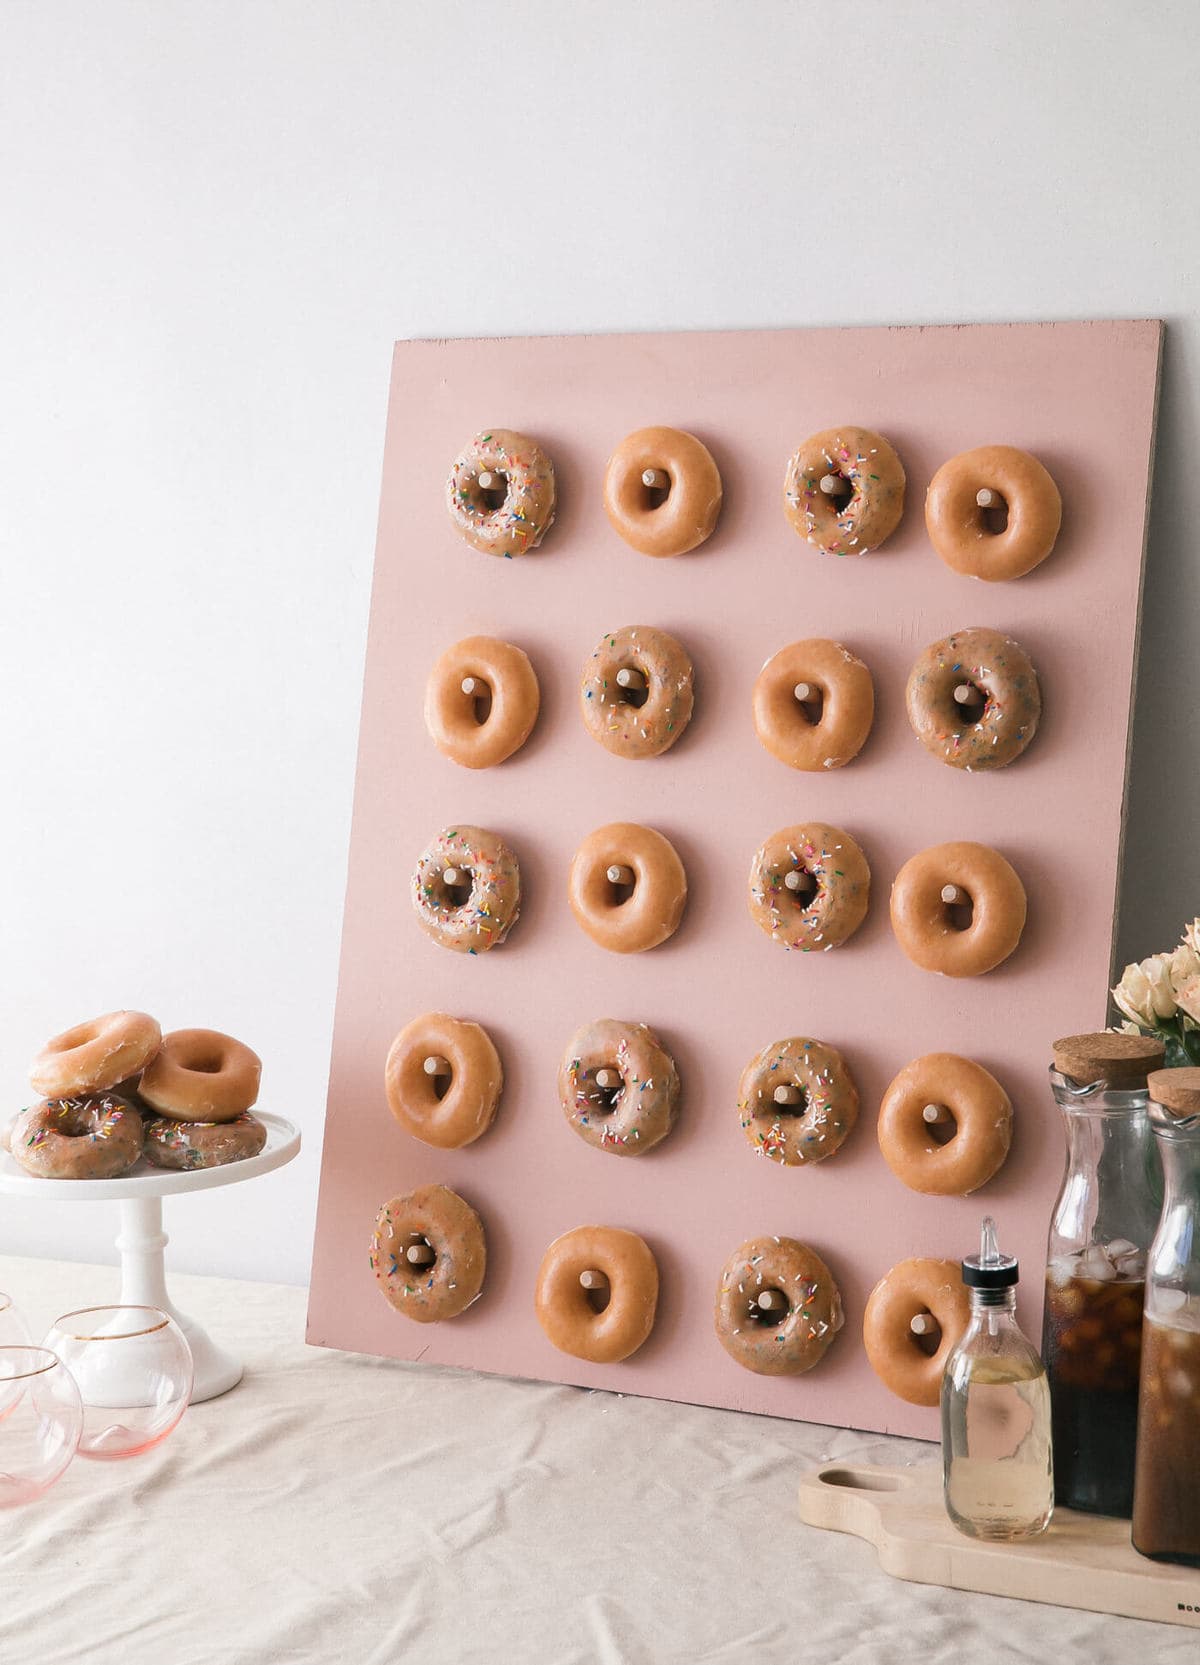
That’s it! This doughnut wall couldn’t be more simple; if you make it, let me know on Instagram!
Need some doughnut recipes? Here are some of my favorites:
Baked Double Chocolate Doughnuts
How to Make a Doughnut Wall
Ingredients
- 24 x 30 cut piece of plywood
- Paint of choice, along with paint roller
- 20 wooden 1/2 dowels
- Wooden glue
- Painter’s tape
- Black letter stickers
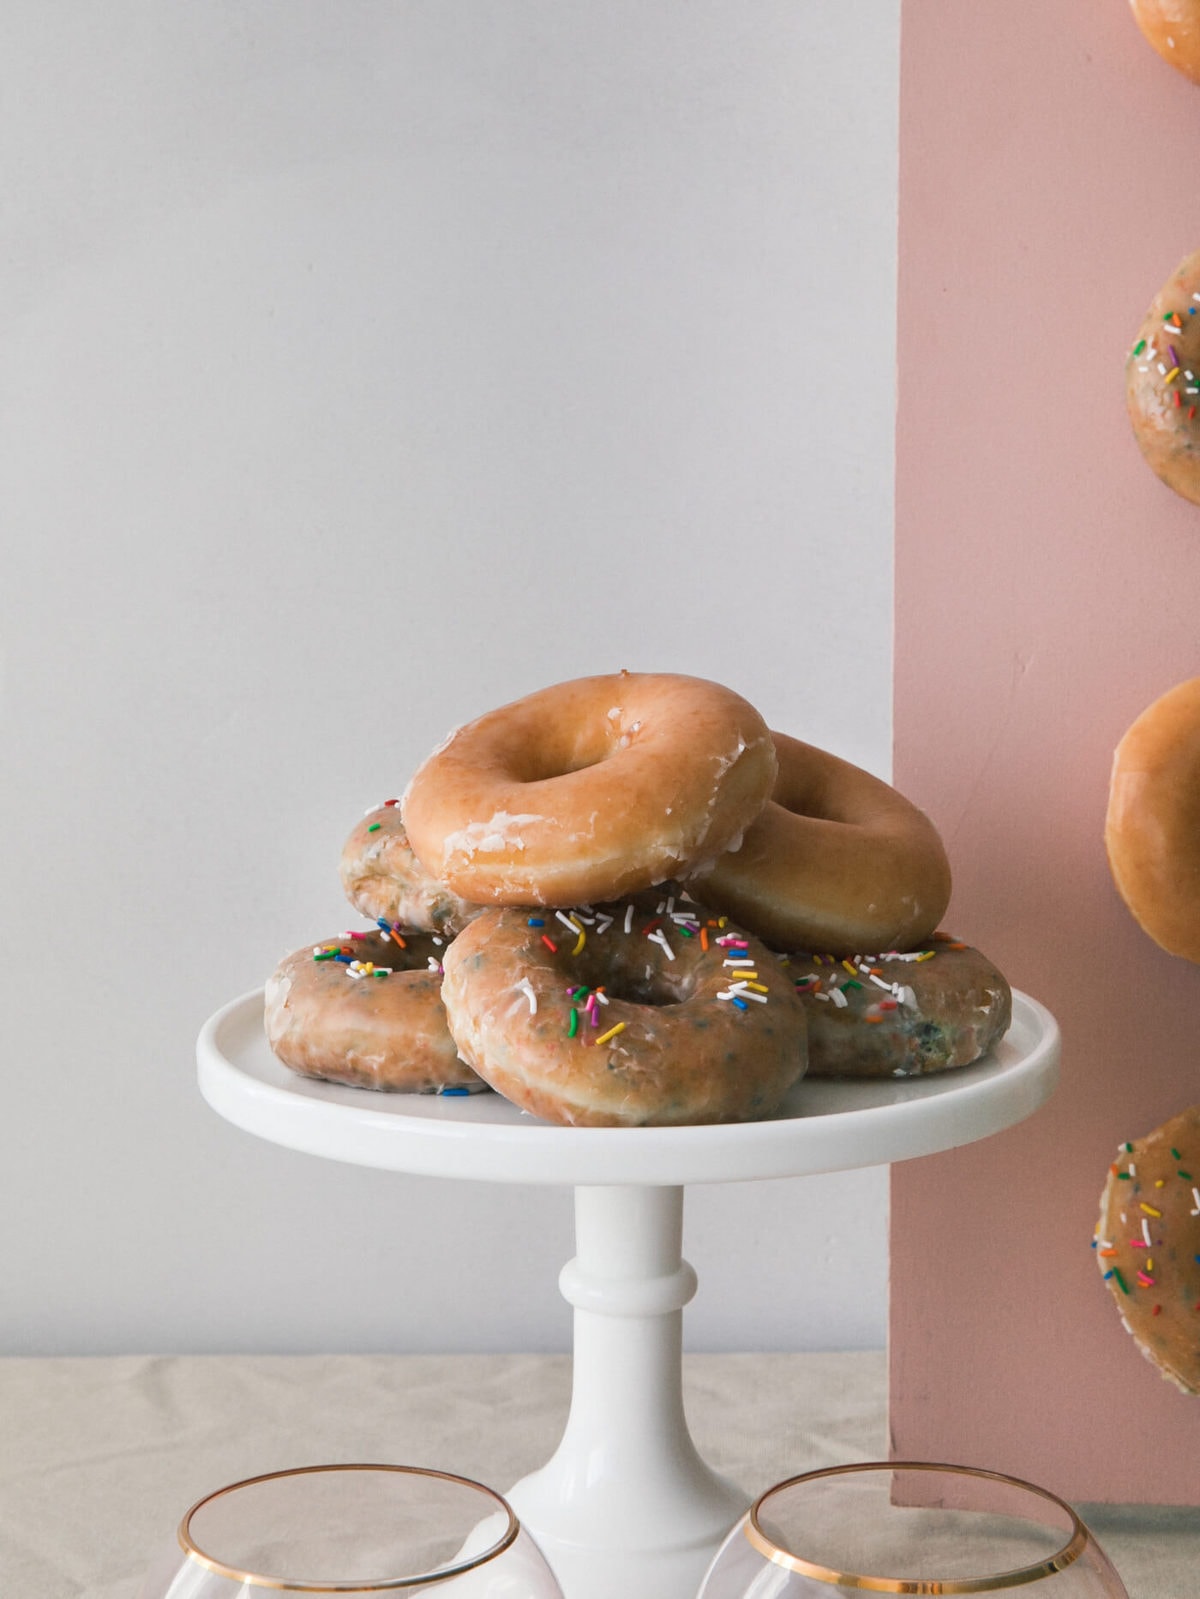
- 2 dozen Krispy Kreme Doughnuts, one dozen Glazed Confetti Doughnuts and one dozen Original Glazed Doughnuts
Instructions
- Paint plywood with two coats of paint color of choice. Allow to dry completely.
- Place dowel on board (without glue) about 4 1/2 inches apart, putting four dowels vertically and four dowels horizontally. Place a dab of glue on the end of the dowel and place it on the board. Repeat with the remaining dowels. Allow to dry the dowels to dry, about 10 minutes.
- Lay painter’s tape across the top of the board to act as a guide for sticking on the letters. Spell out whatever you like! Add the last two dowels on top, right next to the title.
- To hang doughnuts, cut out doughnut-shaped pieces of parchment paper, so that the doughnut has something to separate it from the board itself. Add the doughnuts and enjoy!
Notes


Learned something new today!… Keep up the great work!