Disclosure: This post may contain affiliate links, which means I may earn a commission if you click on the link and make a purchase.
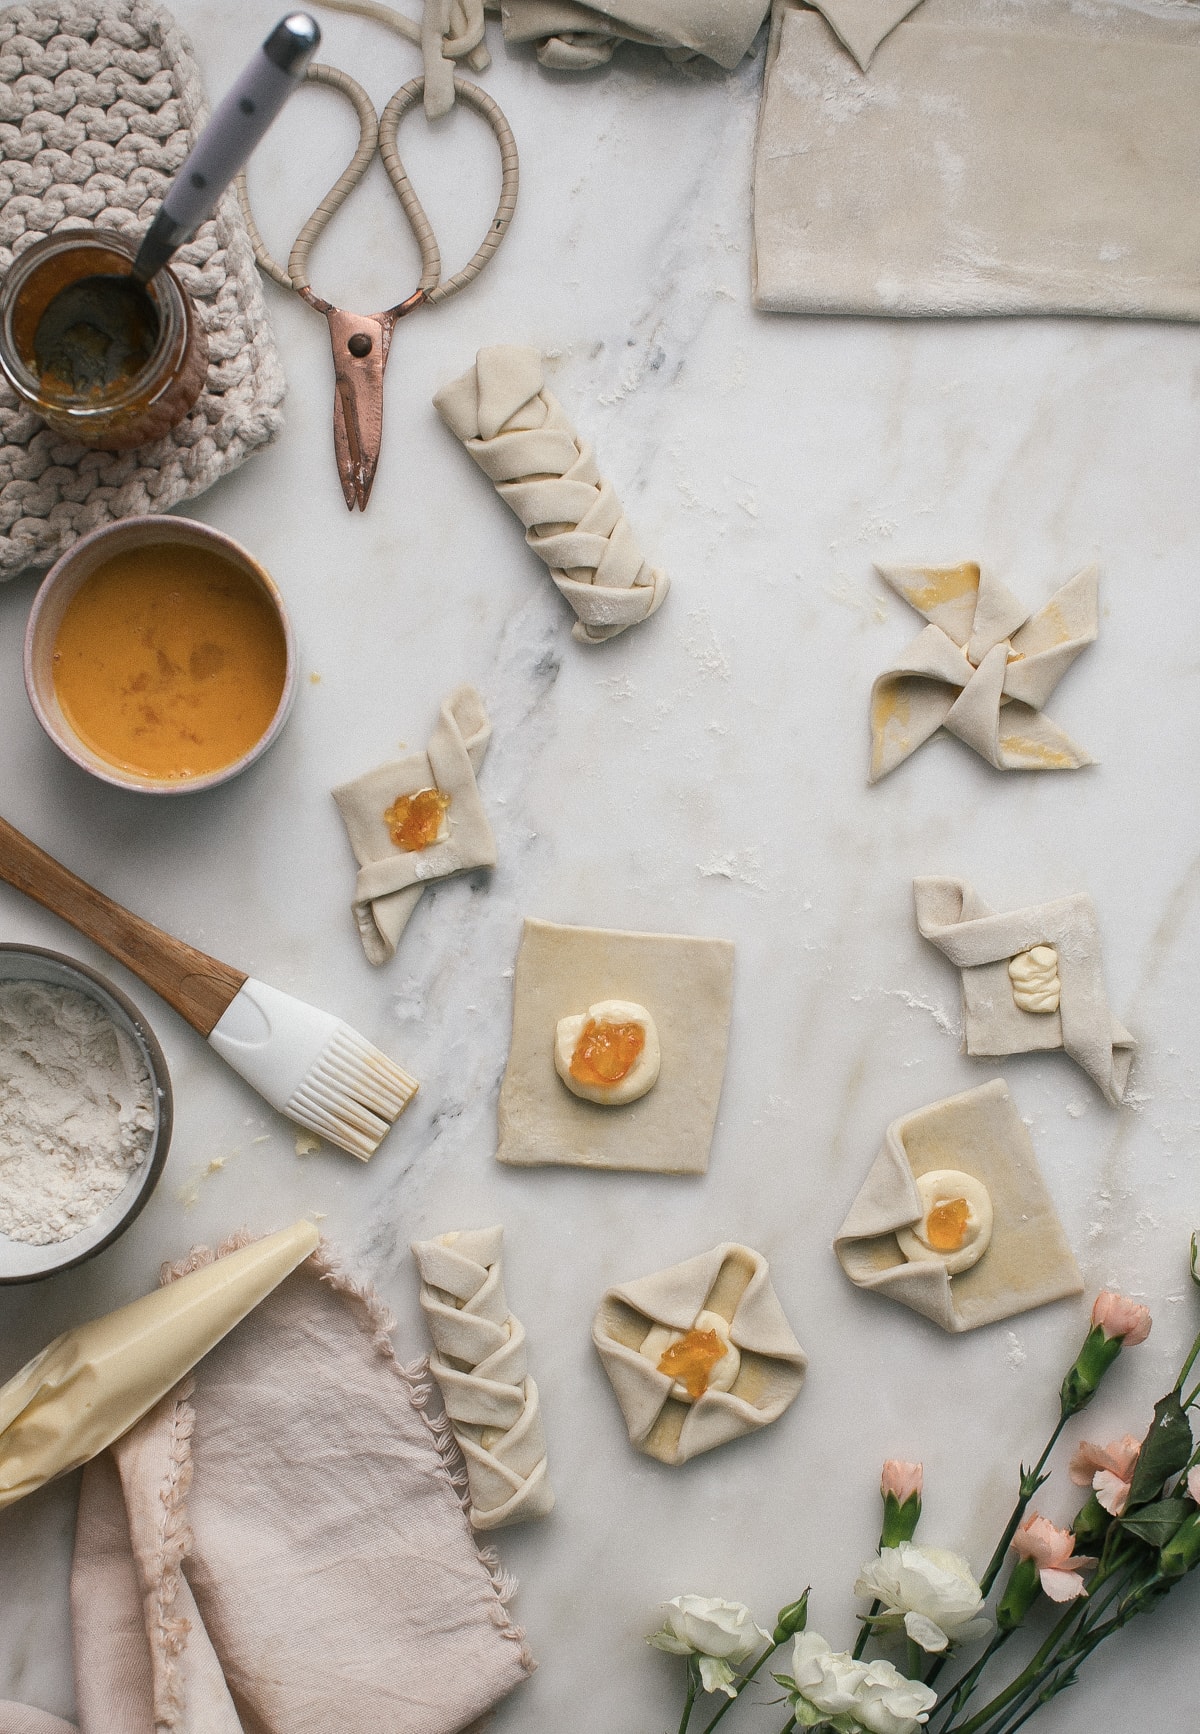
Table of Contents
I’m so excited about rough puff. Ideally 2017 would include a whole lot of laminated dough.
A few years ago I put making puff pastry at home in the silly category. Why would we make it when we can just buy it?!?!?
I’m still an advocate for store-bought pastry, especially when you’re in a bit of a jam. It’s so nice to have in the fridge/freezer when you want to serve up a tart or something last minute.
But lately, I’ve been experimenting with rough puff (isn’t the name fun?), which is basically EASY AF puff pastry.
It is puff pastry that is made a lot like pie dough with some additional “turns” (more on that later).
I figured I’d give you a step-by-step of this process since once you see it all broken out into steps it seems SO MUCH easier.
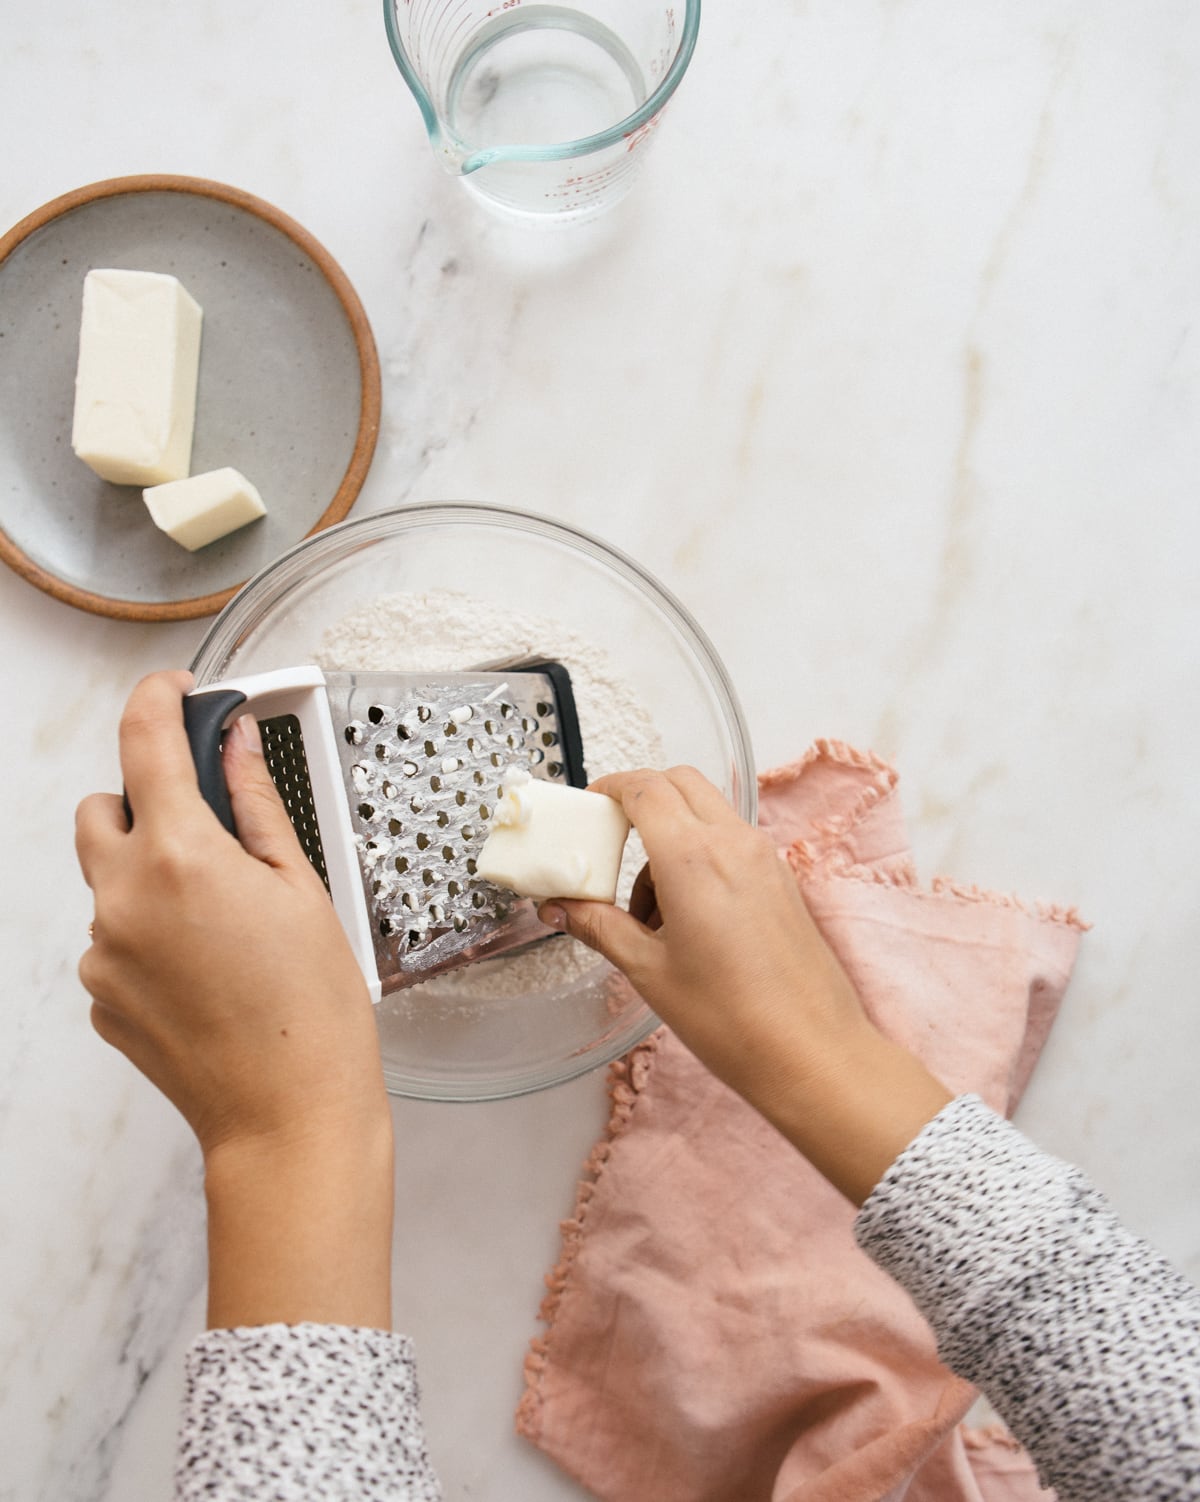
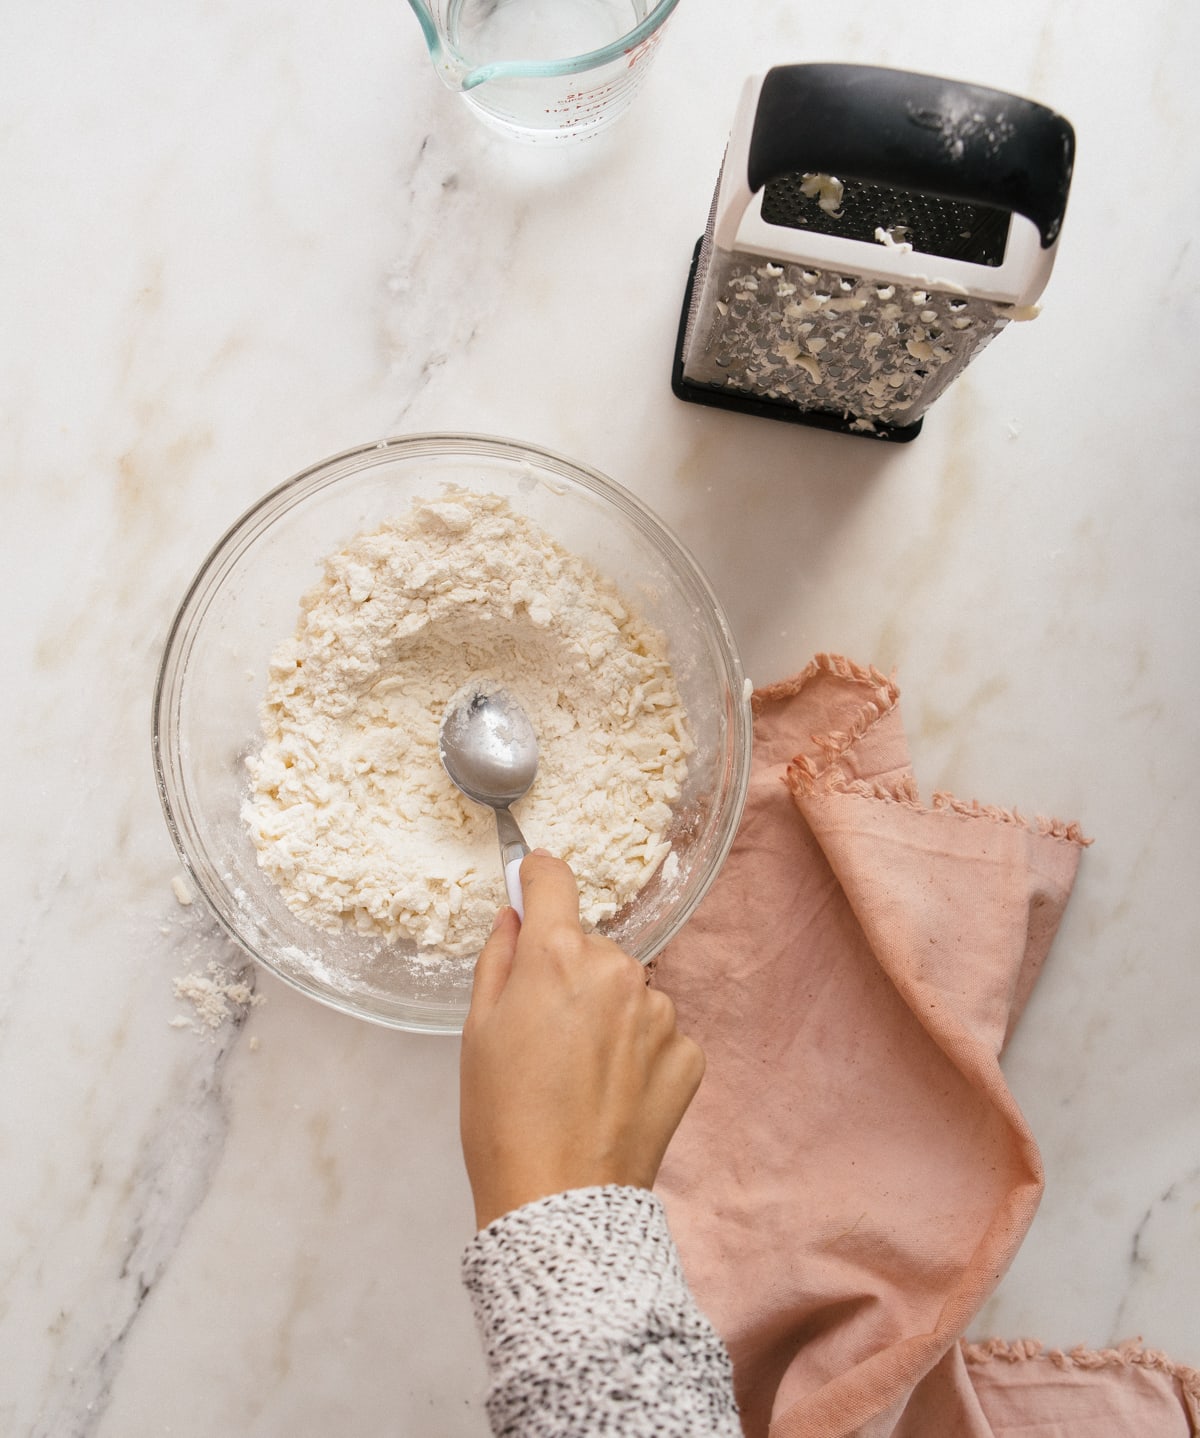
The whole process begins by combining your flour and salt. Just like how I make pie crust, I find it easiest to use a cheese grater to get the butter the perfect-sized bits.
I used the ratios from Gordon Ramsey and I found them perfect every single time. (The first time I made it, I cut the butter because I found the measurement sort of annoying (1 stick plus 1 tablespoon) but that extra tablespoon is important so we’re going to use it!)
I also used Ashley Rodriguez‘s technique and found it to be seamless and easy and yet the marbling was perfect.
How To Make Rough Puff, Step by Step
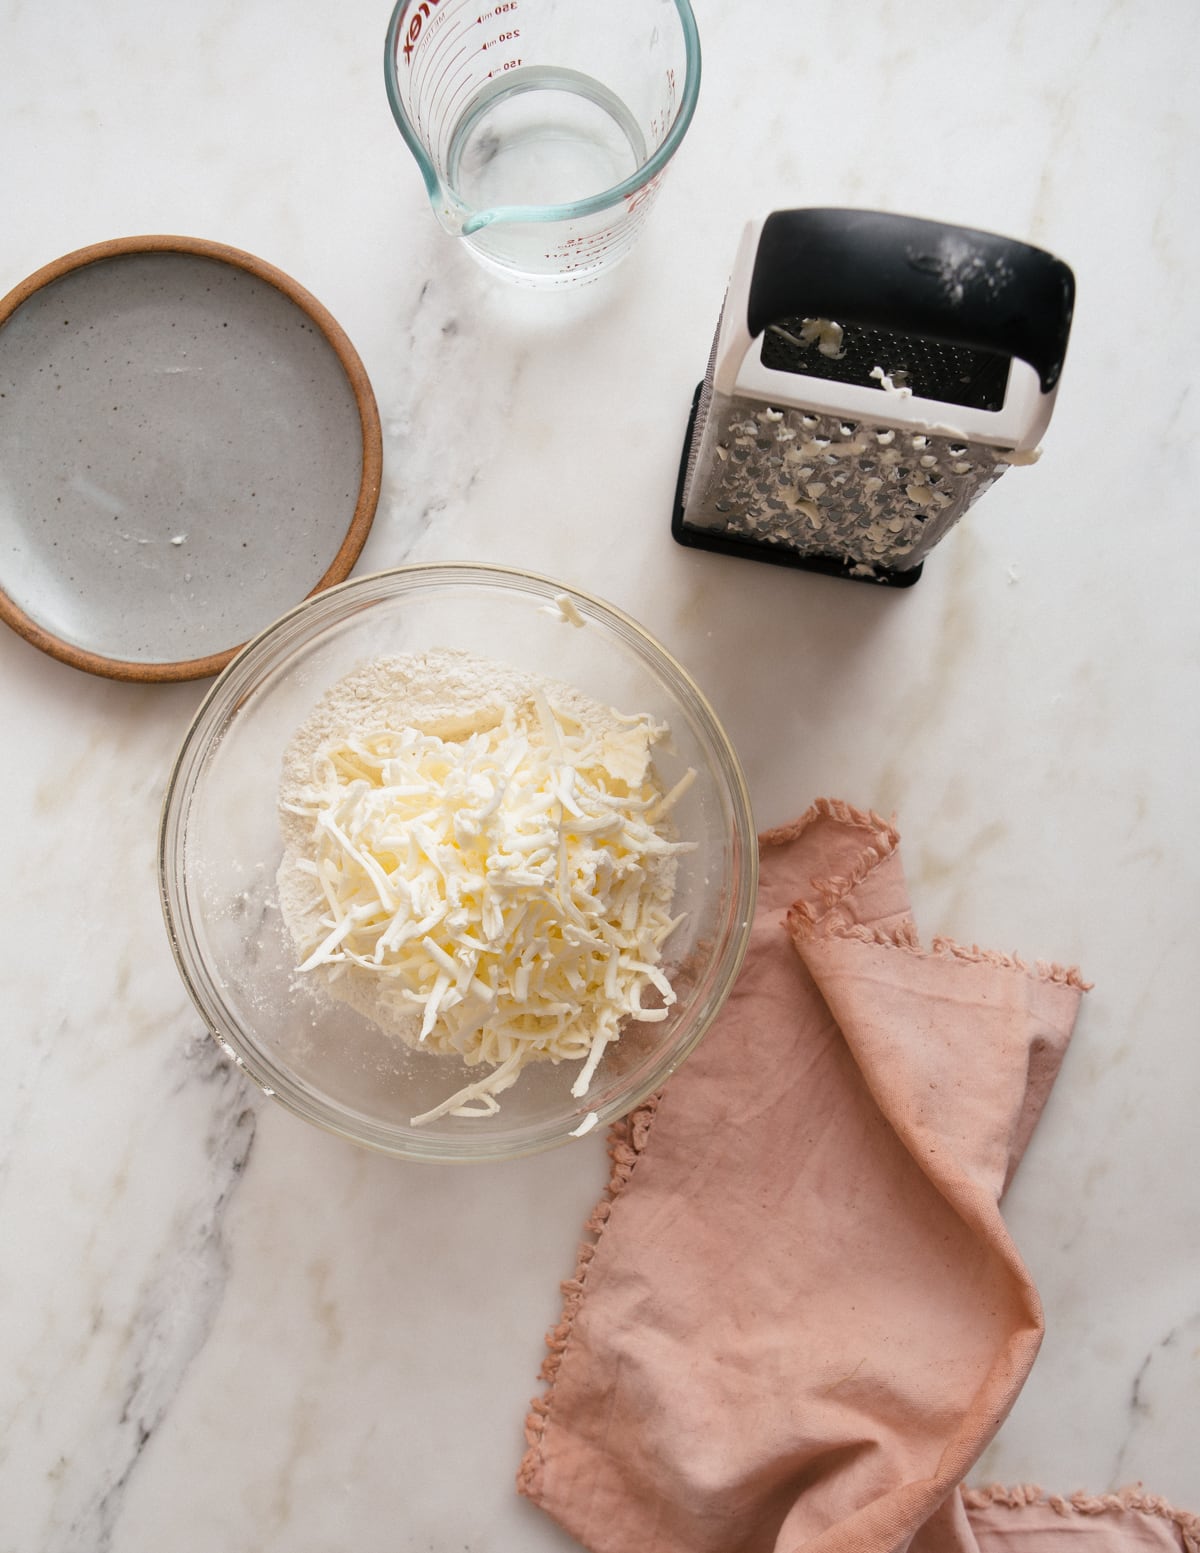
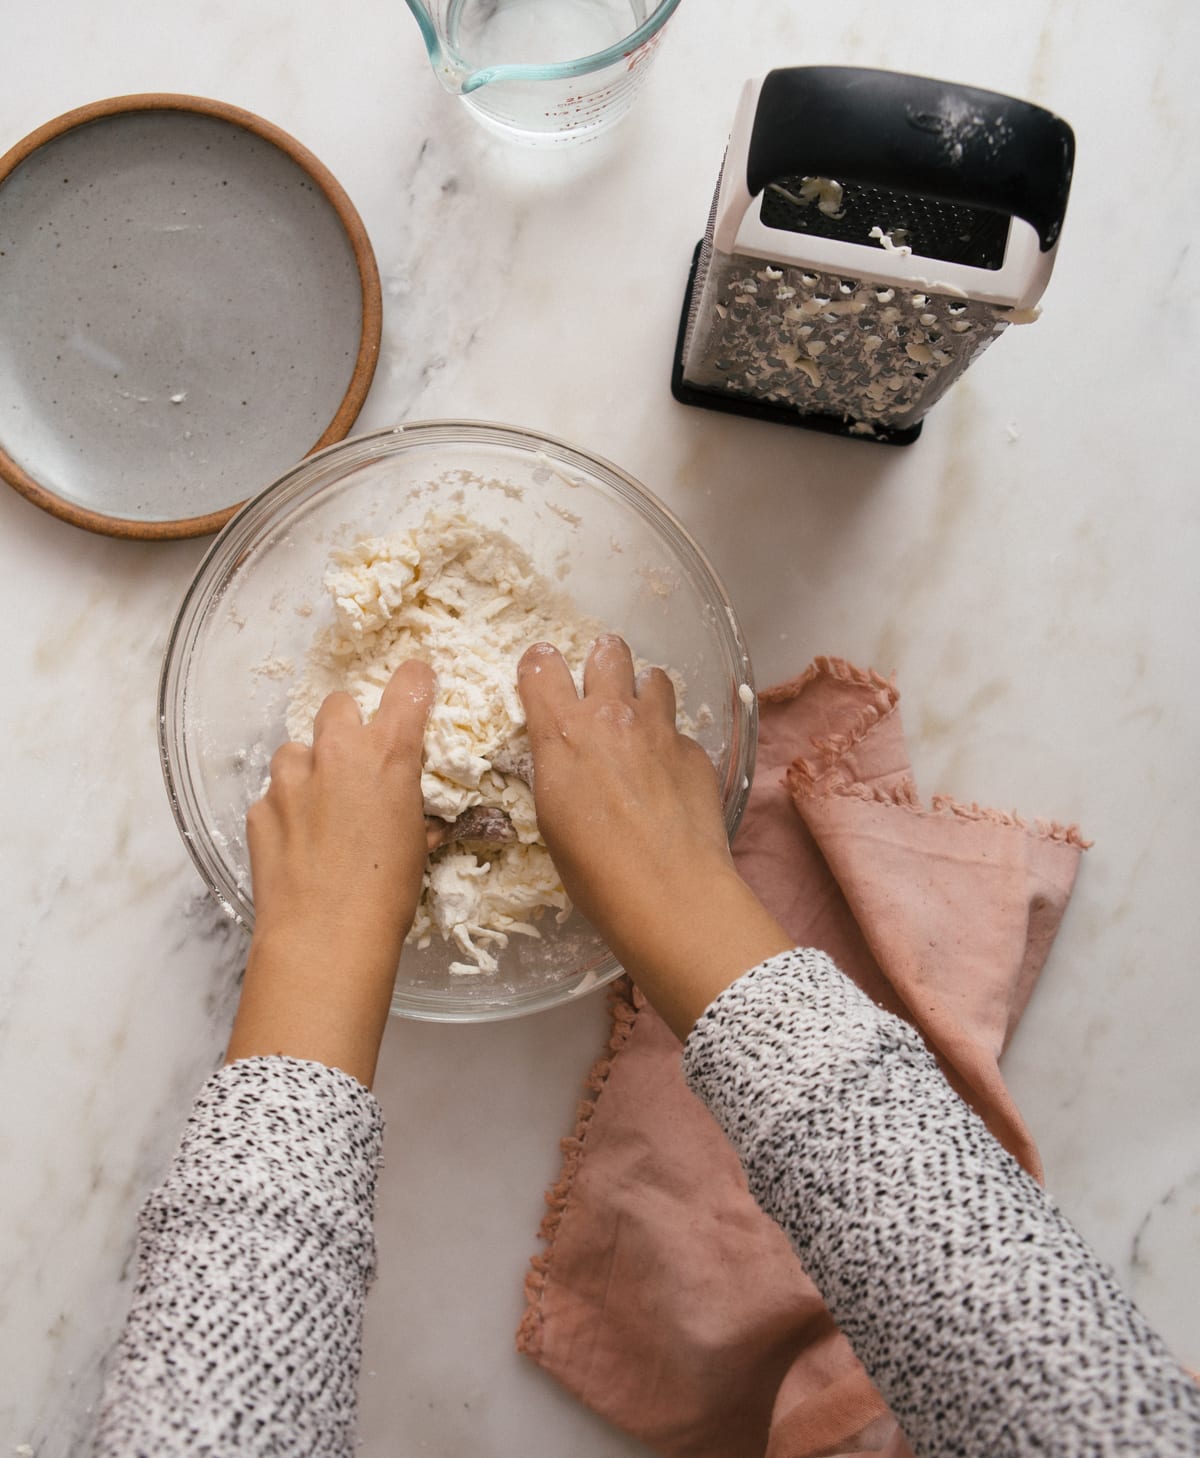
Once all the butter is grated, you coat the butter with the flour until it’s combined.
(THIS IS EXACTLY HOW I MAKE PIE DOUGH.)
I like to press the buttery bits into the flour. You’ll also notice that the mixture will go from white flour to almost off white/sort of yellow.
Then you create a little well in the center and add the water. A good mix and then I pour it out onto my work surface.
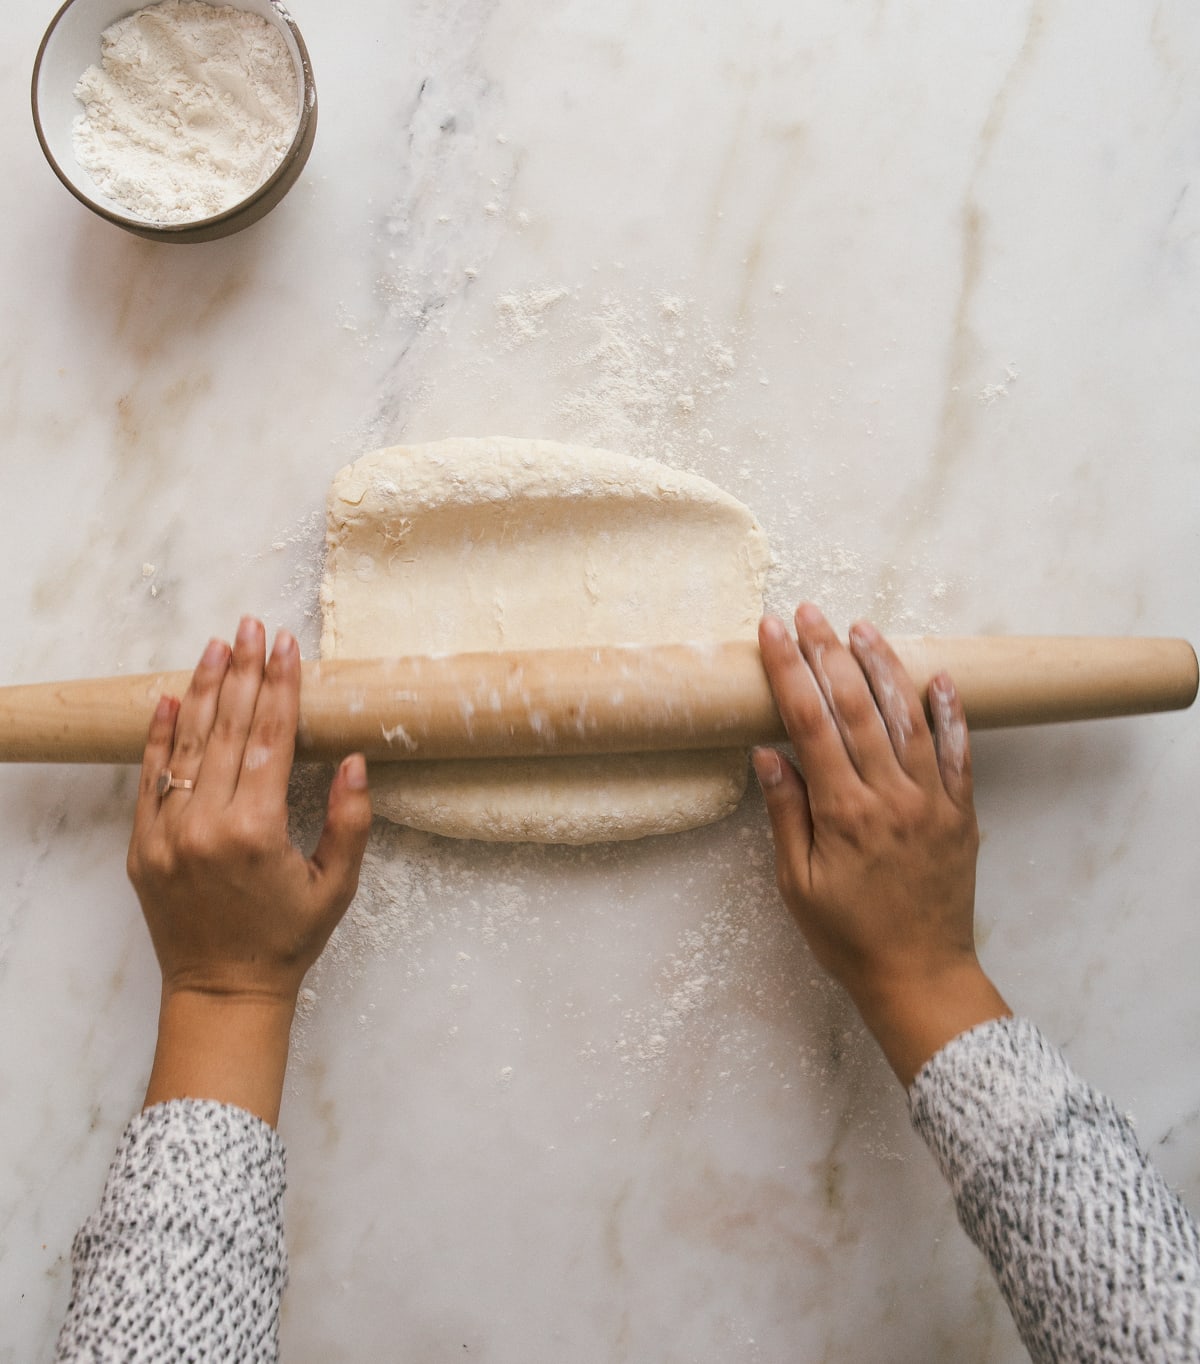
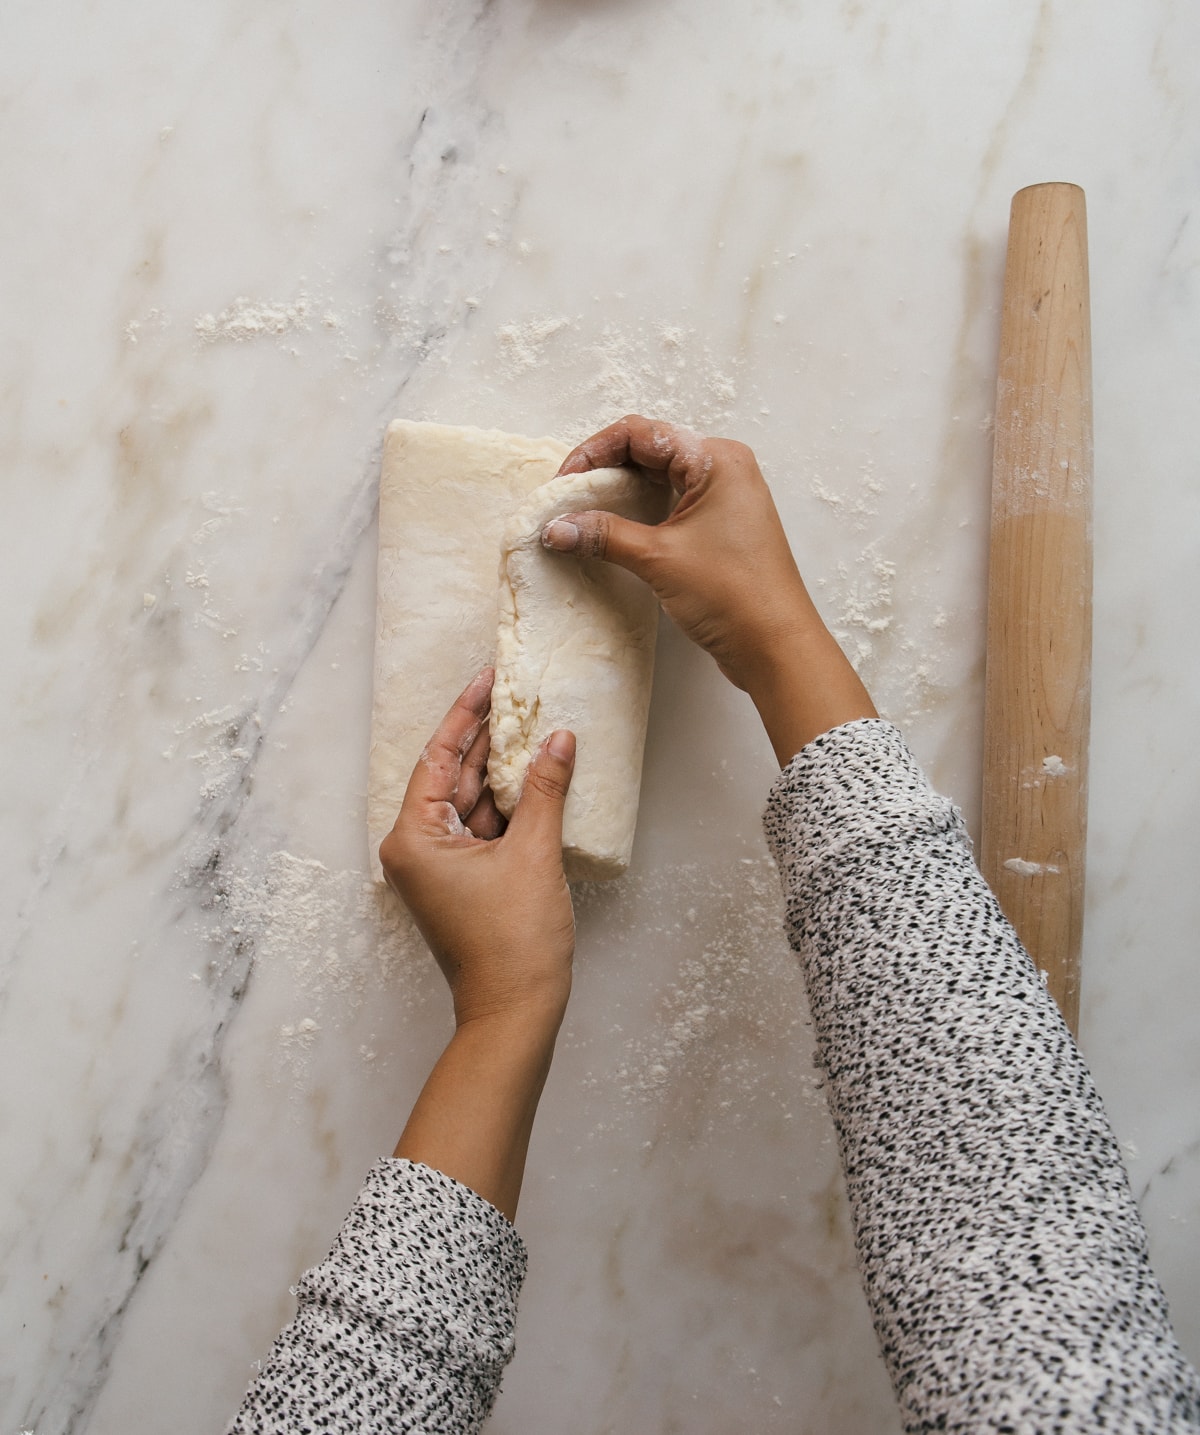
I knead it a few times and form it into a rectangle. This is when we do what are called turns. We’re gonna do two of ‘em.
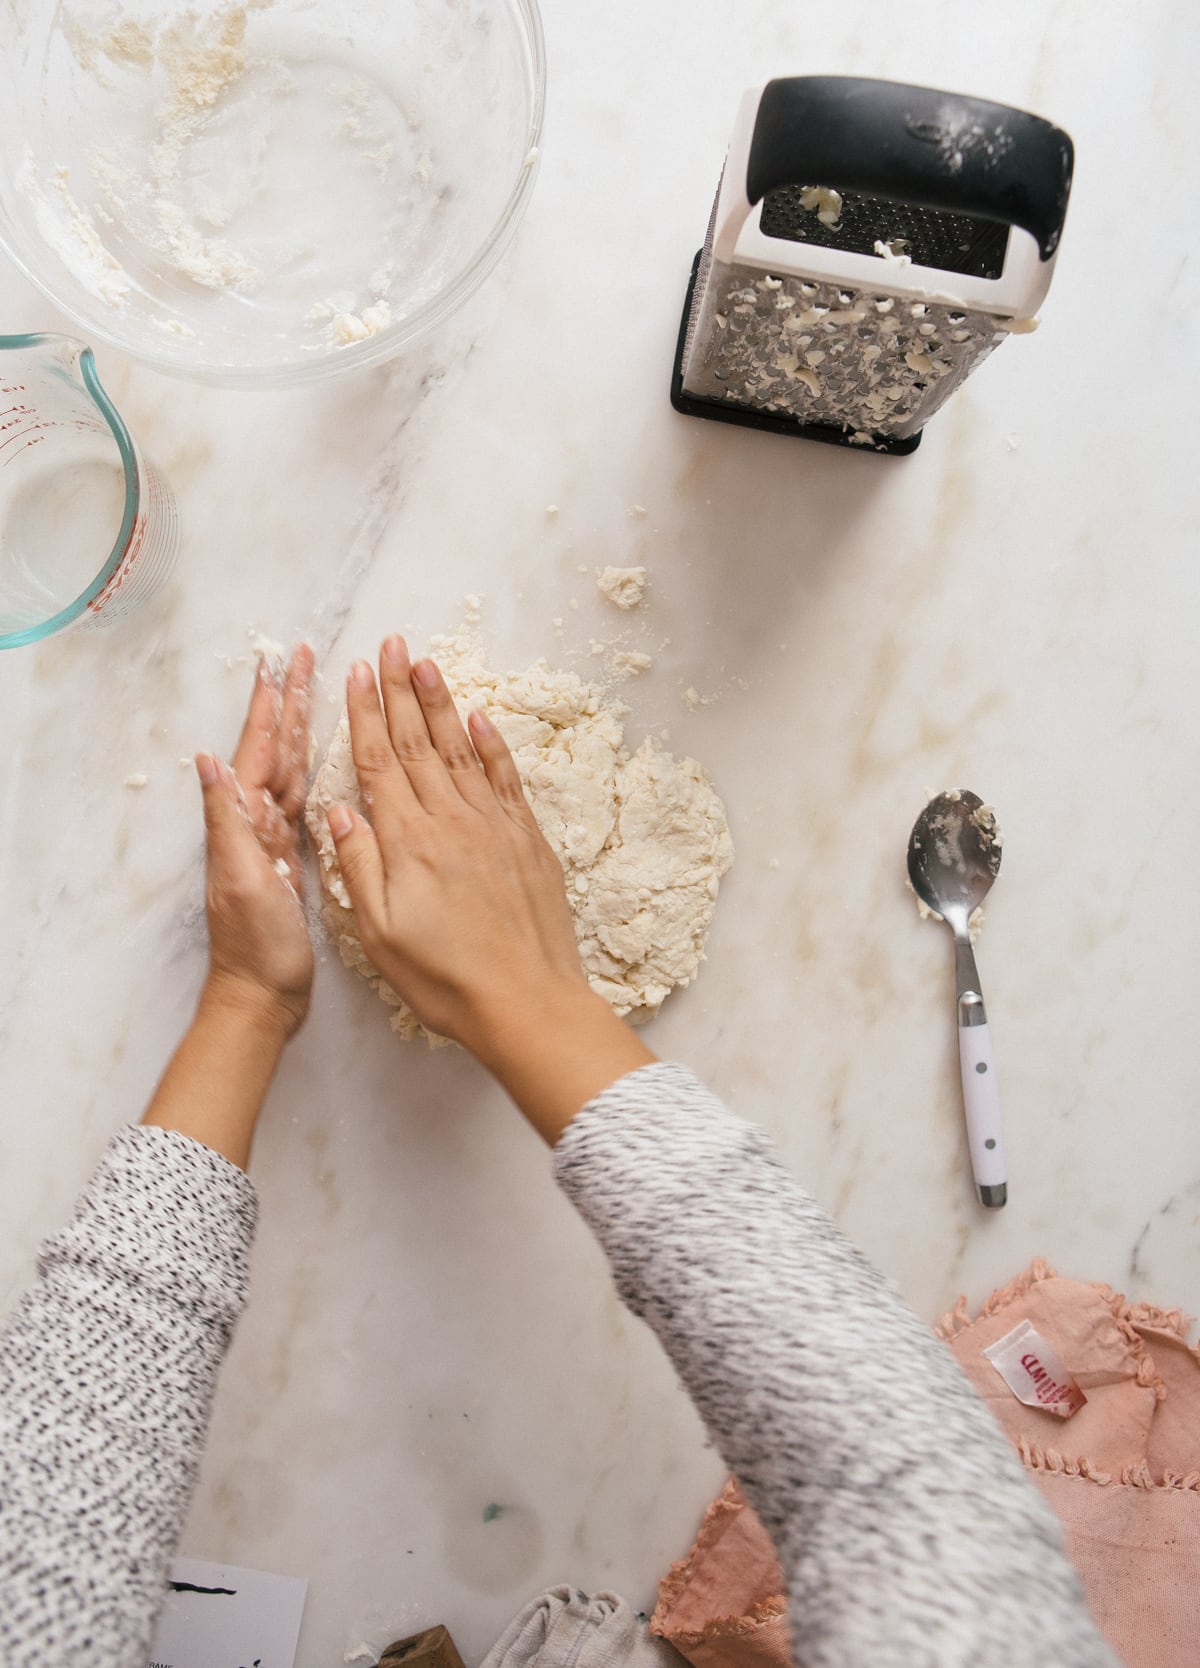
First the left side folds over and then the right. At this point I just use my hands, no rolling pin.
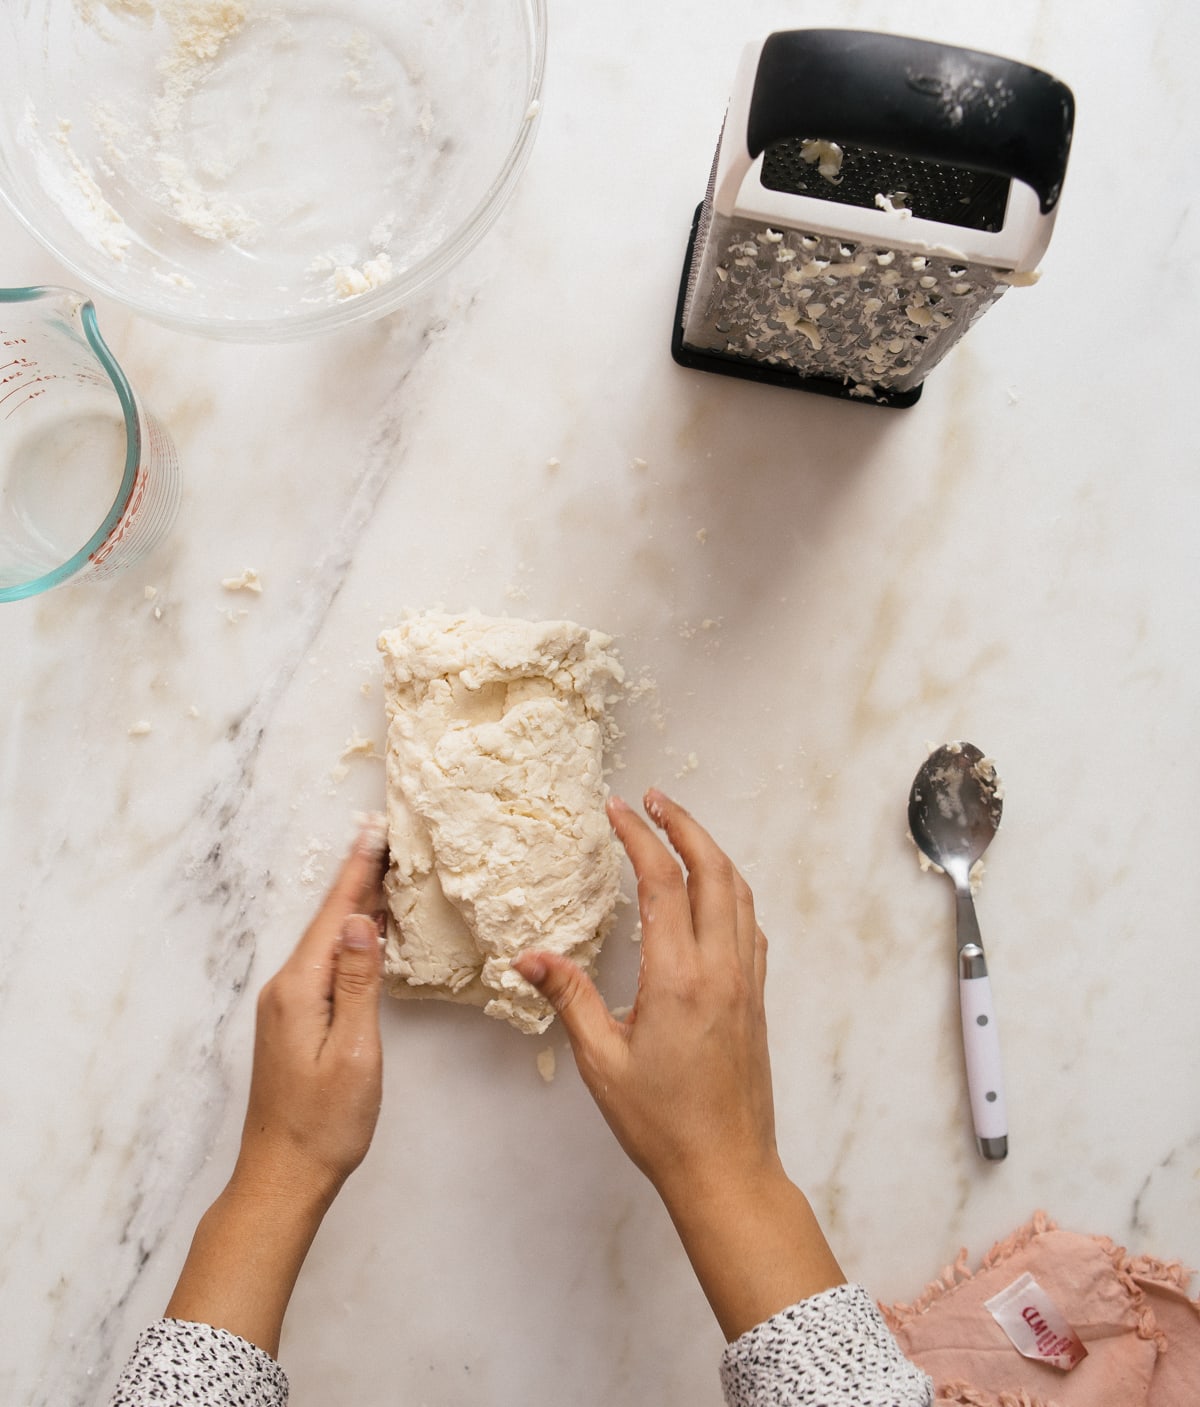
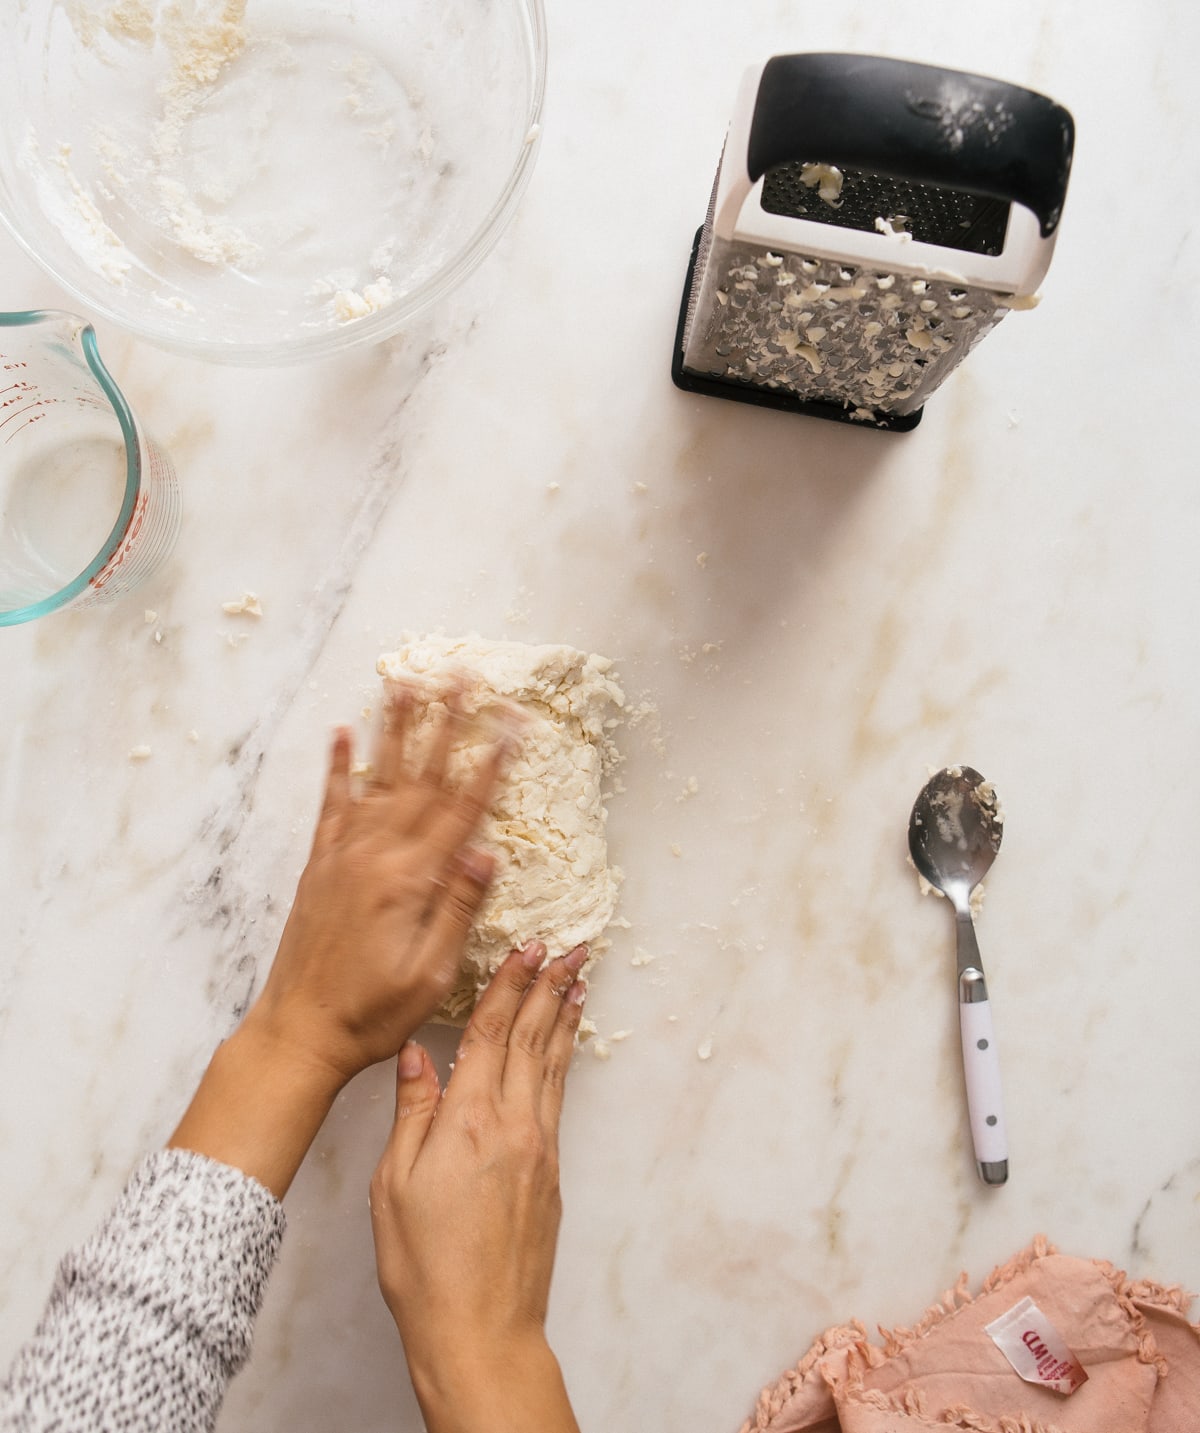
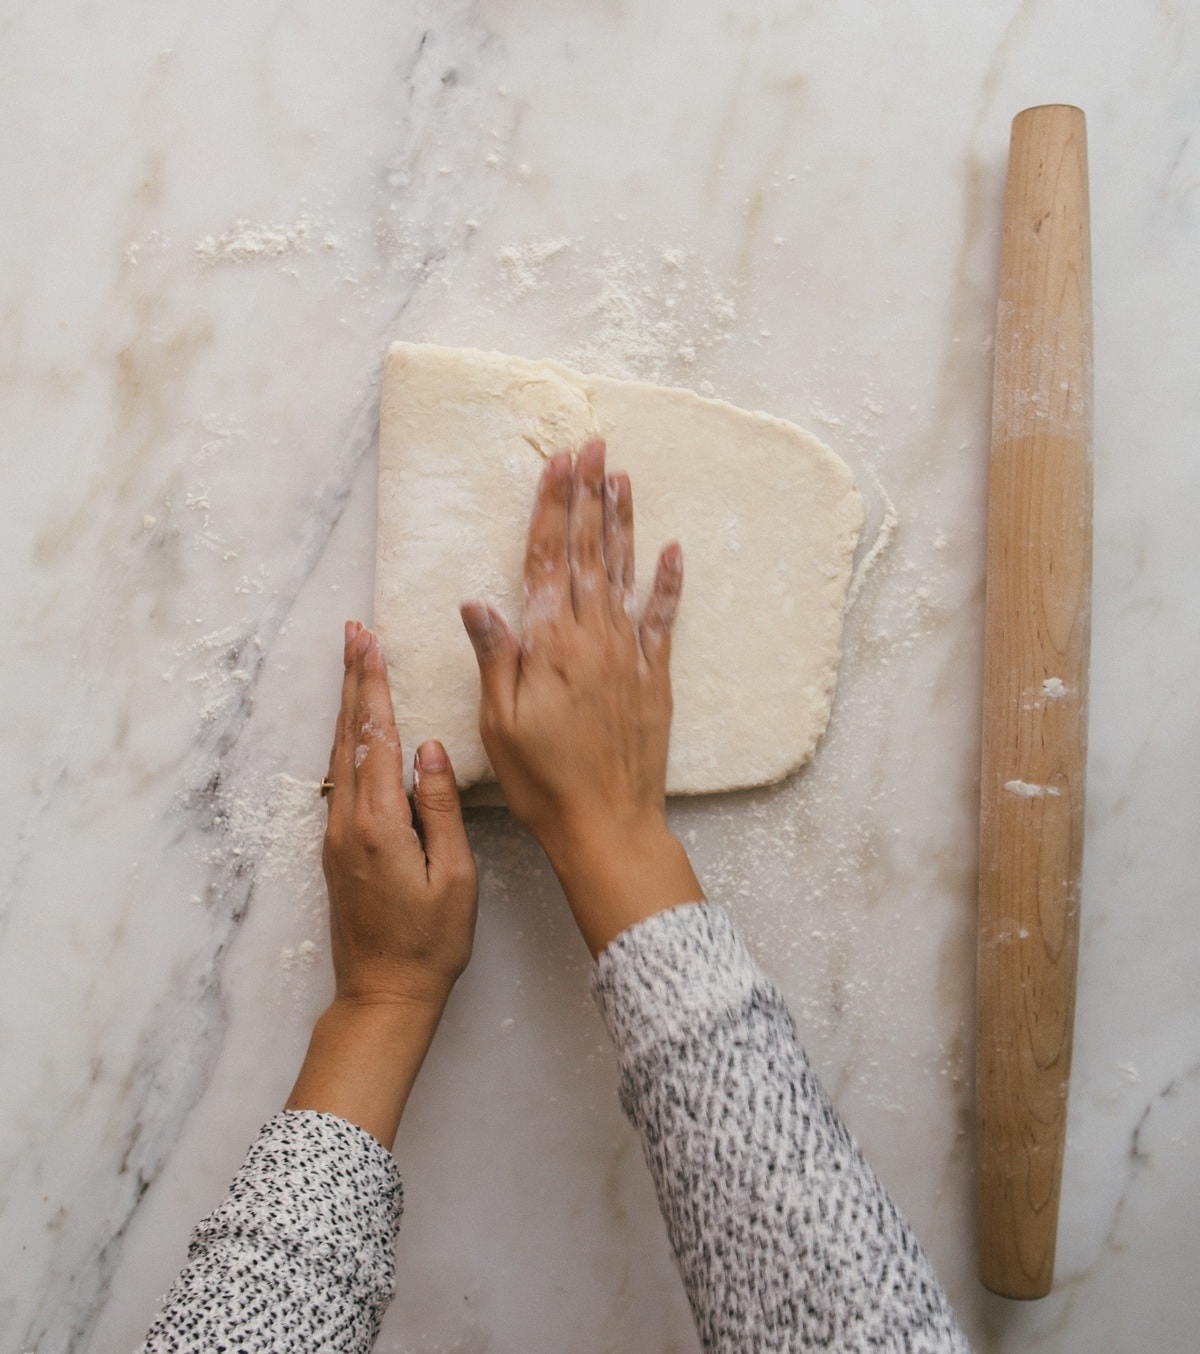
And then I press it out and repeat the folding in the left side and then folding in the right side. After this I wrap it up with plastic wrap and place it in the fridge to rest for about an hour.
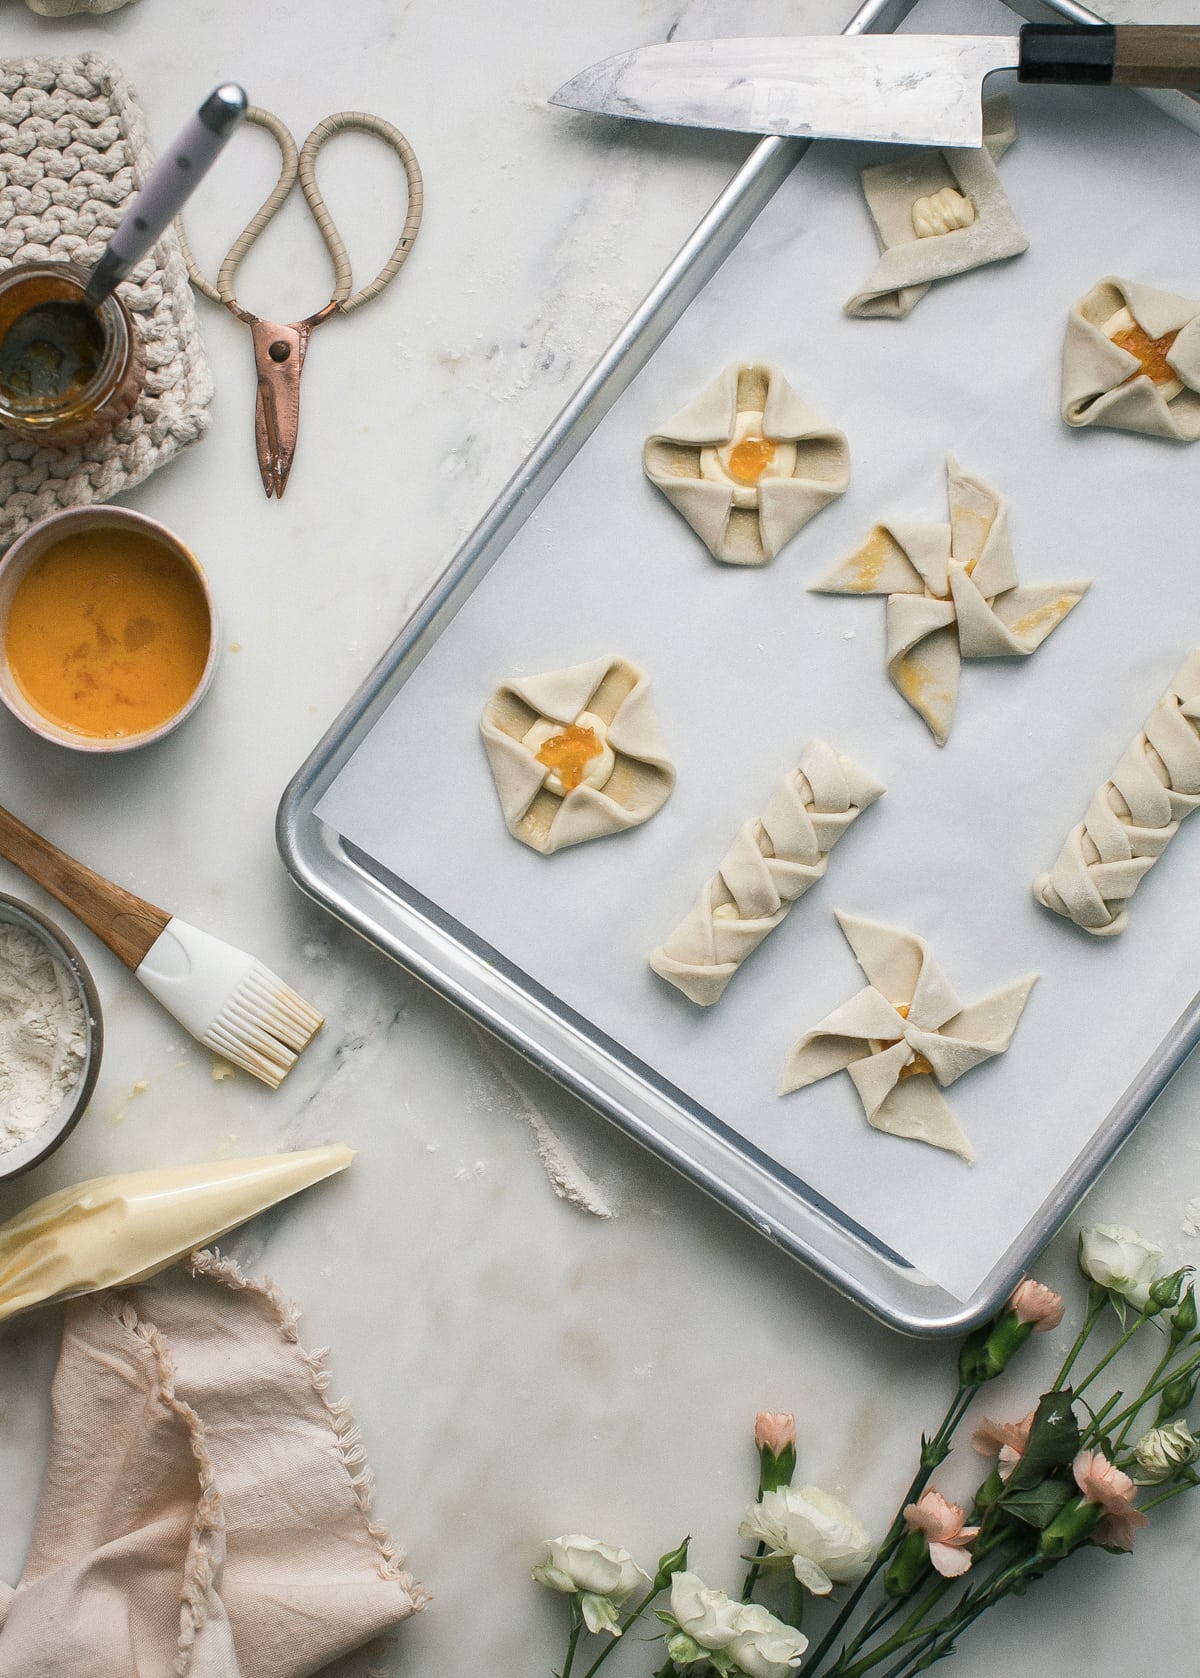
During that 1 hour gap, I’ll make cream cheese filling for cheese danishes or the glaze of wash clothes. There’s plenty to do.
AND then, I unwrap it, and do three more folds. This time I definitely use a rolling pin because it’s definitely necessary.
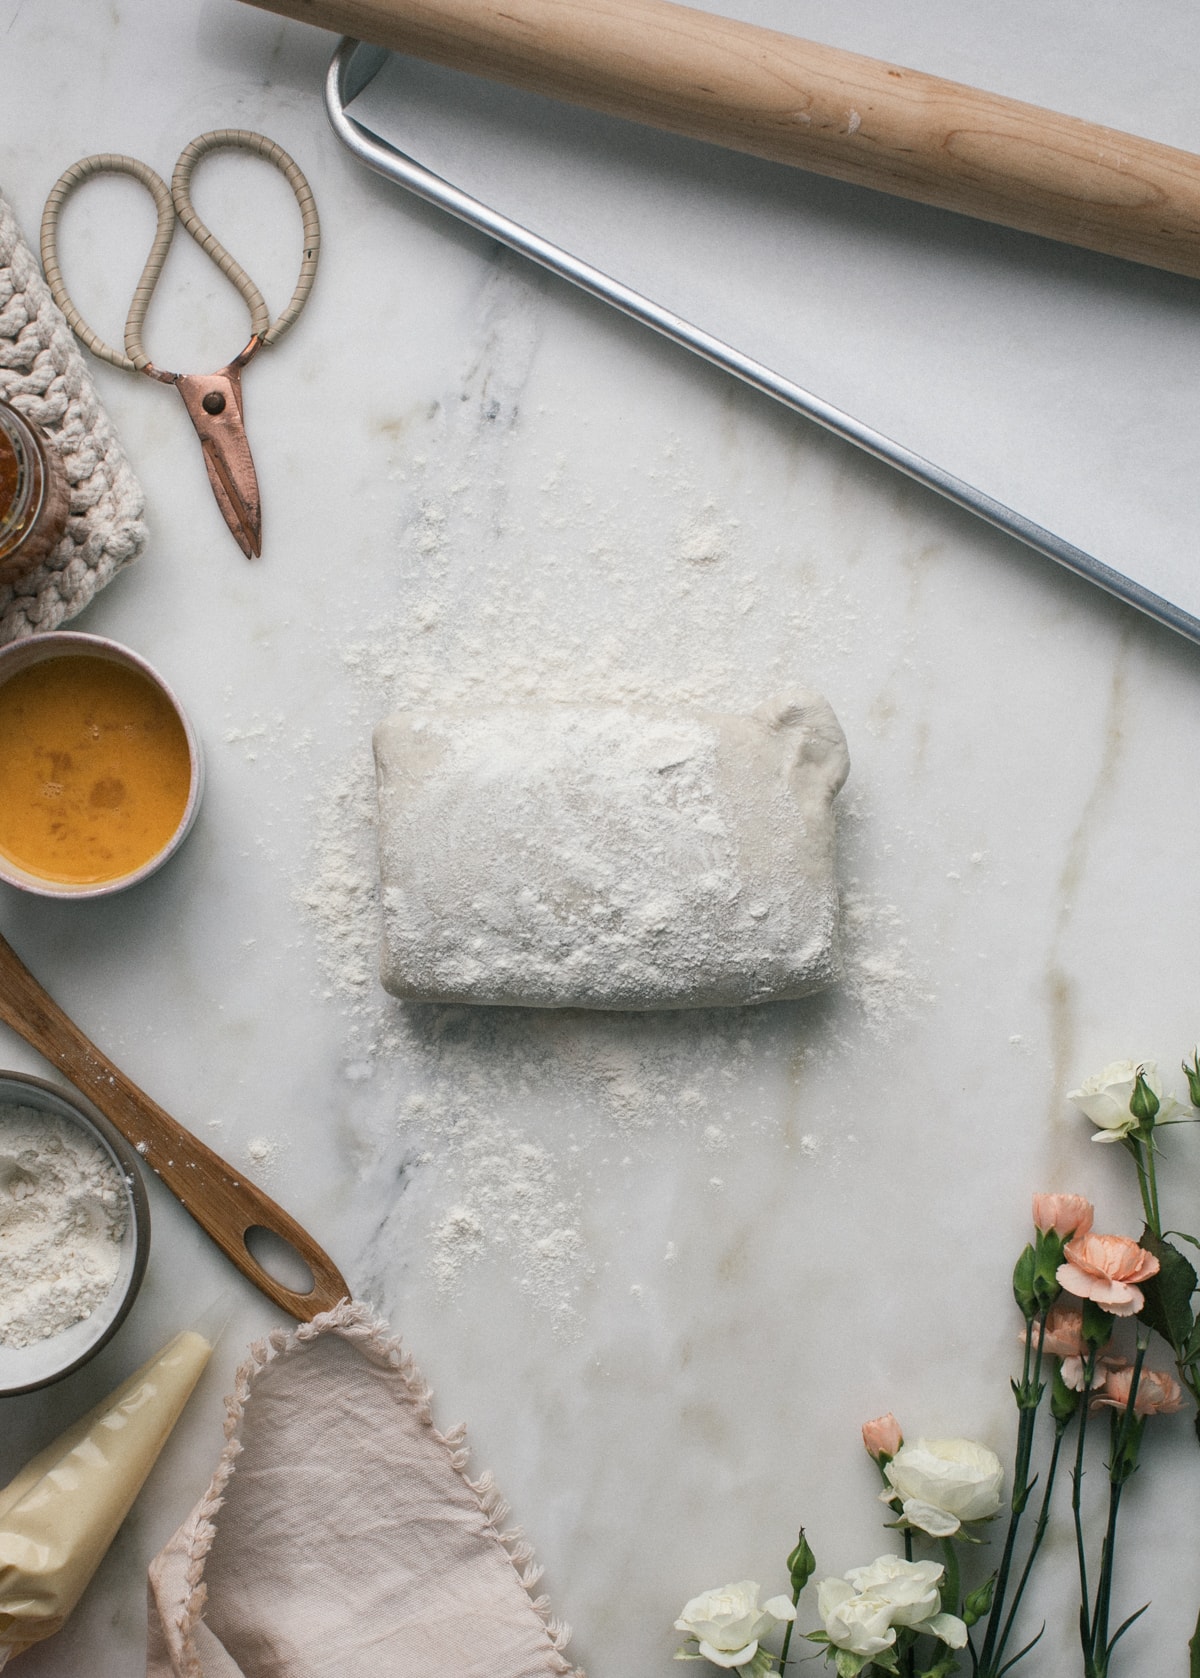
After the three folds, it’s all done. This is the perfect time to wrap it in two layers of plastic wrap and place it in the fridge or freezer. Or you can use it right away.
If you put it in the freezer, I recommend also wrapping it in foil so it doesn’t take on any weird smells and stuff.
Rough Puff, Step-by-Step

Equipment
- 1 cheese box grater
- 1 Rolling Pin
Ingredients
- 2 cups all-purpose flour
- 1 teaspoon fine-grain sea salt
- 9 tablespoons unsalted butter, cold but not frozen
- 5 ounces water
Instructions
- In a medium bowl, whisk together the flour and salt.
- Using a cheese box grater, shred the butter atop the flour mixture. Coat the butter with the flour and mix and toss together. Press the buttery bits into the flour using your hands and continue until the color has gone from white to off white.
- Create a well in the center of the flour/butter mixture and pour in about 4 ounces of water. Mix until combined.
- Turn the flour mixture out onto a lightly floured work surface and knead it a few times. Form it into a rectangle that’s about 1-inch thick. Fold over the right side and then the left. Turn the dough a quarter turn and then repeat for two more turns. Wrap in plastic wrap and rest in the fridge for one hour.
- Unwrap the dough and give it two more turns. At this point your dough is ready to go!
Nutrition
Nutrition information is automatically calculated, so should only be used as an approximation.


Such simple technique. Thank you for taking the time to make it so simple!
Who knew you could make it yourself? Looks divine!
Love the final look. So elegant!
What pretty pastries! I love working with puff pastry!
Kari
http://sweetteasweetie.com/
Might have to try my hand at making puff pastry this weekend! 🙂
Making puff pastry from scratch has always scared me-until this post! I am so anxious to try this! Thanks for sharing!
Ohh I shied away from puff pastry for so long, but really it’s just a little time consuming and not hard! I can think of 1 million ways to use this pastry, so I need to get to it.